About 2.5 months ago, I moved away from Tokyo (Kawasaki actually). I now live in Matsue, Shimane prefecture. Matsue is the prefecture capital of Shimane, and is known for being the city that Matsumoto Yukihiro (the creator of the Ruby programming language) lives in, and for the sunset on Lake Shinjiko (宍道湖).
Update 2017-05-11: Matsumoto Yukihiro published an article on Medium (Japanese) shortly after I posted this one explaining his reasons for moving here.
Leopalace
Back in Kawasaki, I lived in a shared house. Now, I live in a Leopalace apartment. Leopalace apartments are (usually?) furnished and almost ready to live in. There’s an AC, a fridge, microwave, small desk, various closets (I like the one under my bed, real room saver). You will still need a futon, kitchenware, clothes, towels, toilet paper.
In Kawasaki, my rent was about 63,000 JPY per month. Now it’s around 53,000 JPY, and I have a lot more space, plus my own kitchen and bathroom. (I also have to pay for electricity, water, and gas however.) Leopalace in Matsue has much cheaper places too, but I prefer newer buildings with heat insulation and soundproofing. (Also, if you do not necessarily need a furnished apartment, you can find much cheaper places.) My building is from 2002, and seems to have pretty decent insulation. (I haven’t had to use my air conditioner in over a month.) You may have heard that Leopalace buildings have poor soundproofing, but that’s not really the case for my apartment at least. I can sort of hear my upstairs neighbor’s washing machine and (sometimes) phone vibrations, but no music or talking.
Working in Shimane
So how do you get a job in Shimane? Well, it turns out that Shimane has a lot of IT companies, and the prefectural government is pretty proactive about recruiting new people. I went to this event: GO島根!ITエンジニア転職フェア (held in Tokyo), talked to a dozen companies, and ended up applying at a handful, getting offered a job at two, and (obviously) taking only one. The event organizers use the label “UI-turn” (presumably from “UI” and “U-turn”) for the act of going (back in many cases) from Tokyo to Shimane for work. (Update 2017-06-20: it doesn’t appear to have anything to do with “UI” as in “user interface”. It’s just U-turn and inbound? turn.)
There’s a small problem with these companies: they’re mostly headquartered in Tokyo, so it’ll often feel like working remotely and you’ll probably be talking to people you’ve (almost) never met before, every day. Remember: communication can be pretty tough at the office, even when nobody’s working remotely. Having remote workers makes communication even more challenging. As with all things in life: don’t expect anyone to be an expert at handling remote workers, even if they seem like they should have a lot of experience.
Cycling around Matsue
I really like climbing mountains and riding bikes, and Matsue is pretty good for that. There’s a train line (Ichibata Line) here that allows you to bring your bicycle on the train without taking it apart and packing it in a bag, like you have to do at other train lines. Let me just quickly go off on a tangent: if you need a cheap bicycle that performs pretty well, I recommend giving ドンキホーテ (Don Quijote) a… shot. (Originally no pun intended.) Mine weighs about 12 kg and I bought it at Don Quijote for about 35,000 JPY. (Also the most expensive (non-electric) bicycle they had on offer.) Perhaps you don’t get super-high-quality components, but nothing too shabby, either. I had to replace my brake pads a bit sooner than expected, and my rear tire after about two years (which may be a bit out of the ordinary), but everything else is holding up pretty well. Note: I weigh about 65 kg, so your mileage (originally no pun intended) may vary.
Anyway, I take the bicycle to work, and my commute is about 2.2 km, and there’s an altitude difference of about 60 m. And that’s still a hundred times nicer than taking a Tokyo train during rush-hour. :P
Moving from Kawasaki to Matsue
When moving, your bicycle could cost you a lot. However, if you go to a local bike shop, ask if they have any boxes left that might fit your bicycle, and then pay them (I paid 1,000 yen) to take your bicycle apart and put it in the box (they just had to take off the front wheel in my case), you will probably save money. You’ll be able to send it using ヤマト便 (Yamato-bin), and it probably won’t cost a lot. I had several boxes, plus the boxed bicycle, and a boxed Clavinova digital piano (two boxes), and paid just a bit more than 20,000 JPY in total, which isn’t much for a distance over 800 km. (Note: The prefectural government is likely to reimburse your relocation costs, up to (currently) 100,000 JPY.)
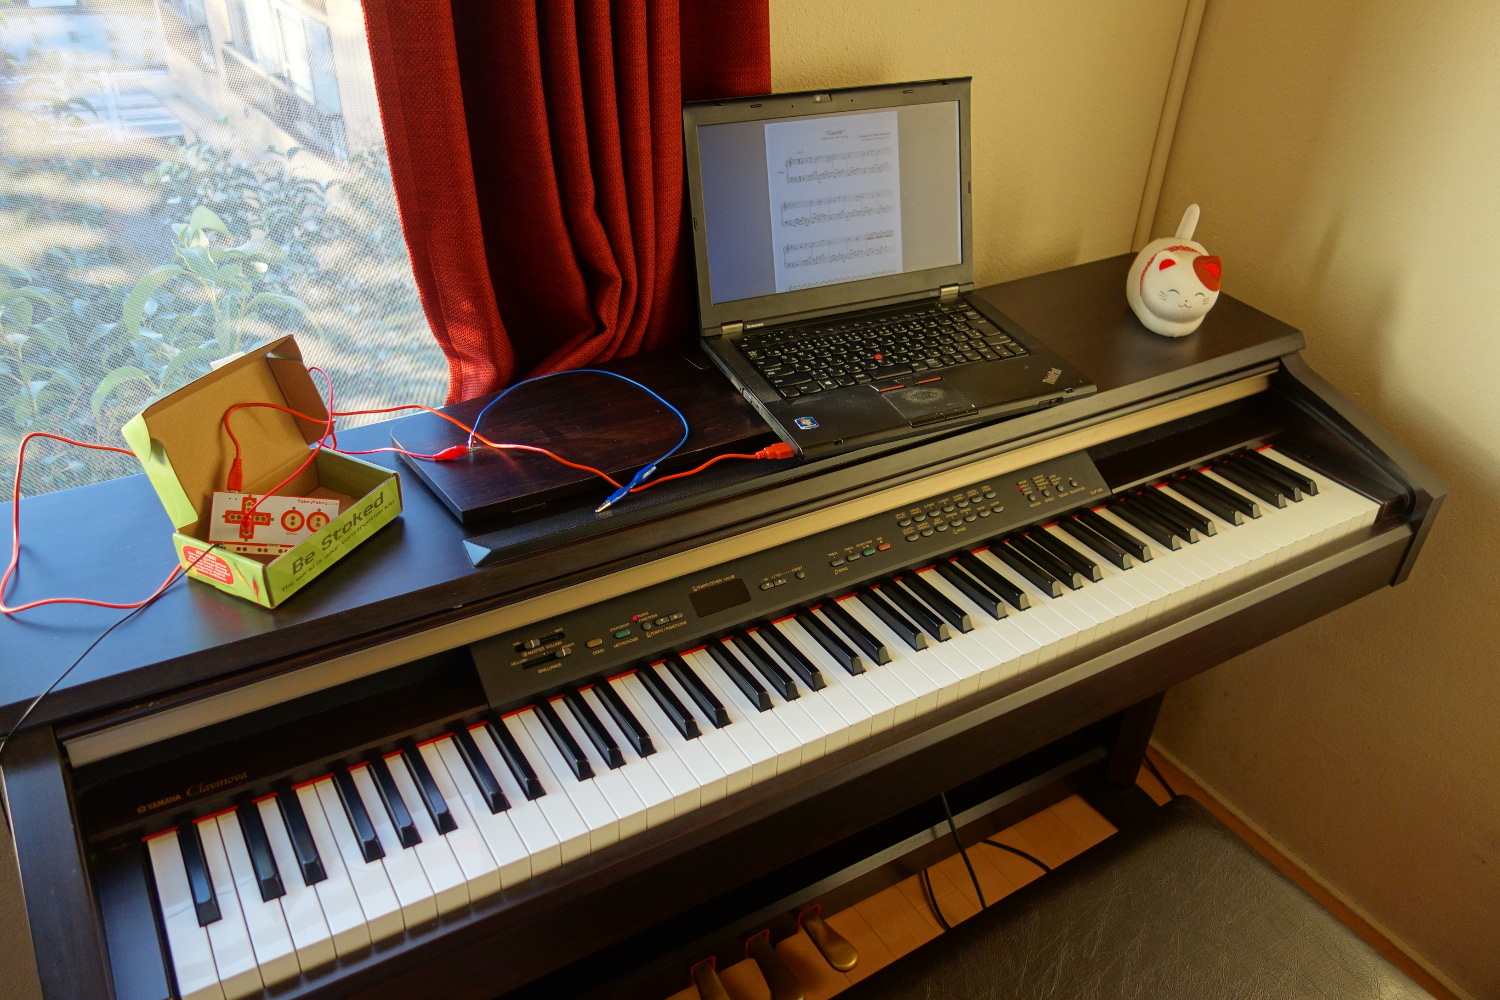
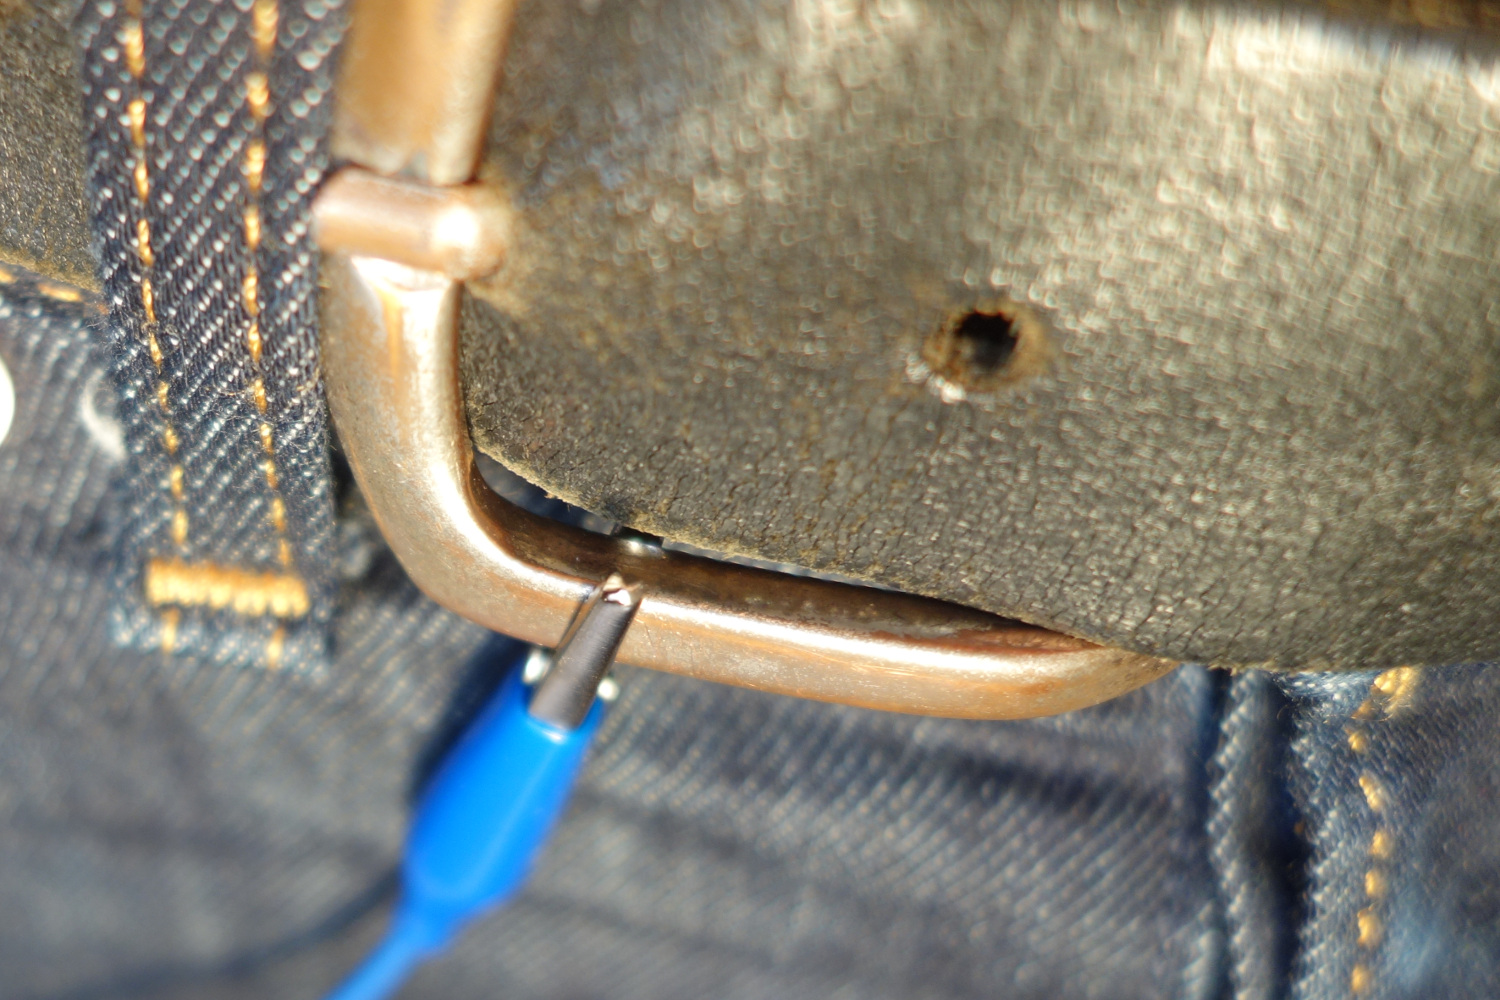
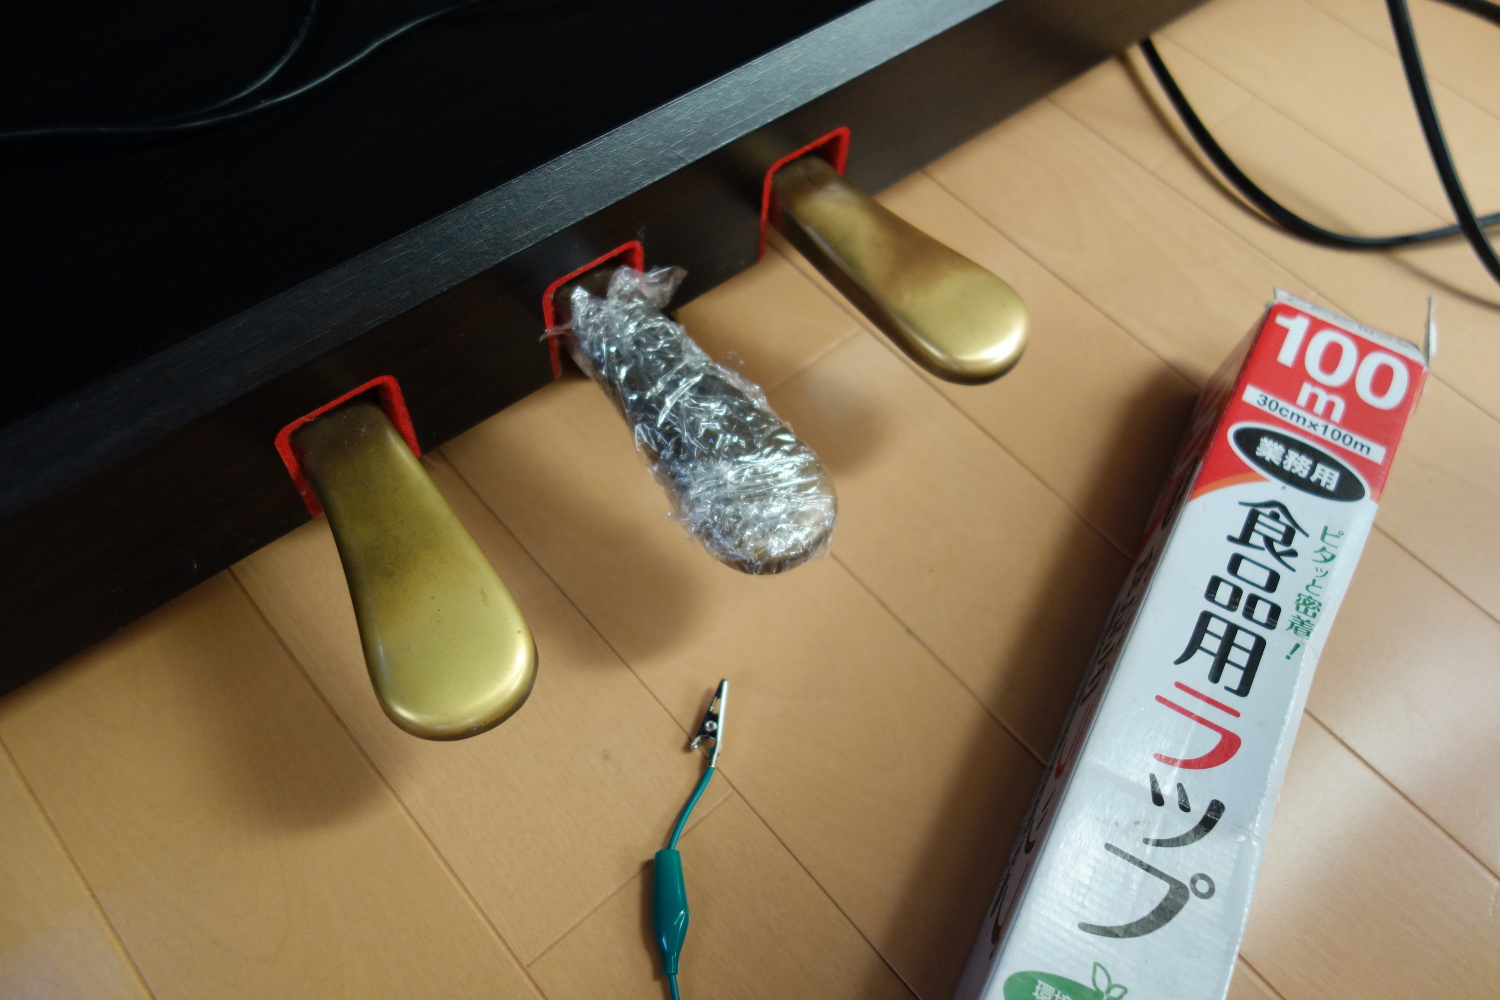
Some friends at the shared house helped me pack the Clavinova. Separating the actual piano from the stand wasn’t that hard actually. Packing involved building two huge boxes out of smaller boxes to fit in the piano and the stand, and putting in a lot of cushioning. (We put my futon in there, and several blankets.) Don’t let anything poke out, such as the pedals, the feet, or the headphone holder. Take everything off and put these things in a separate bag. Putting the thing back together alone is pretty tough, so I contacted a local 便利屋 (benriya), and had a guy come over for a bit more than an hour for about 4,000 JPY. These things don’t have fixed prices, so if you like negotiating you can probably get a better deal. Make sure you put your screws in separate (labeled) plastic bags! Put effort into remembering how you disassembled everything.
Living in Matsue
Matsue has great soba (Izumo is right next to Matsue, and is famous for Izumo soba). Matsue also has Shimane University, and university towns generally, including Matsue, have lots of places to eat and karaoke. (I’ll probably post an article about the restaurants I’ve sampled here sometime in the near future.)
The only thing that doesn’t work out so well is the fact that it’s pretty lonely. There are only four people at my company’s Matsue office, and I’m perhaps a bit too old to have fun with university students, and there don’t really seem to be a lot of people my age (28). There seem to be Ruby-themed events, so maybe I’ll try joining one of those at some point. Also, Osaka and especially Hiroshima are a lot closer than from Tokyo. Unfortunately there is no Shinkansen, and the train system is a bit… useless? (Think one train per hour. Also Hiroshima is just ~180 km away, but the direct train takes about seven hours. Going to Okayama and then taking the Shinkansen is a lot faster but much more expensive.) All this means that people take cars and/or highway buses. From Matsue to Hiroshima the bus is about 3800 JPY, and takes only about three hours. I’ve even taken the highway bus to Tokyo a couple of times. (The normal way to get to Tokyo would involve taking a plane from the nearby airports (Izumo or Yonago).)
Izumo has a very famous shrine, the 出雲大社 (Izumo Taisha), and the neighboring prefecture (Tottori; the border is about 20 km to the east of Matsue), has several interesting spots worth visiting too: a port that harbors a lot of fishing vessels and even a regular connection to Korea and Russia: 境港 (Sakaiminato), the Tottori sand dunes (鳥取砂丘, Tottori Sakyuu), and a famous mountain called 大山 (Daisen). (Japan has a lot of mountains called 大山. The one in Kanagawa is a nice day trip from Tokyo, but the kanji reading is Ooyama.)