I bought another Hitachi MB-H2. Why? Who knows.
There are six major problems with this MB-H2, but it was worth buying because it came in the original box, complete with the manual and function key cards! Which I’ve scanned (i.e., the manual and function key cards); scroll right past the moldy pictures and you’ll find download links. Anyway, here are this machine’s problems:
- The cassette belt had turned into goo. I think all cassette belts turn into goo on this machine. Yum. (Fixed)
- The data recorder’s reed switch to detect the record protection tab is slightly broken (you have to push it when starting a recording). (Not fixed because easy to work around)
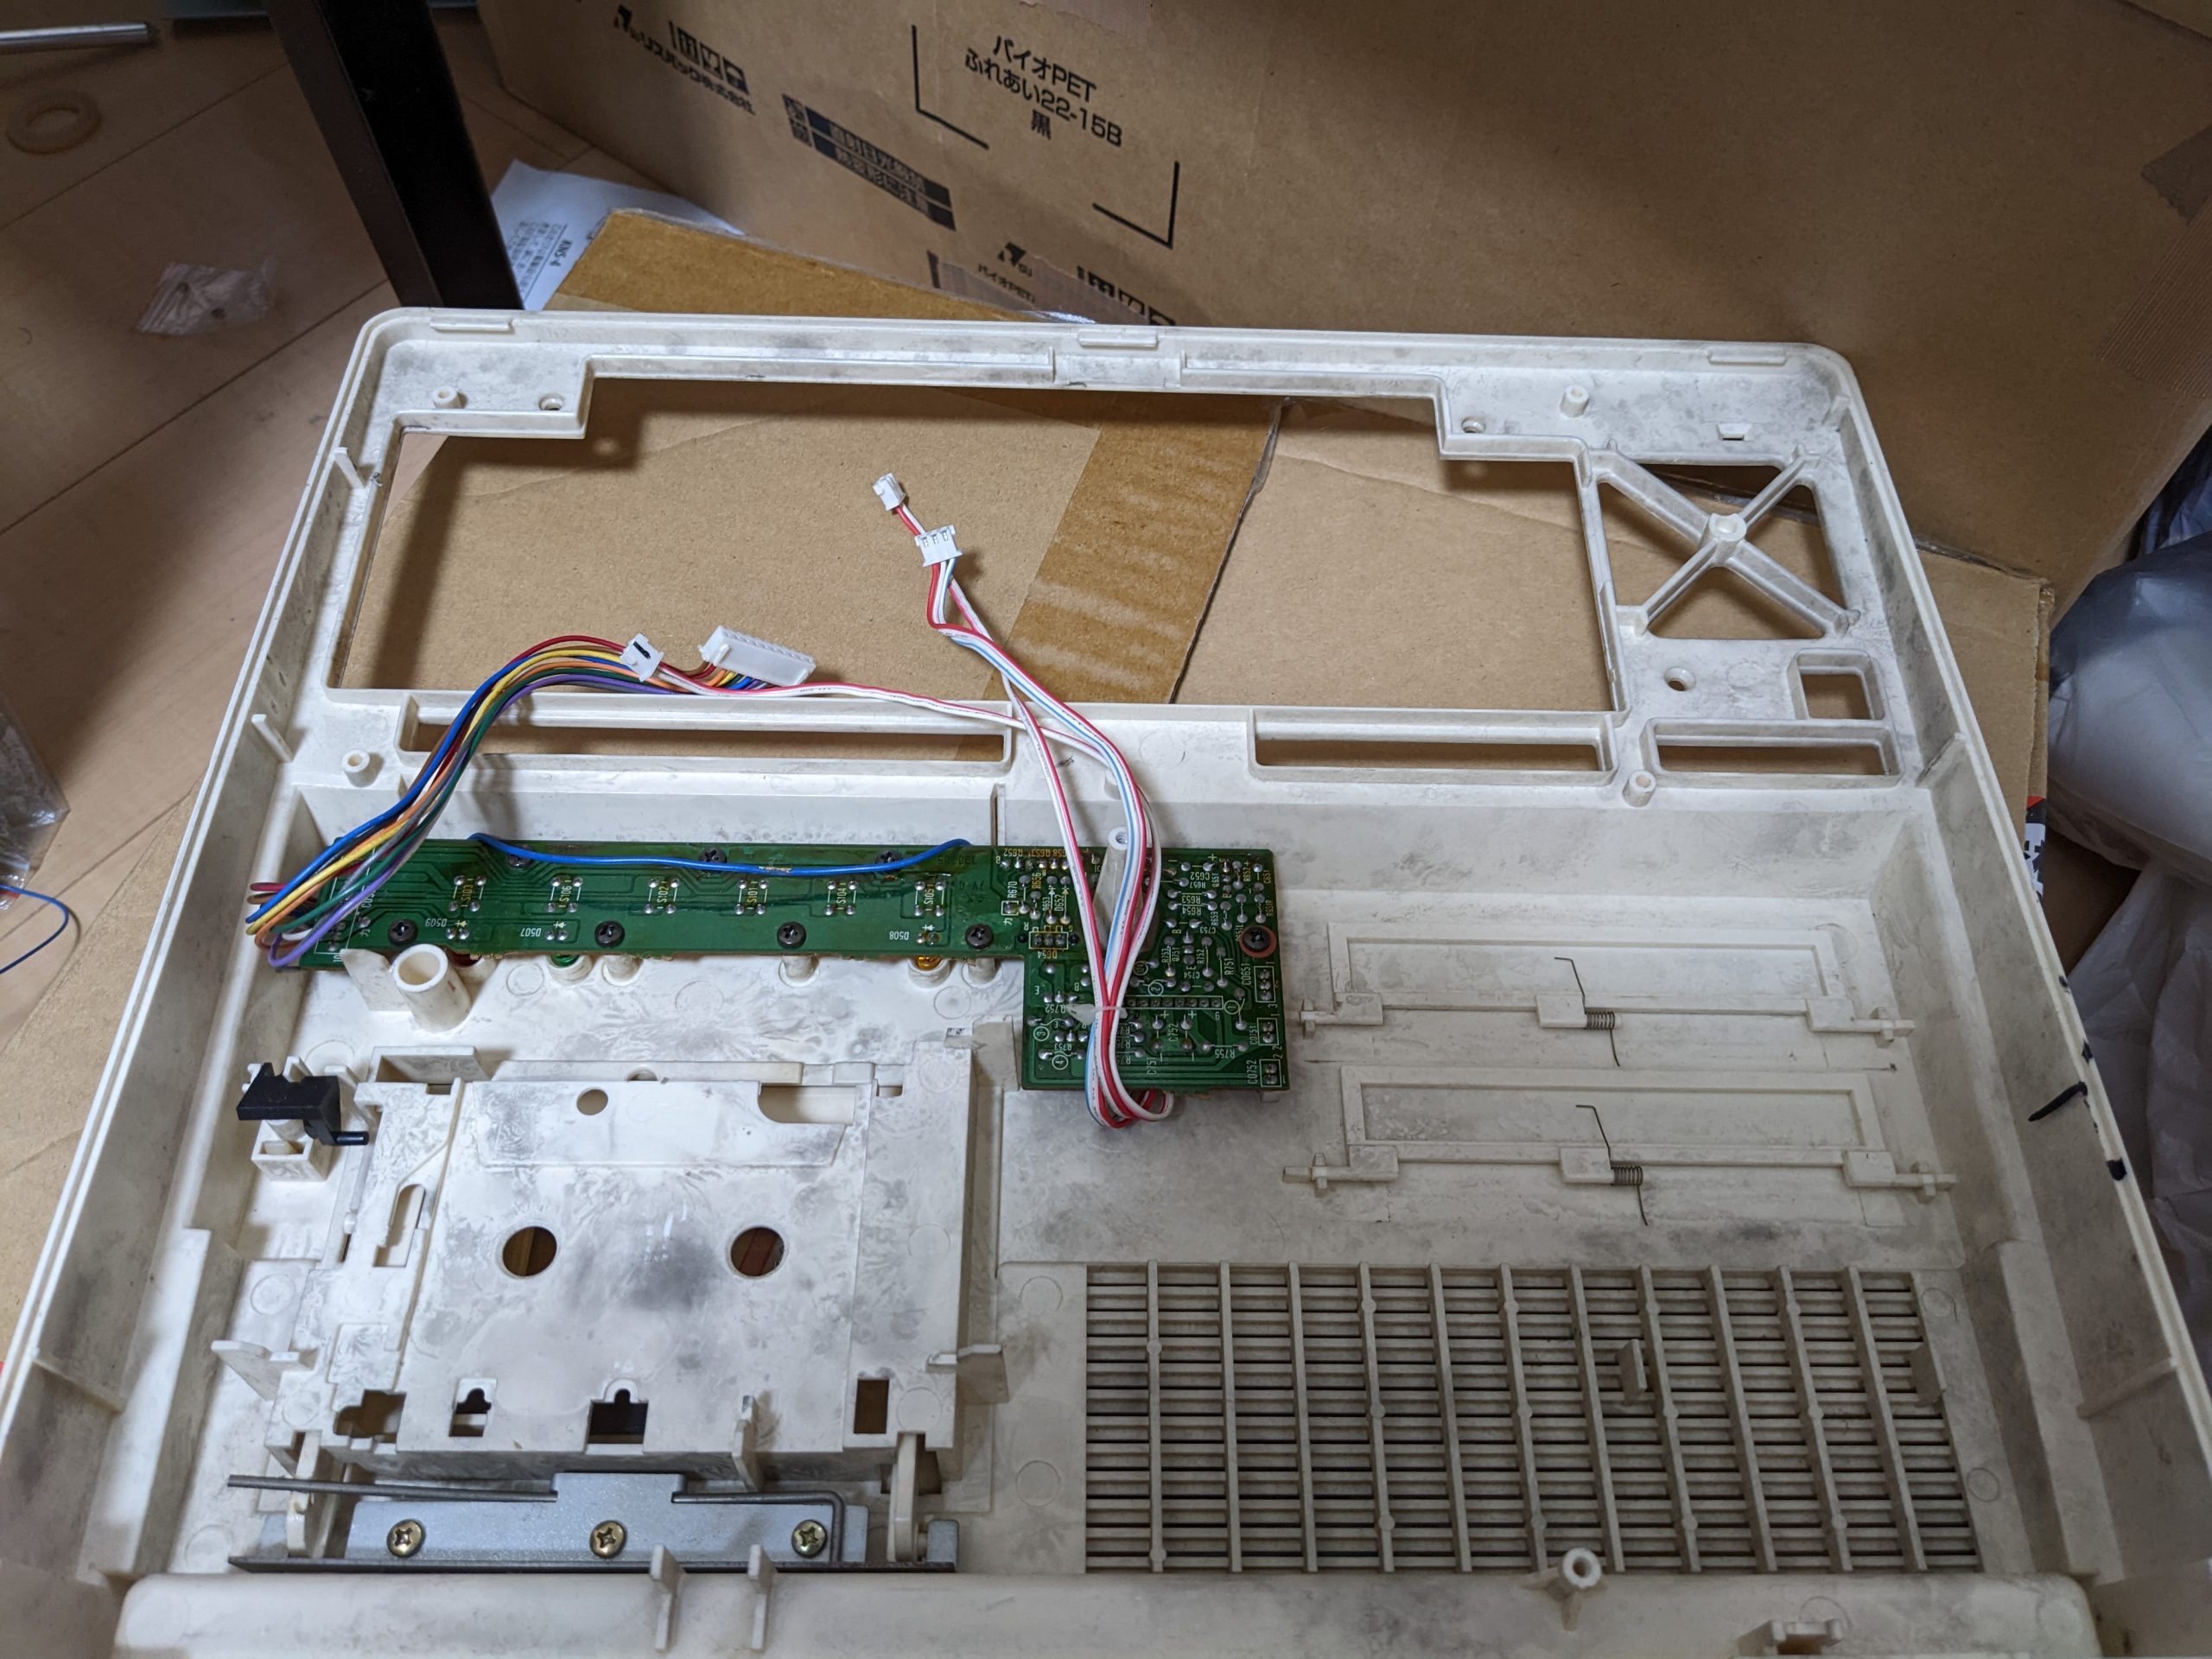
- There were keys that don’t work well. (Fixed). I have a blog post going into more detail about the tape drive and keyboard repair process.
- One key cap has gone missing. (Fix in progress)
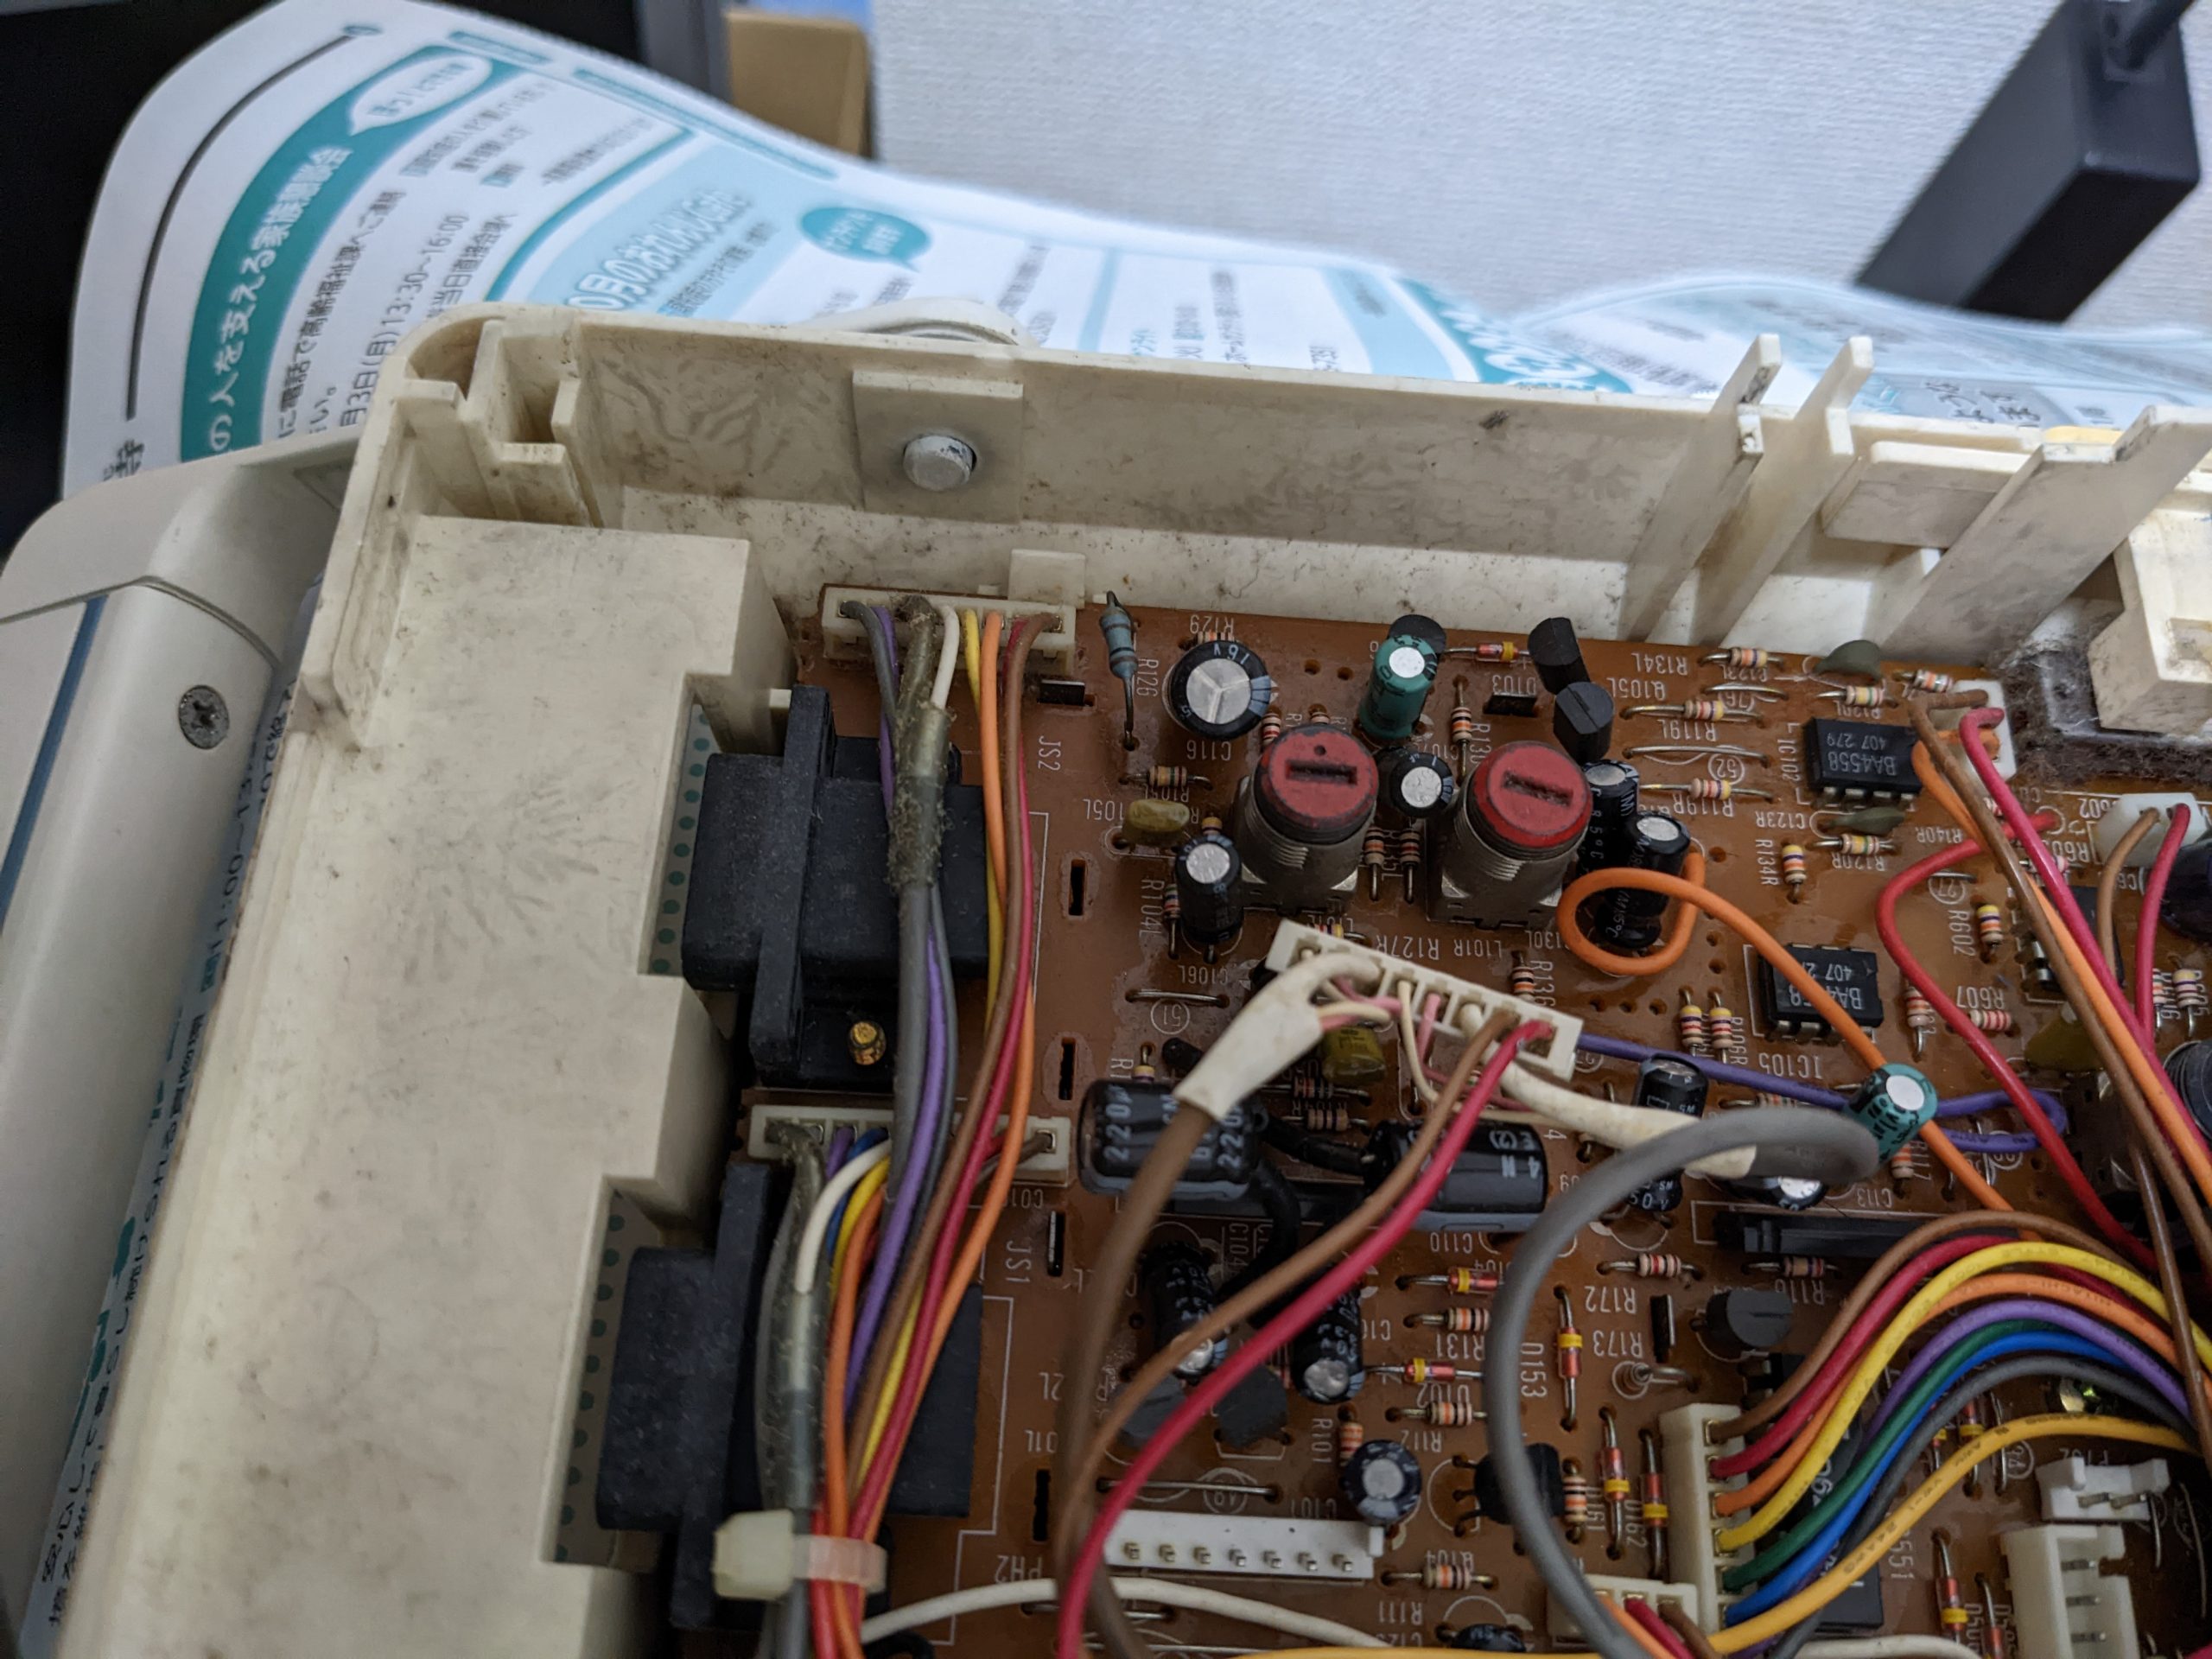
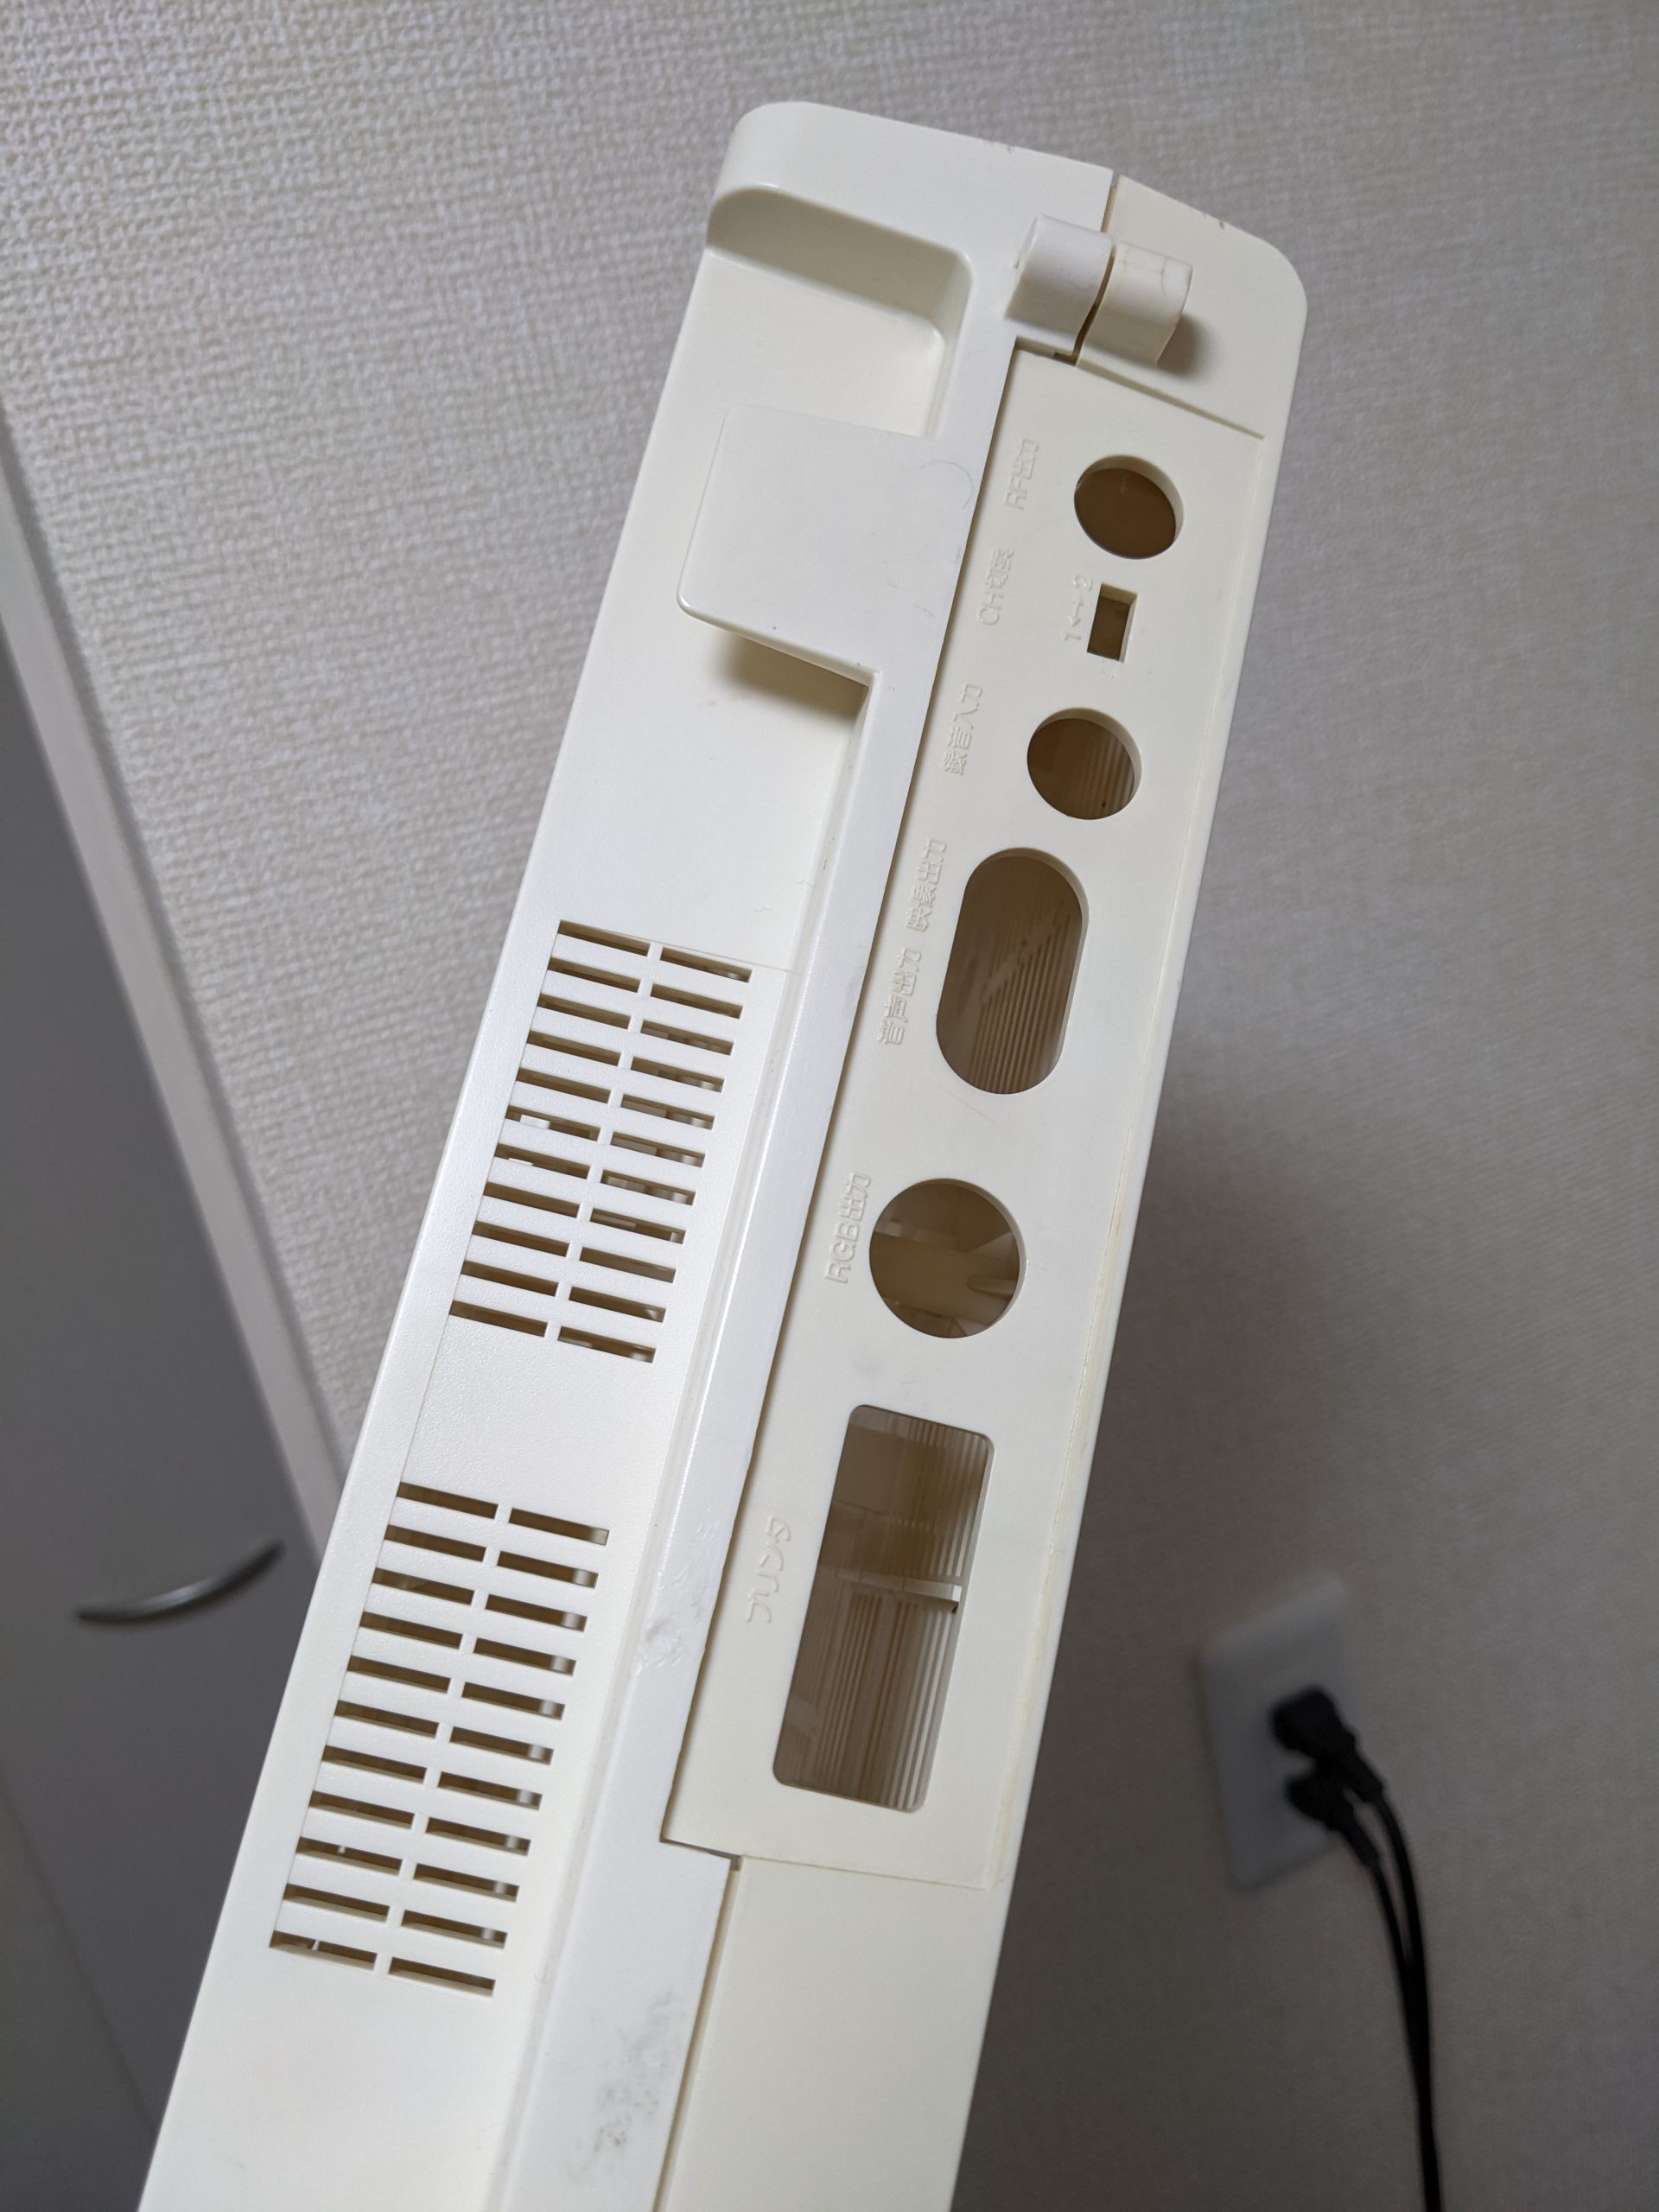
- The screen is sometimes garbled. (Fix in progress.) (At first it looked like the VRAM was partially bad, but actually, after a couple resets, the screen looked fine. It looked like it was the -5V power supply, which widely swung around between maybe -3V and -6V, and just consists of a -12V input coming from the main power supply board, a Zener diode and a capacitor, but replacing that didn’t improve the situation, so it currently seems likely to me that one of (or multiple) RAM chips for the VRAM have an unusual fault. But that’s a story for another blog post.)
Update 2023/08/13: And here is that blog post! - The MB-H2 had a lot of mold inside! (Fixed)
I’m not a huge fan of mold. Seeing the inside of this machine honestly made me question my hobby choices!
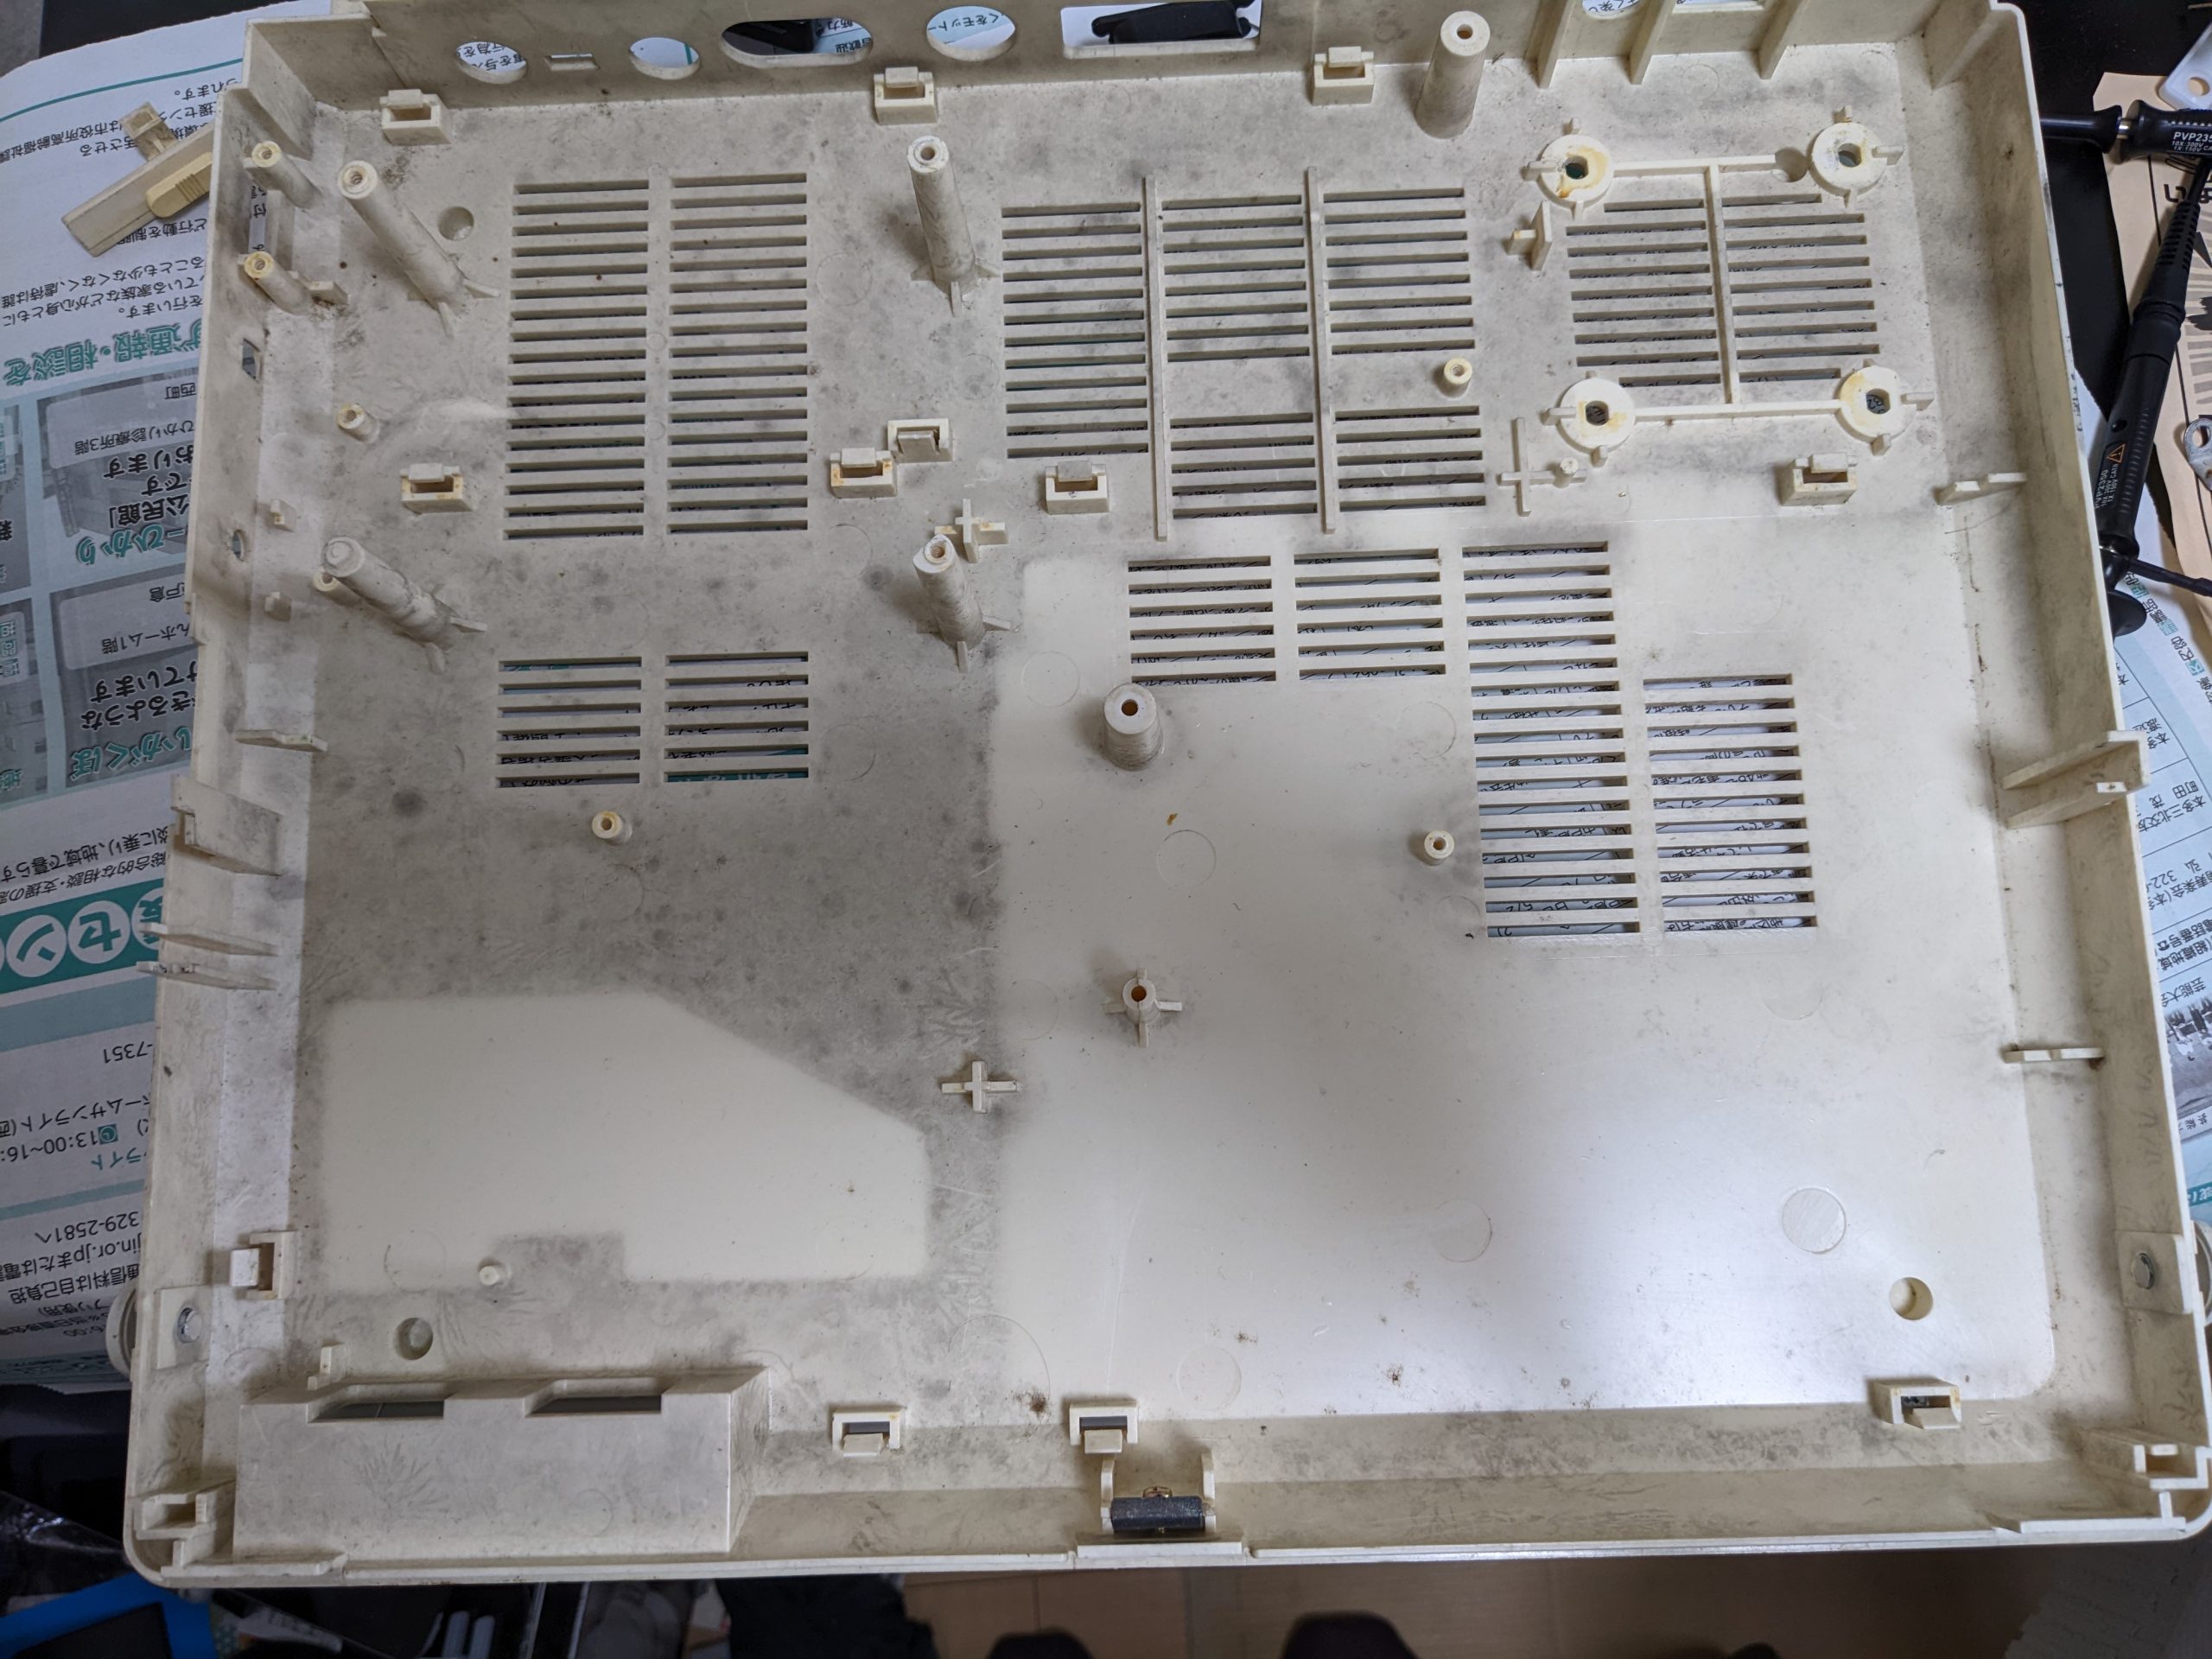
Eurghhhhh. I tried a couple of things:
- Soapy water, rubbed in using a toothbrush. Some improvement. Maybe 70% there?
- Window cleaner, rubbed in using a toothbrush. Some more improvement. Maybe 80%?
- Bleachy water, rubbed in using a toothbrush. Marginal improvement. Maybe 85%?
- Specialized mold cleaning solution (“カビキラー”), rubbed in using a toothbrush. Almost no mold left. Let’s say 98%.
- Magic eraser (“激落ち君”). No mold left.
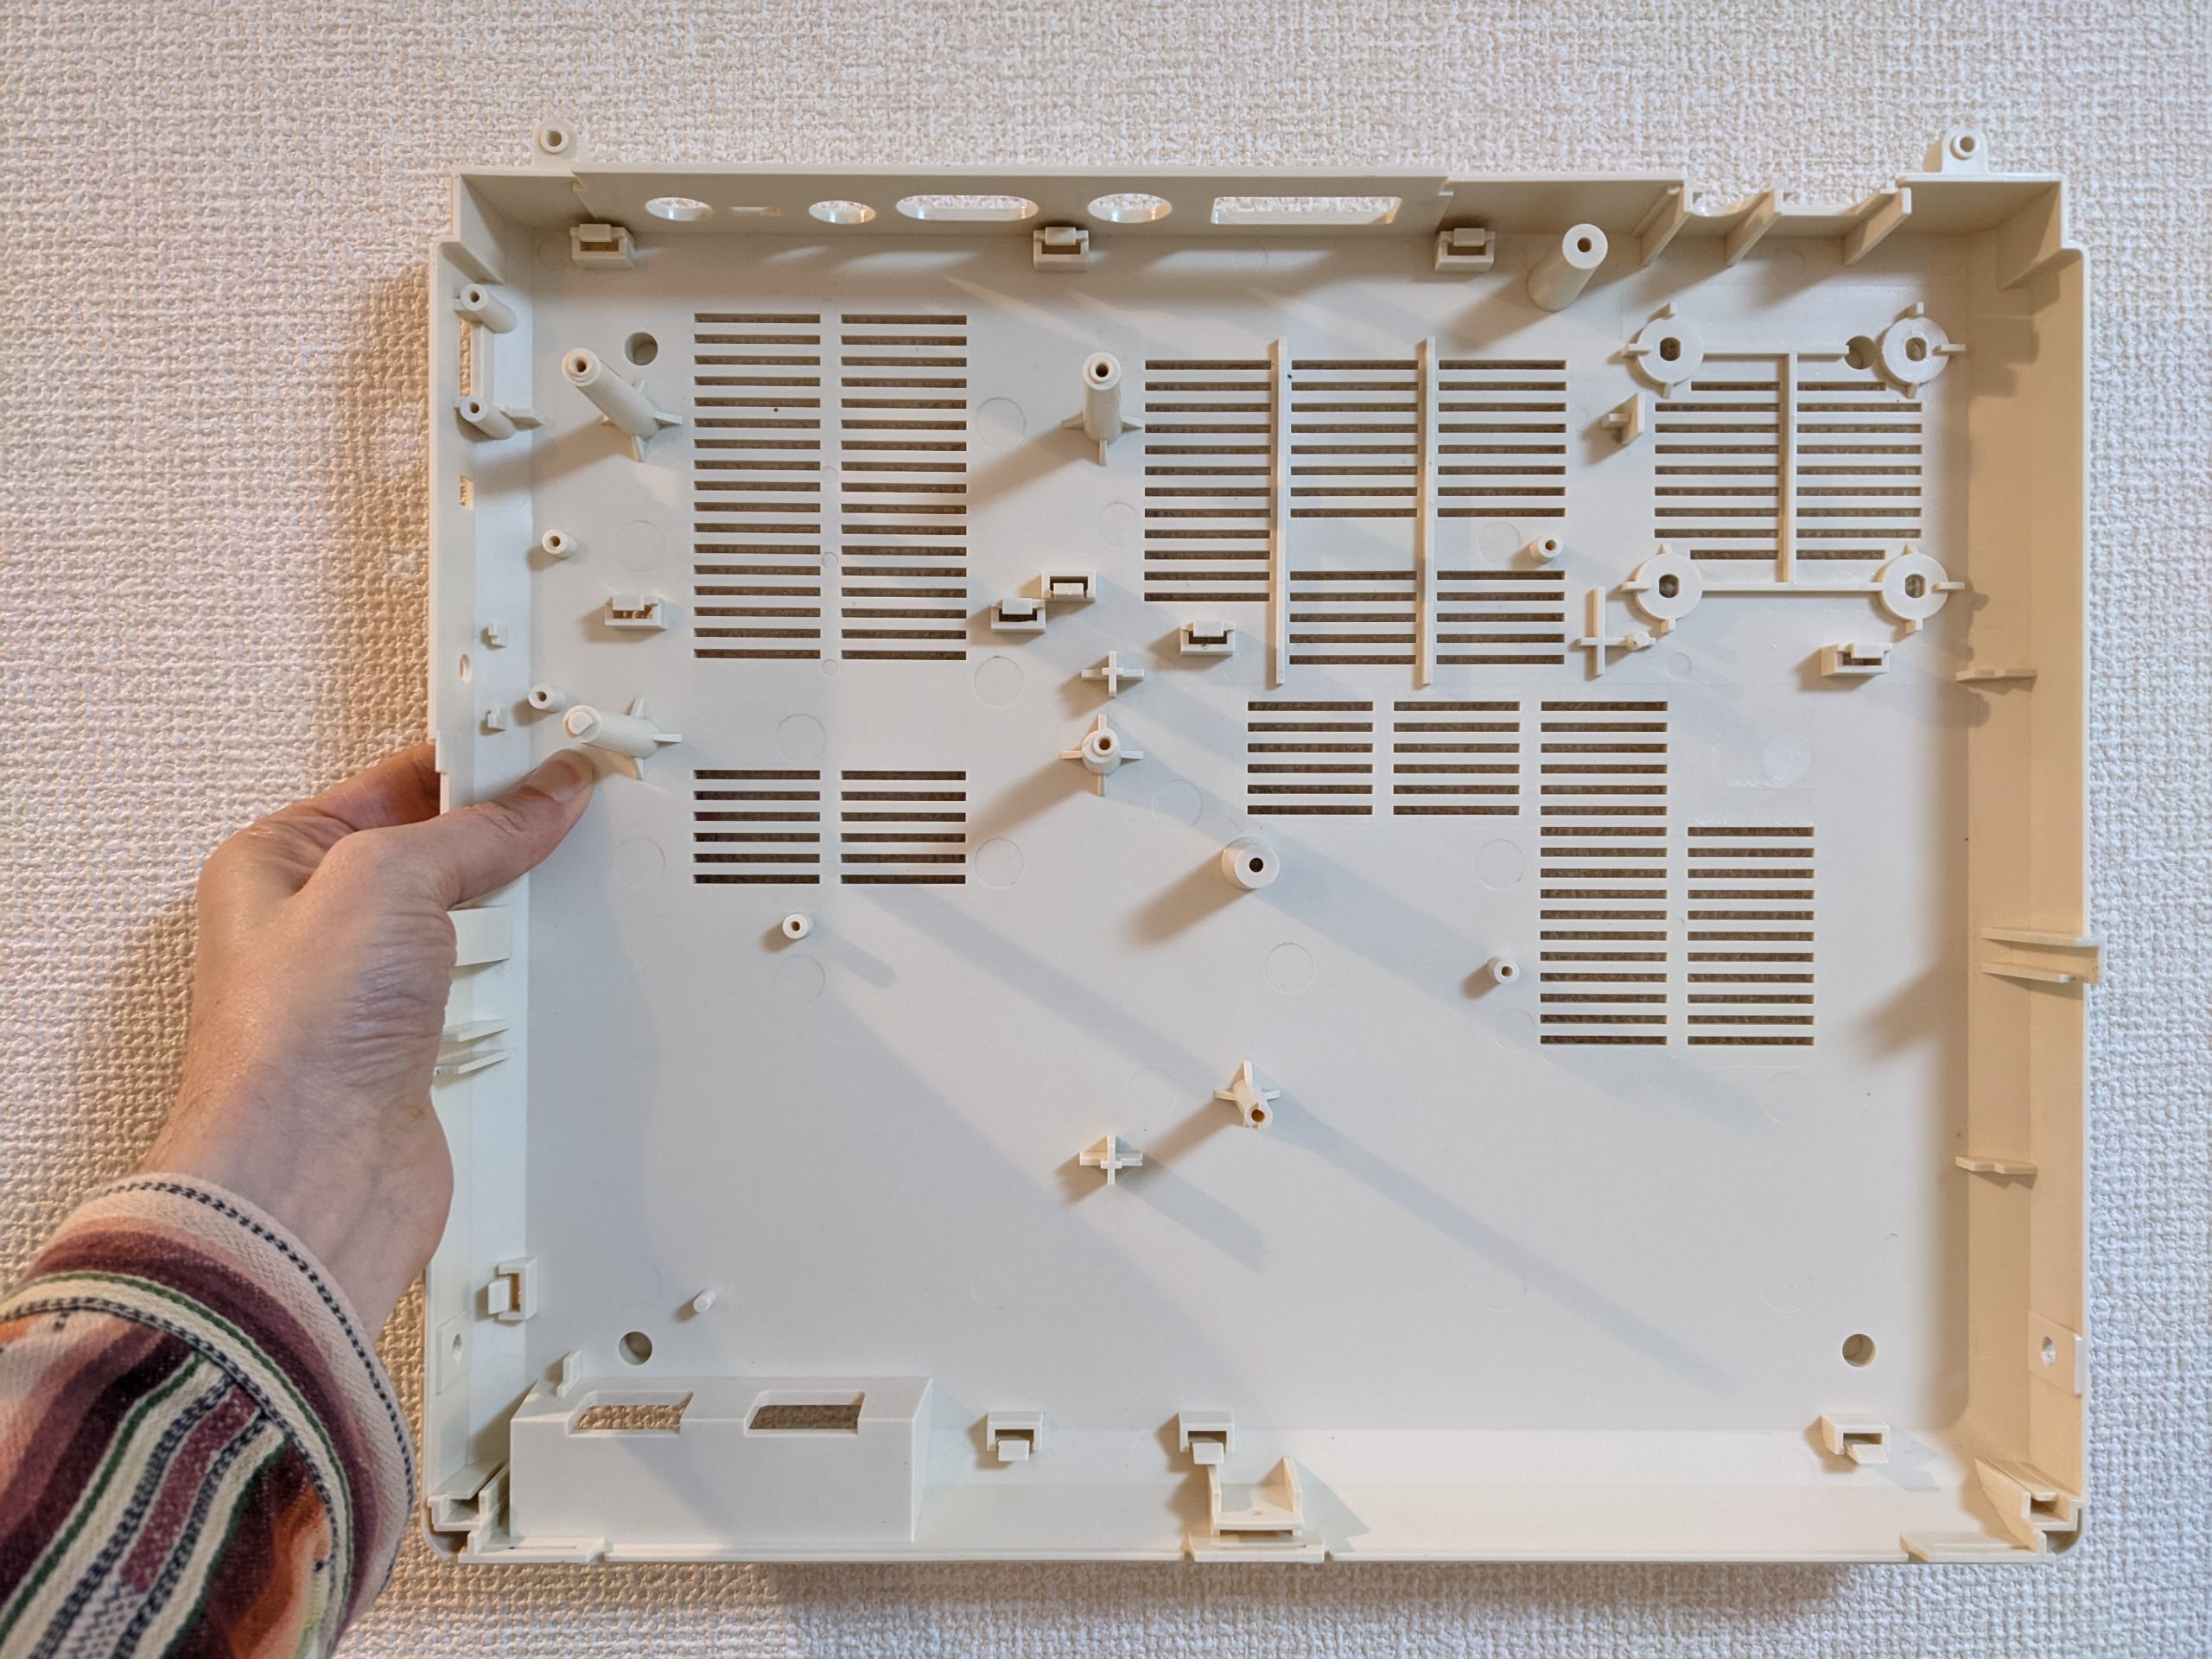
Should have skipped (1) and (3). I normally wouldn’t have done (1) anyway, but I was out of window cleaner. Here’s an after pic:
Finally, the lid had one more cosmetic problem bothering me:
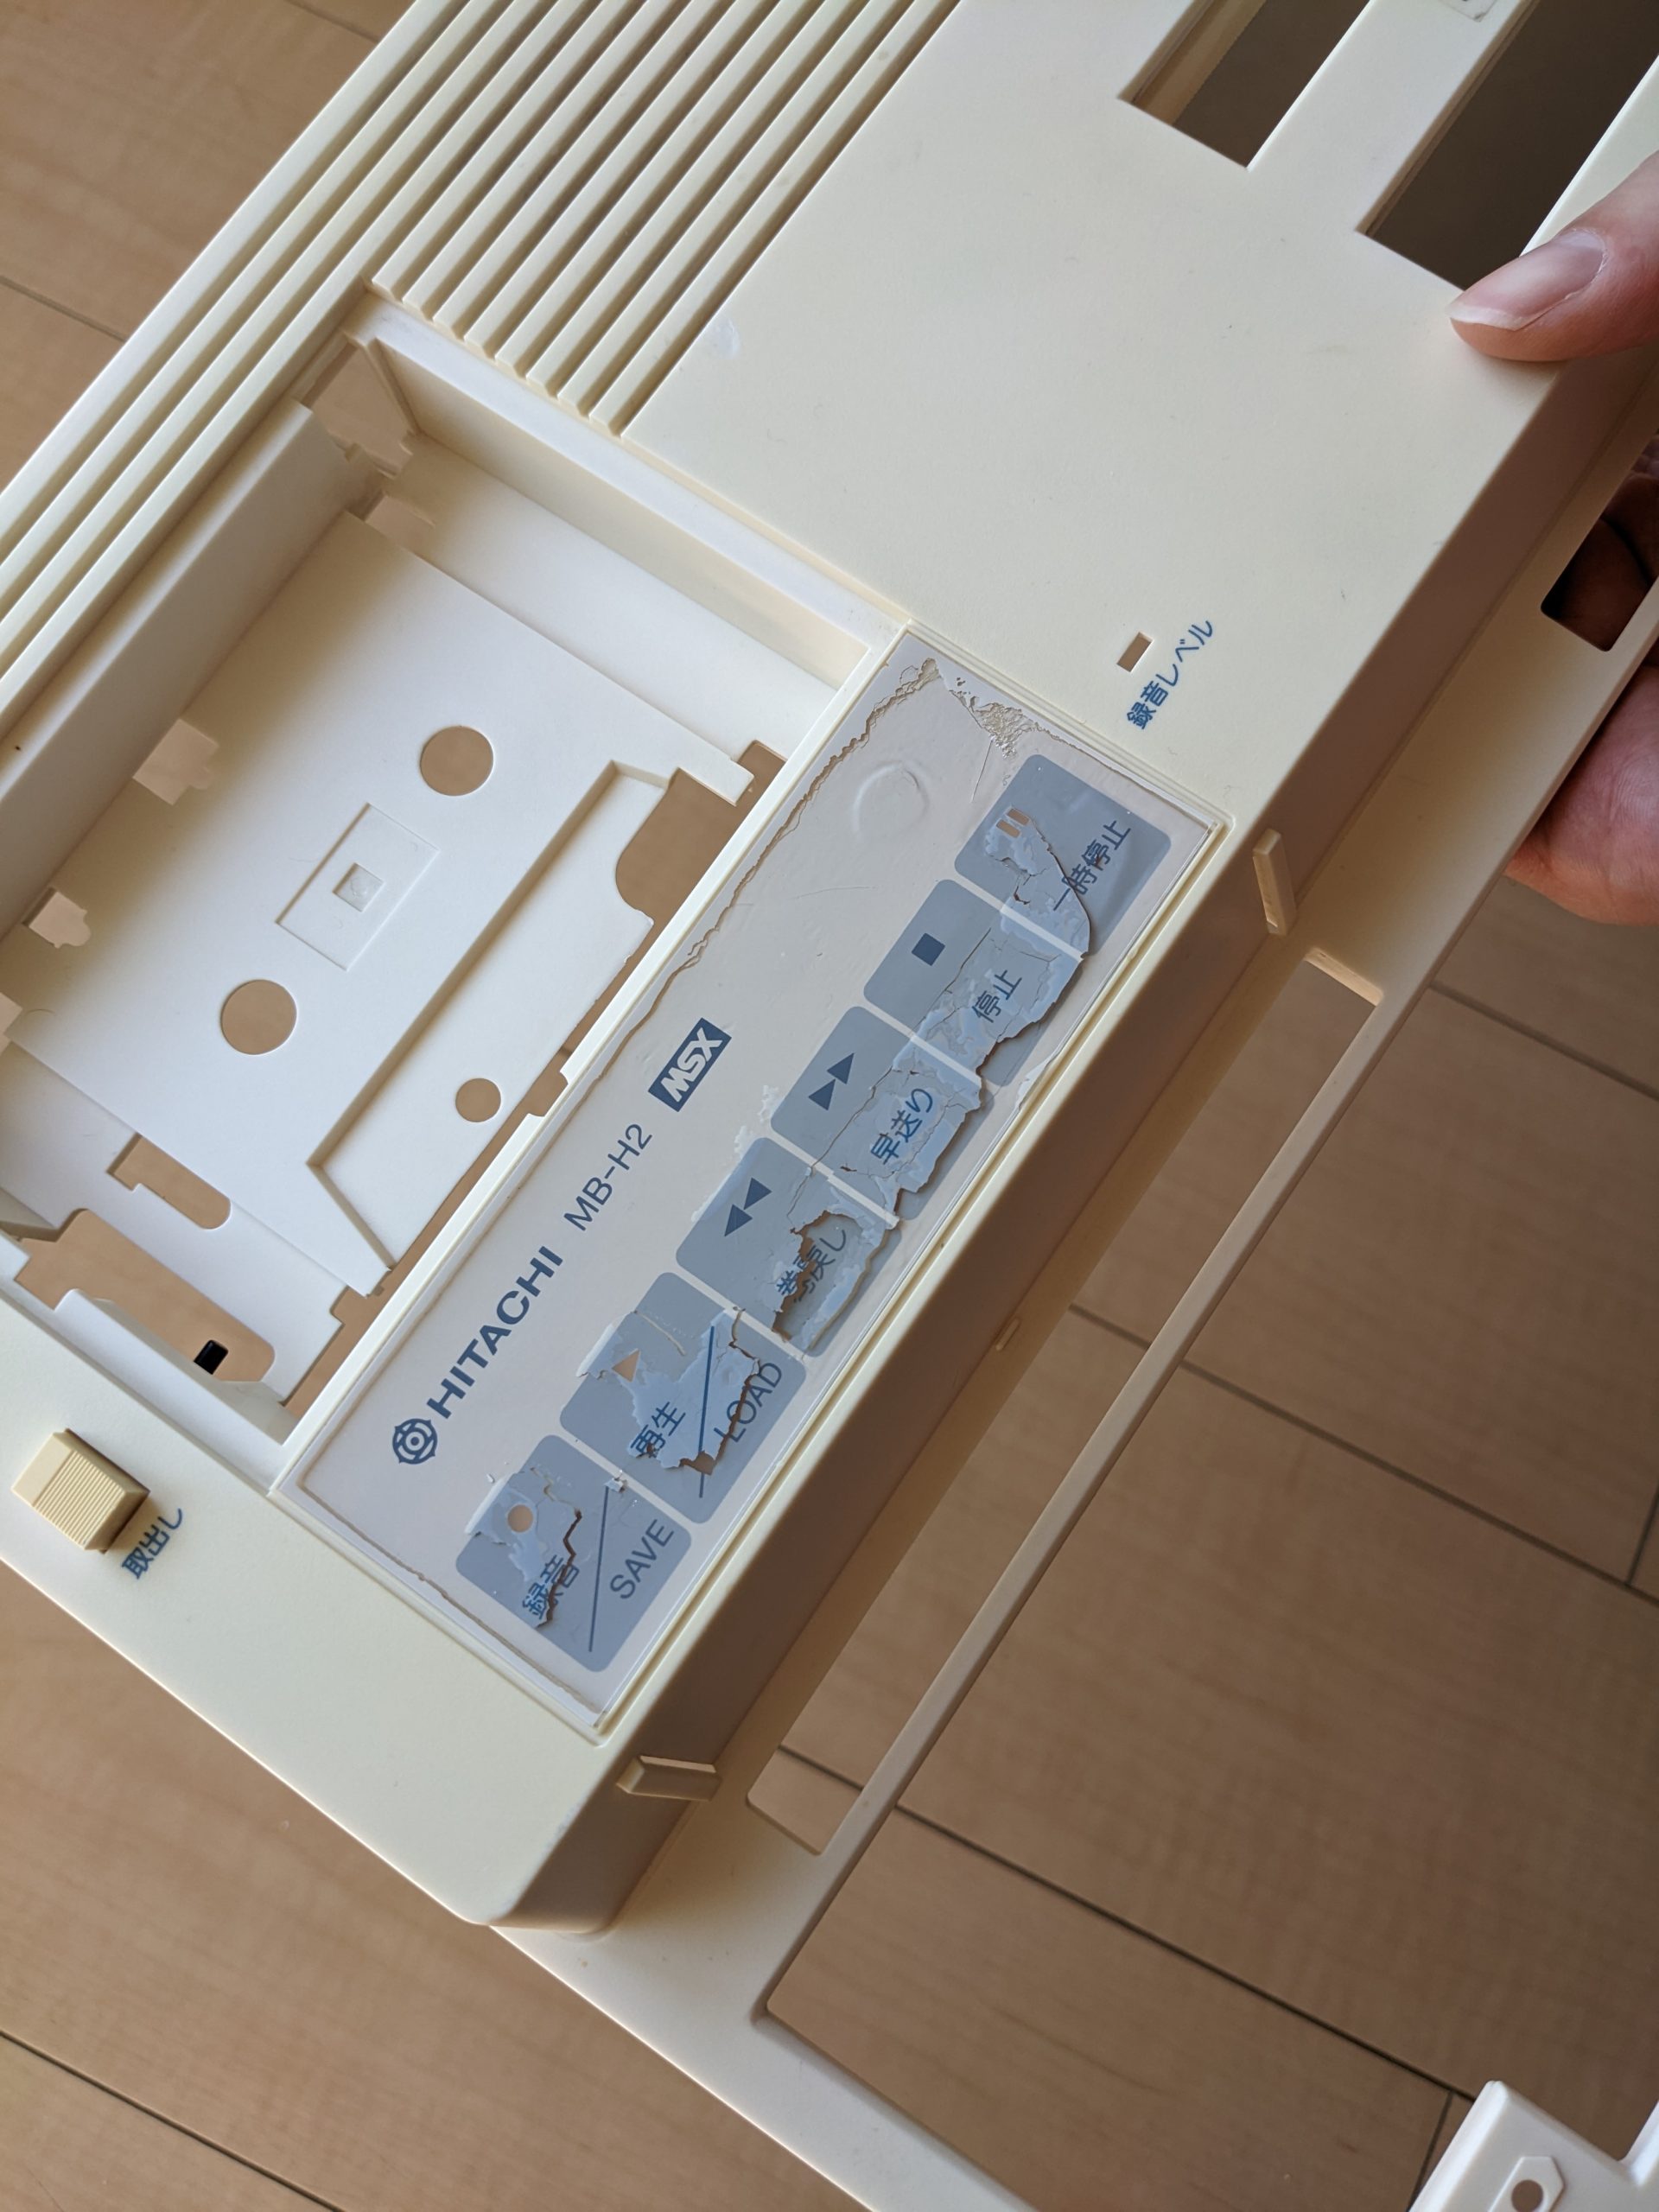
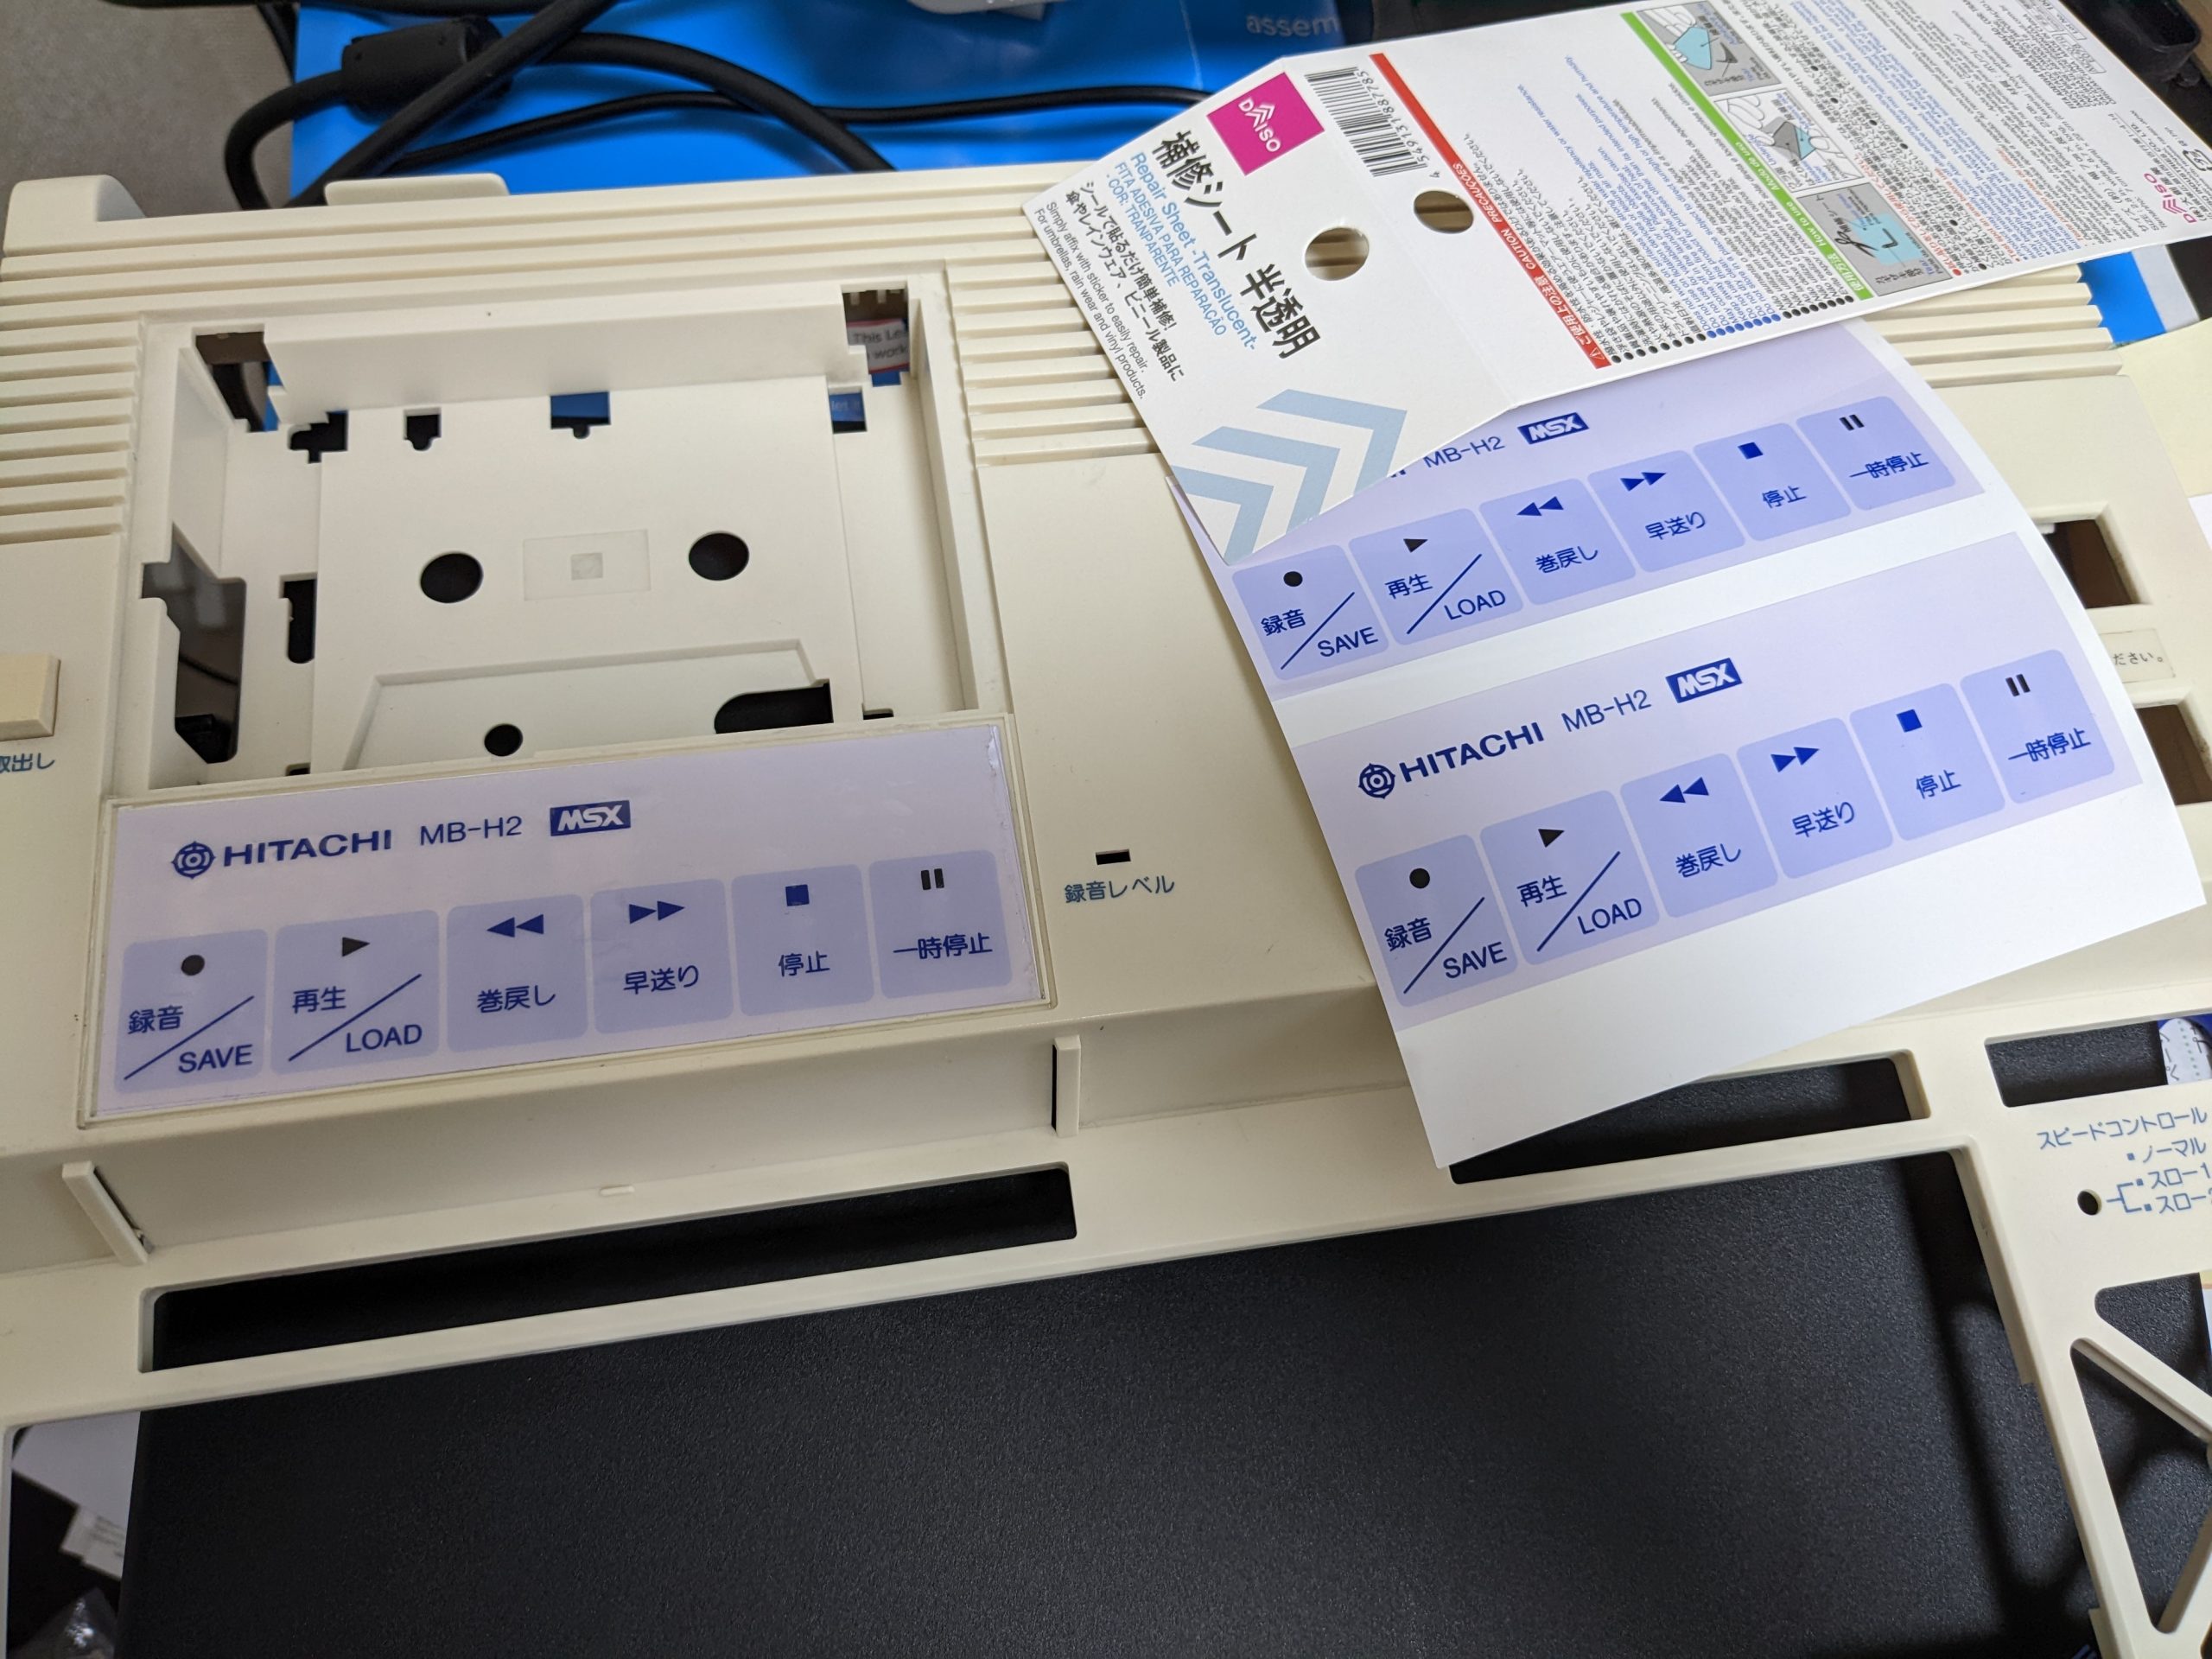
Once the (rather heavy-duty) protective plastic sticker is off (which was easy, just some prying, but YMMV), a very brittle label reveals itself, which I removed using a hair dryer and a cup of patience.
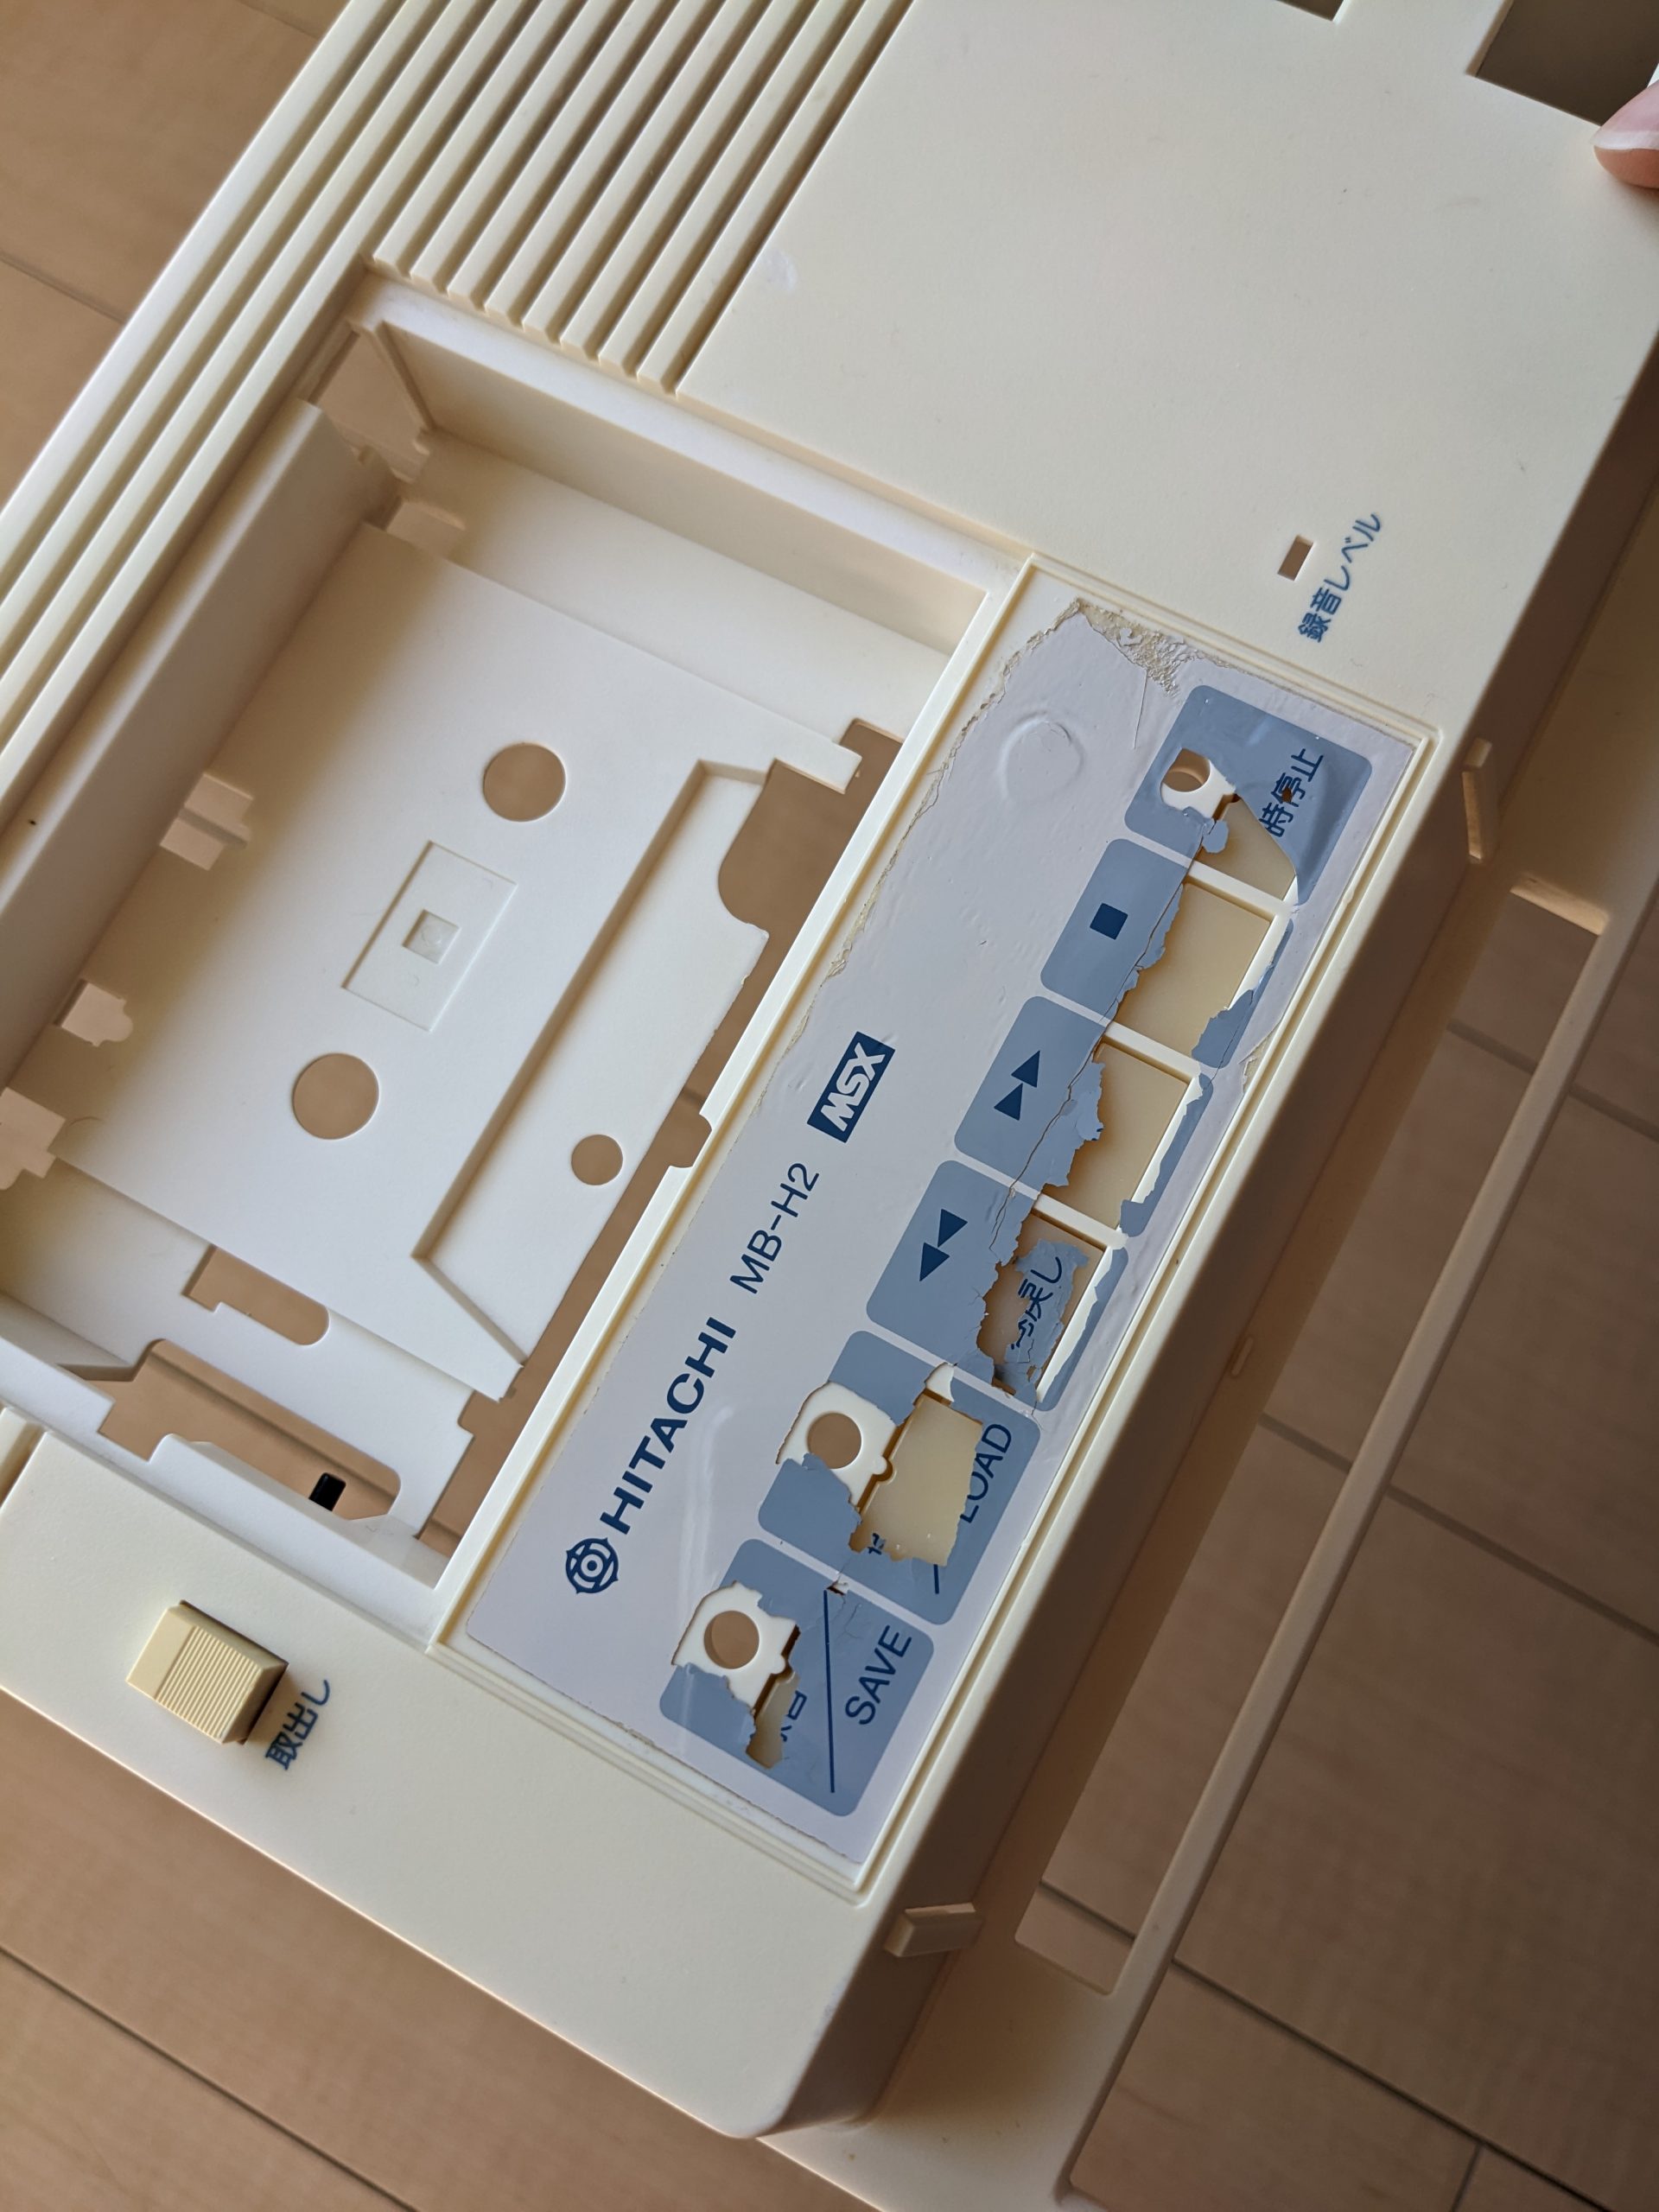
Since my other MB-H2 doesn’t have this problem, I took a high-res picture of the label, traced it in Inkscape, and printed a new sticker. Some parts of the sticker are supposed to be cut out or translucent so you can see an LED shining through. Here’s my Inkscape SVG:

And another version with three slightly different sizes (the top one is the same size as the SVG above):

Japan’s convenience store printers (at the time of this writing) let you print “2L” (127 mm x 178 mm, or 5″ x 7.01389″) stickers, and the above SVG with three different sizes just fits on such a 2L format is just a little too big for that format, though it may depend on the printer and your print margins. Still usable though!
In addition, here are (400 dpi) scans of the two cards you slip into the card holder above the function keys:

The above PDF files should be exactly the correct size; you should be able to just print this on a piece of paper of your choosing without having to fiddle with the print settings. Note: Hitachi used paper that is somewhat thicker than regular office paper, perhaps post card-thick. Note: I am not 100% sure if the dot after “LIST” on F9 is supposed to be there. I believe that the Hitachi MB-H1 (and perhaps other variations) used the exact same cards.
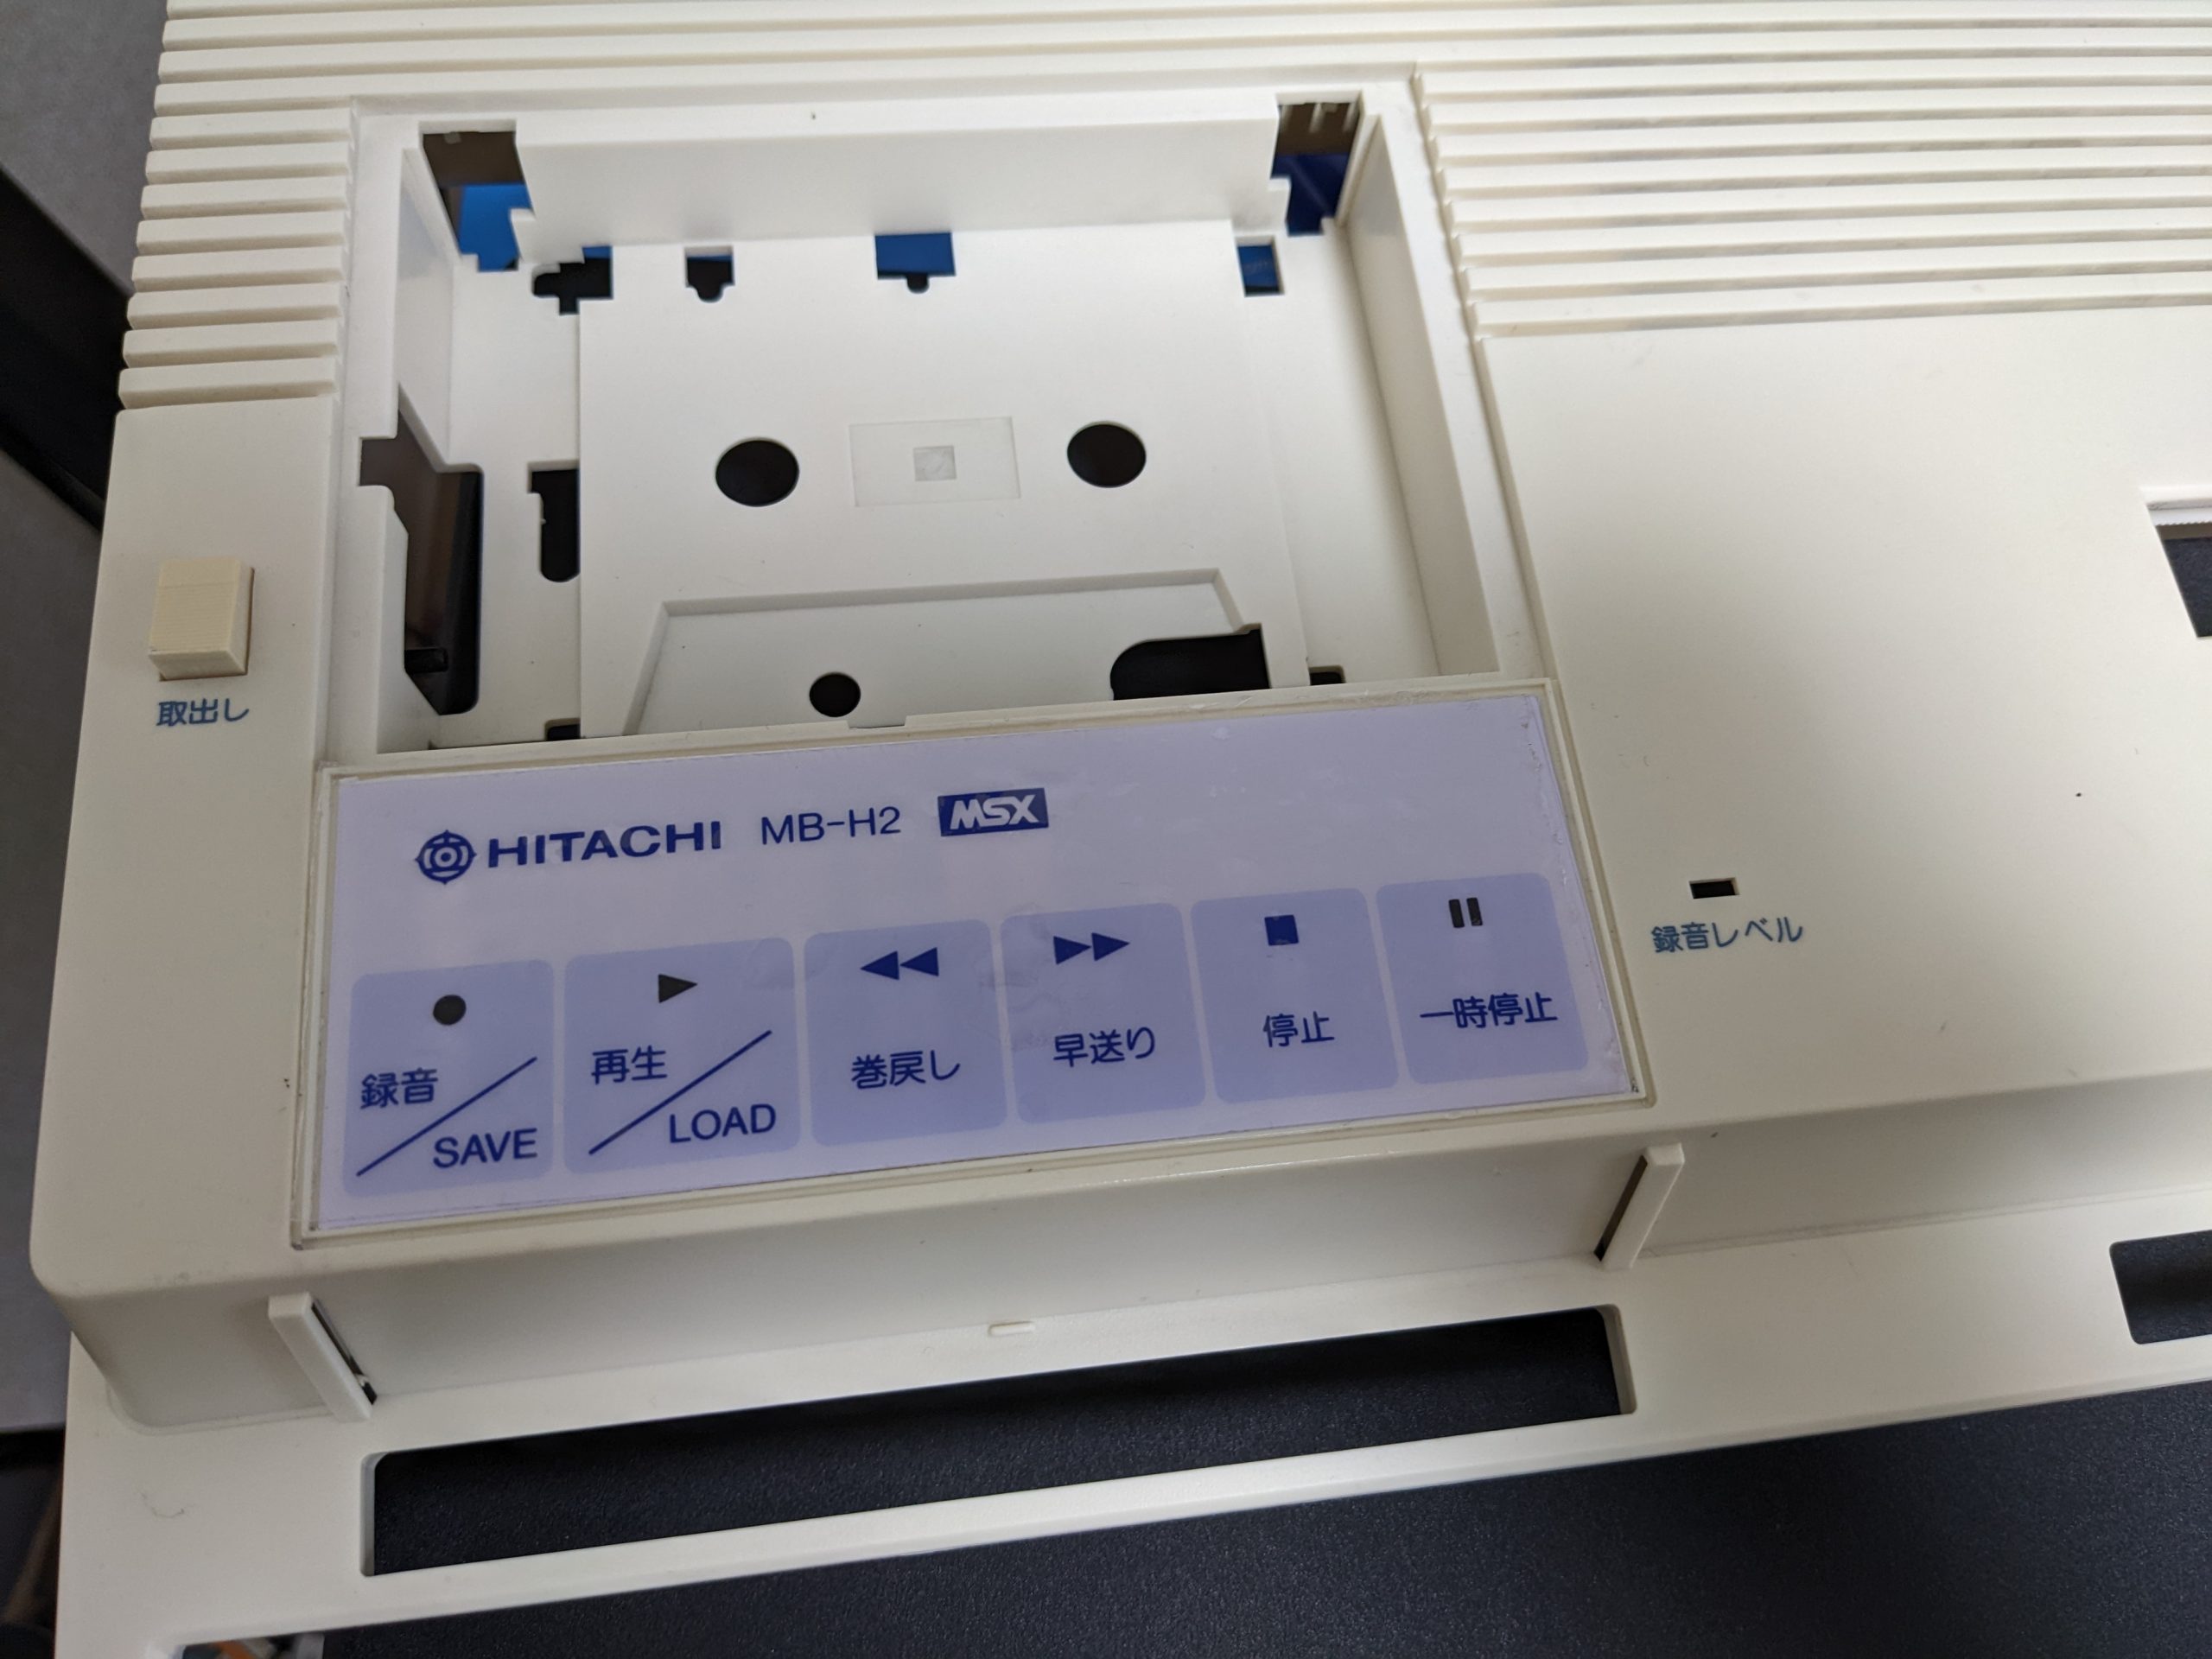
And here’s the finished lid. I had some stickers lying around that are very easy to remove, and used those as my base, and printed my label on regular sticker paper at a nearby convenience store. I also put a slightly thicker semi-translucent sticker on top of that. (I probably should have kept the original heavy-duty translucent protective sticker, oh well.) Unfortunately the colors don’t quite look the same as the original, but they look believable, which is all that counts, right? (And maybe they’ll look closer in a few years.)
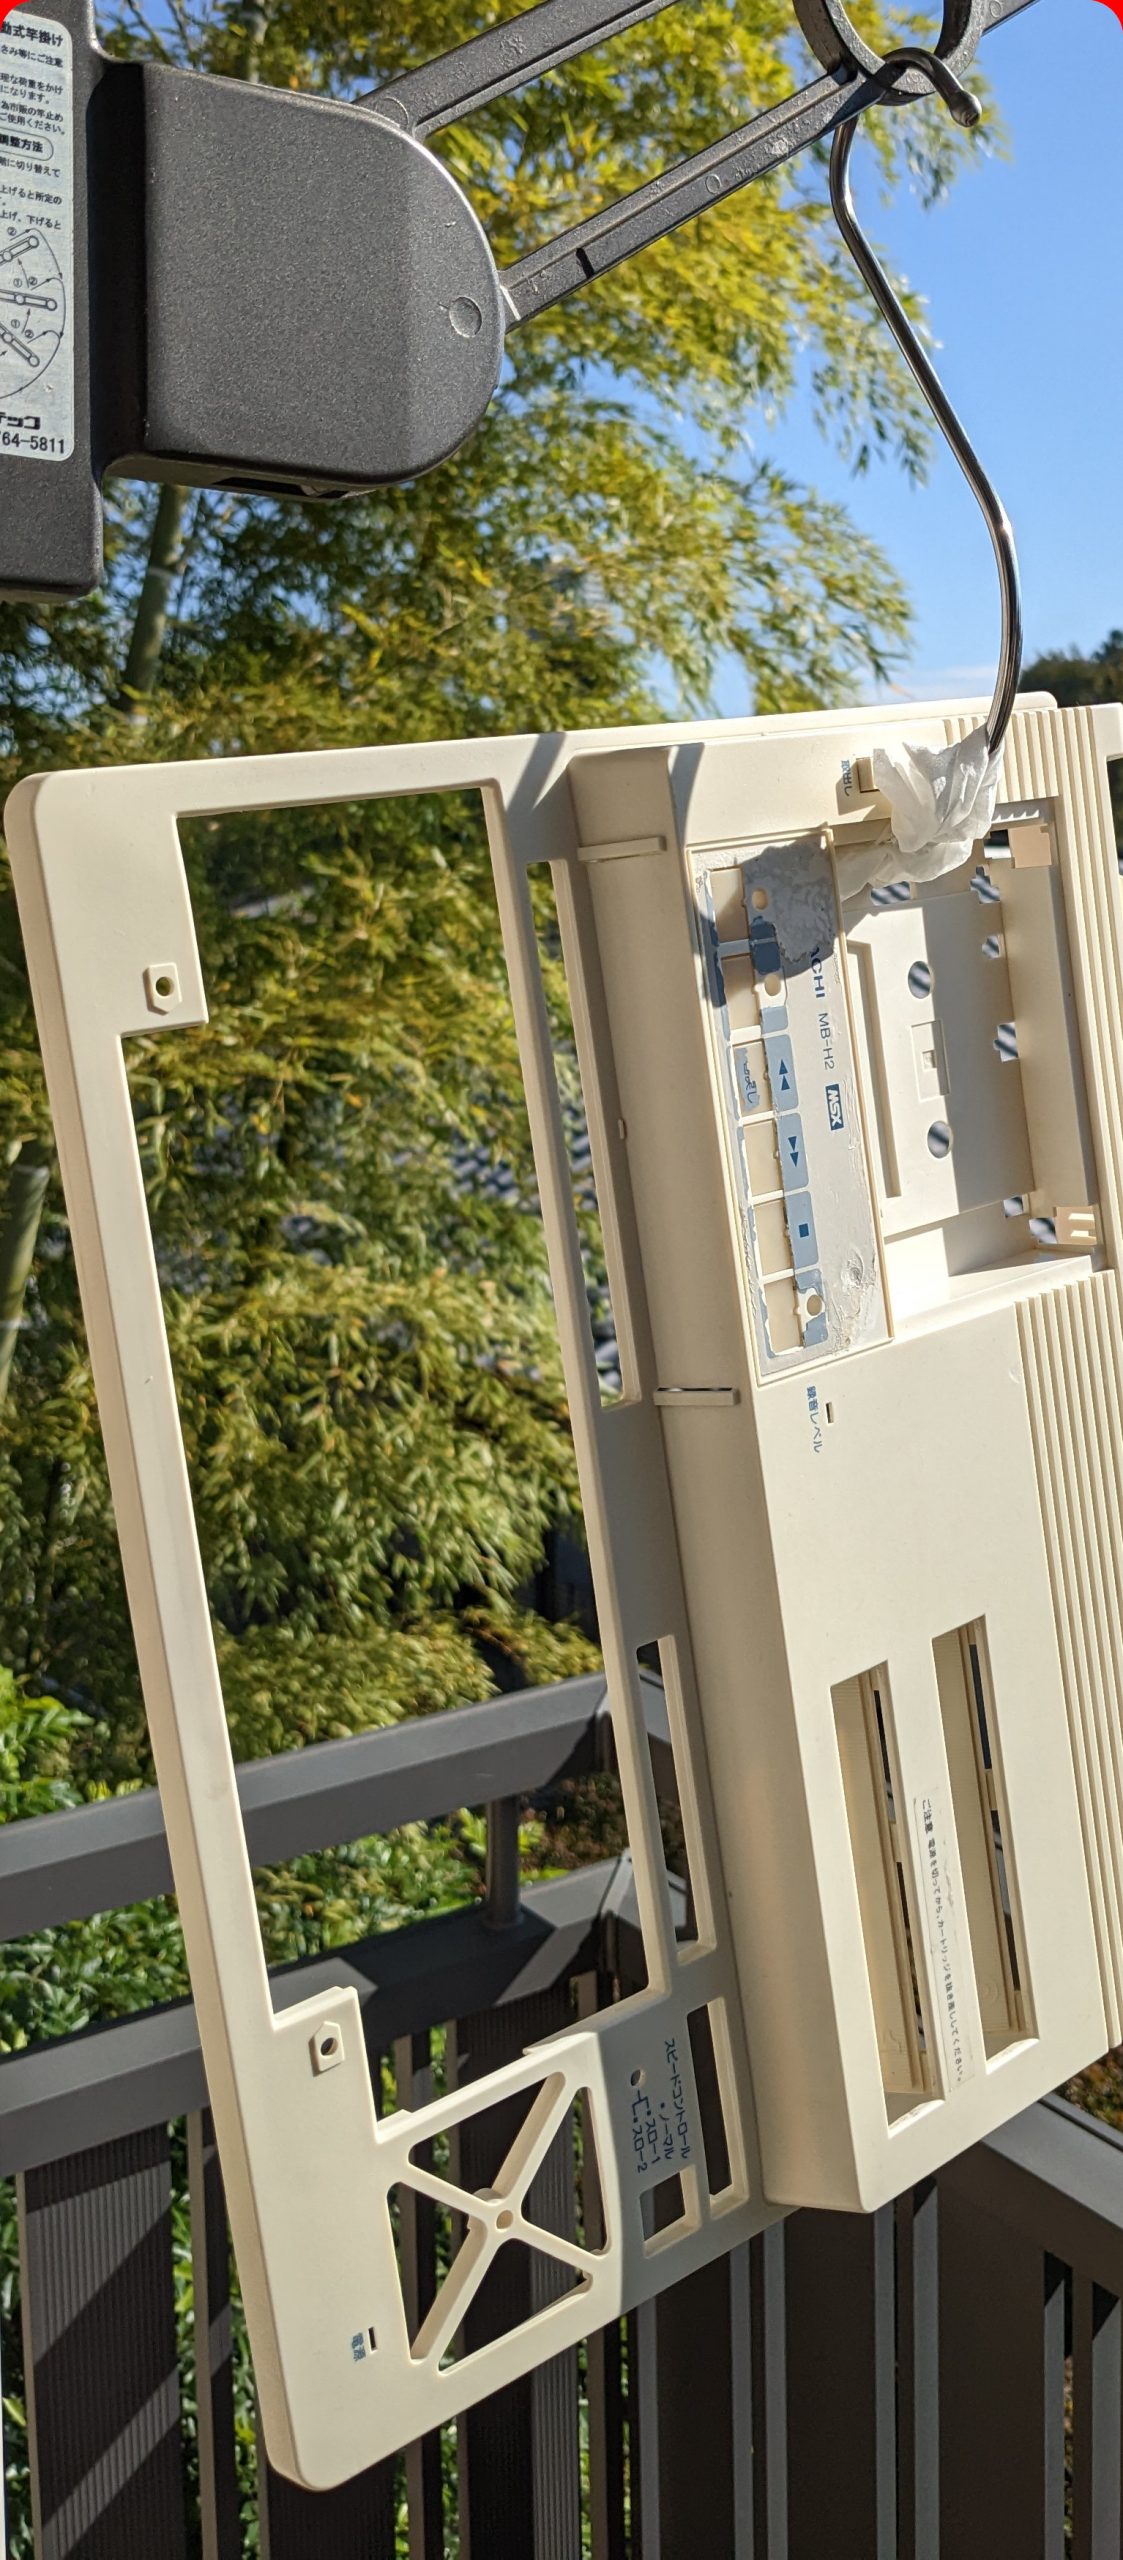
I also did some “dry retrobrighting”. In the below picture, I had left the top lid hanging in a very sunny spot for multiple days (until I no longer thought it was getting better), and hadn’t applied any intentional retrobrighting to the case’s bottom part. You can just see that the lid’s plastic is a little brighter than the bottom part. (It looks more pronounced in real life, you’ll just have to trust me on that though.)
Manual
I scanned the manual using a book edge scanner! I didn’t scan the vast majority of the book dealing with how to program in BASIC because that part is almost identical to what’s in the manual for the H1, available at https://archive.org/details/Hitachi_MB-H1_documentation/. (Except for occasional explanations of H2-specific features, such as “CALL HCOPY”.)
I did scan the parts of the BASIC reference detailing the cassette-related keywords, though. I also scanned the pages detailing the monitor commands, only later realizing that the H1 has these pages too. There are some differences though, so phew I guess.
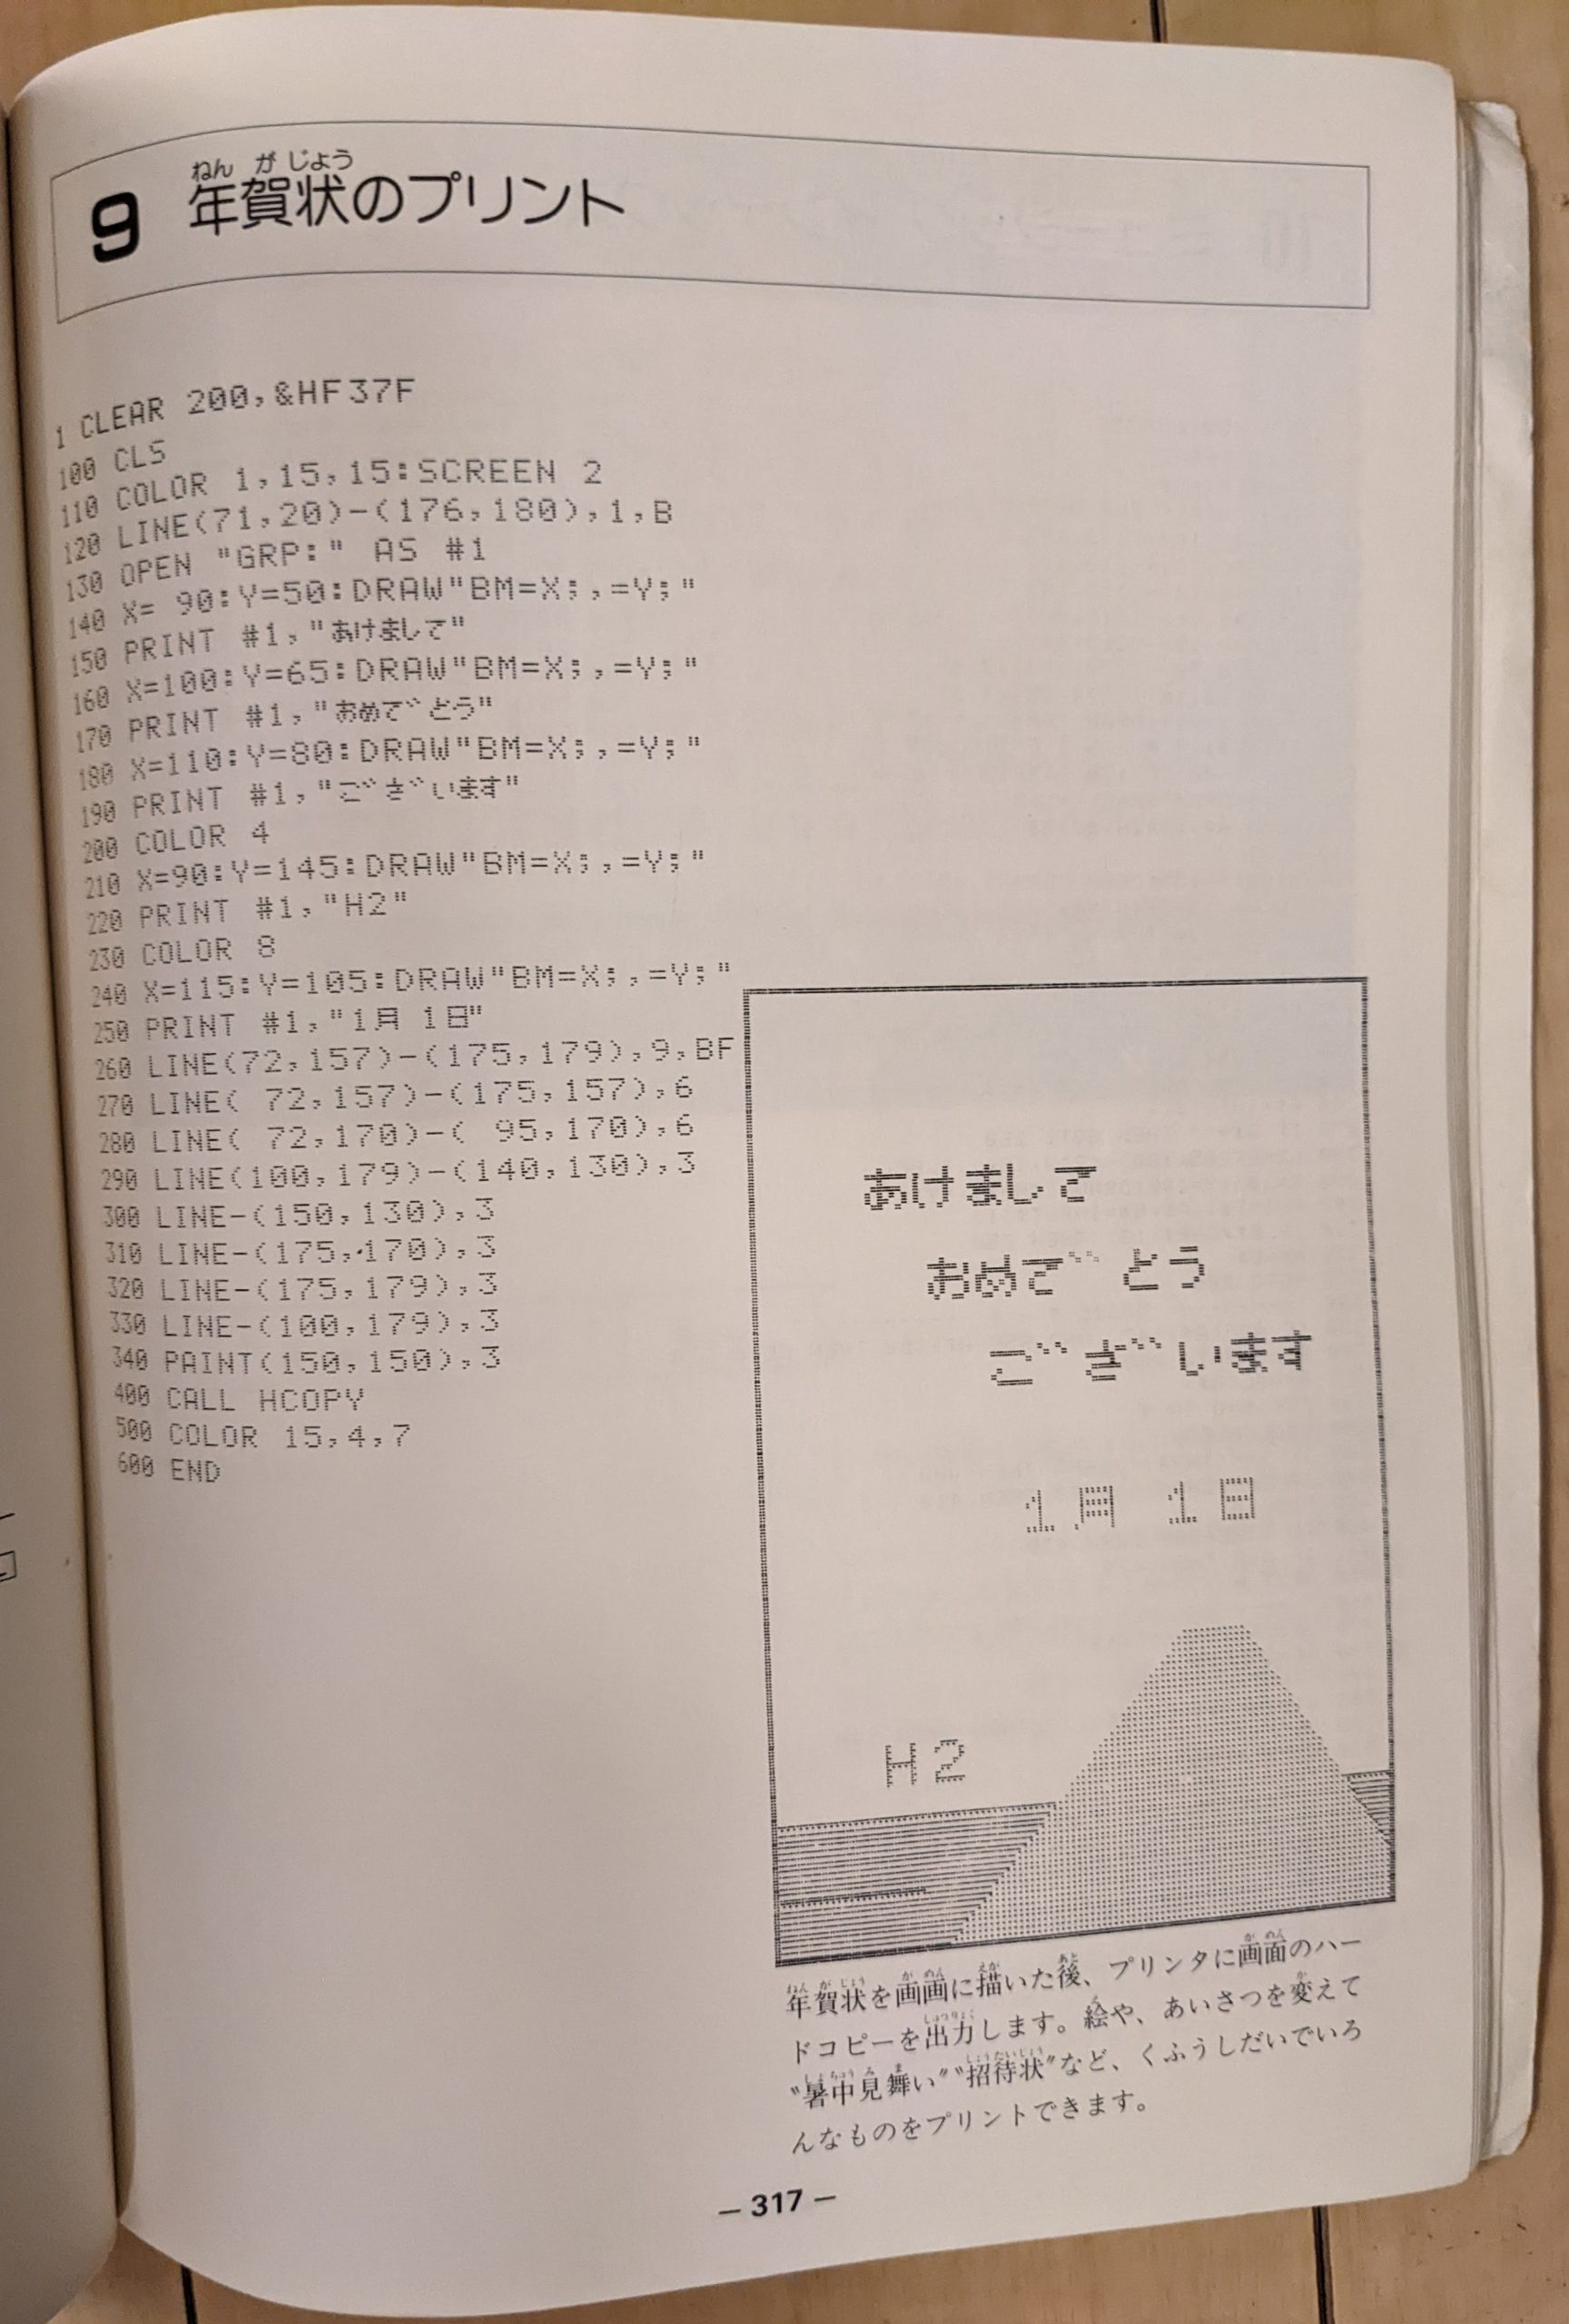
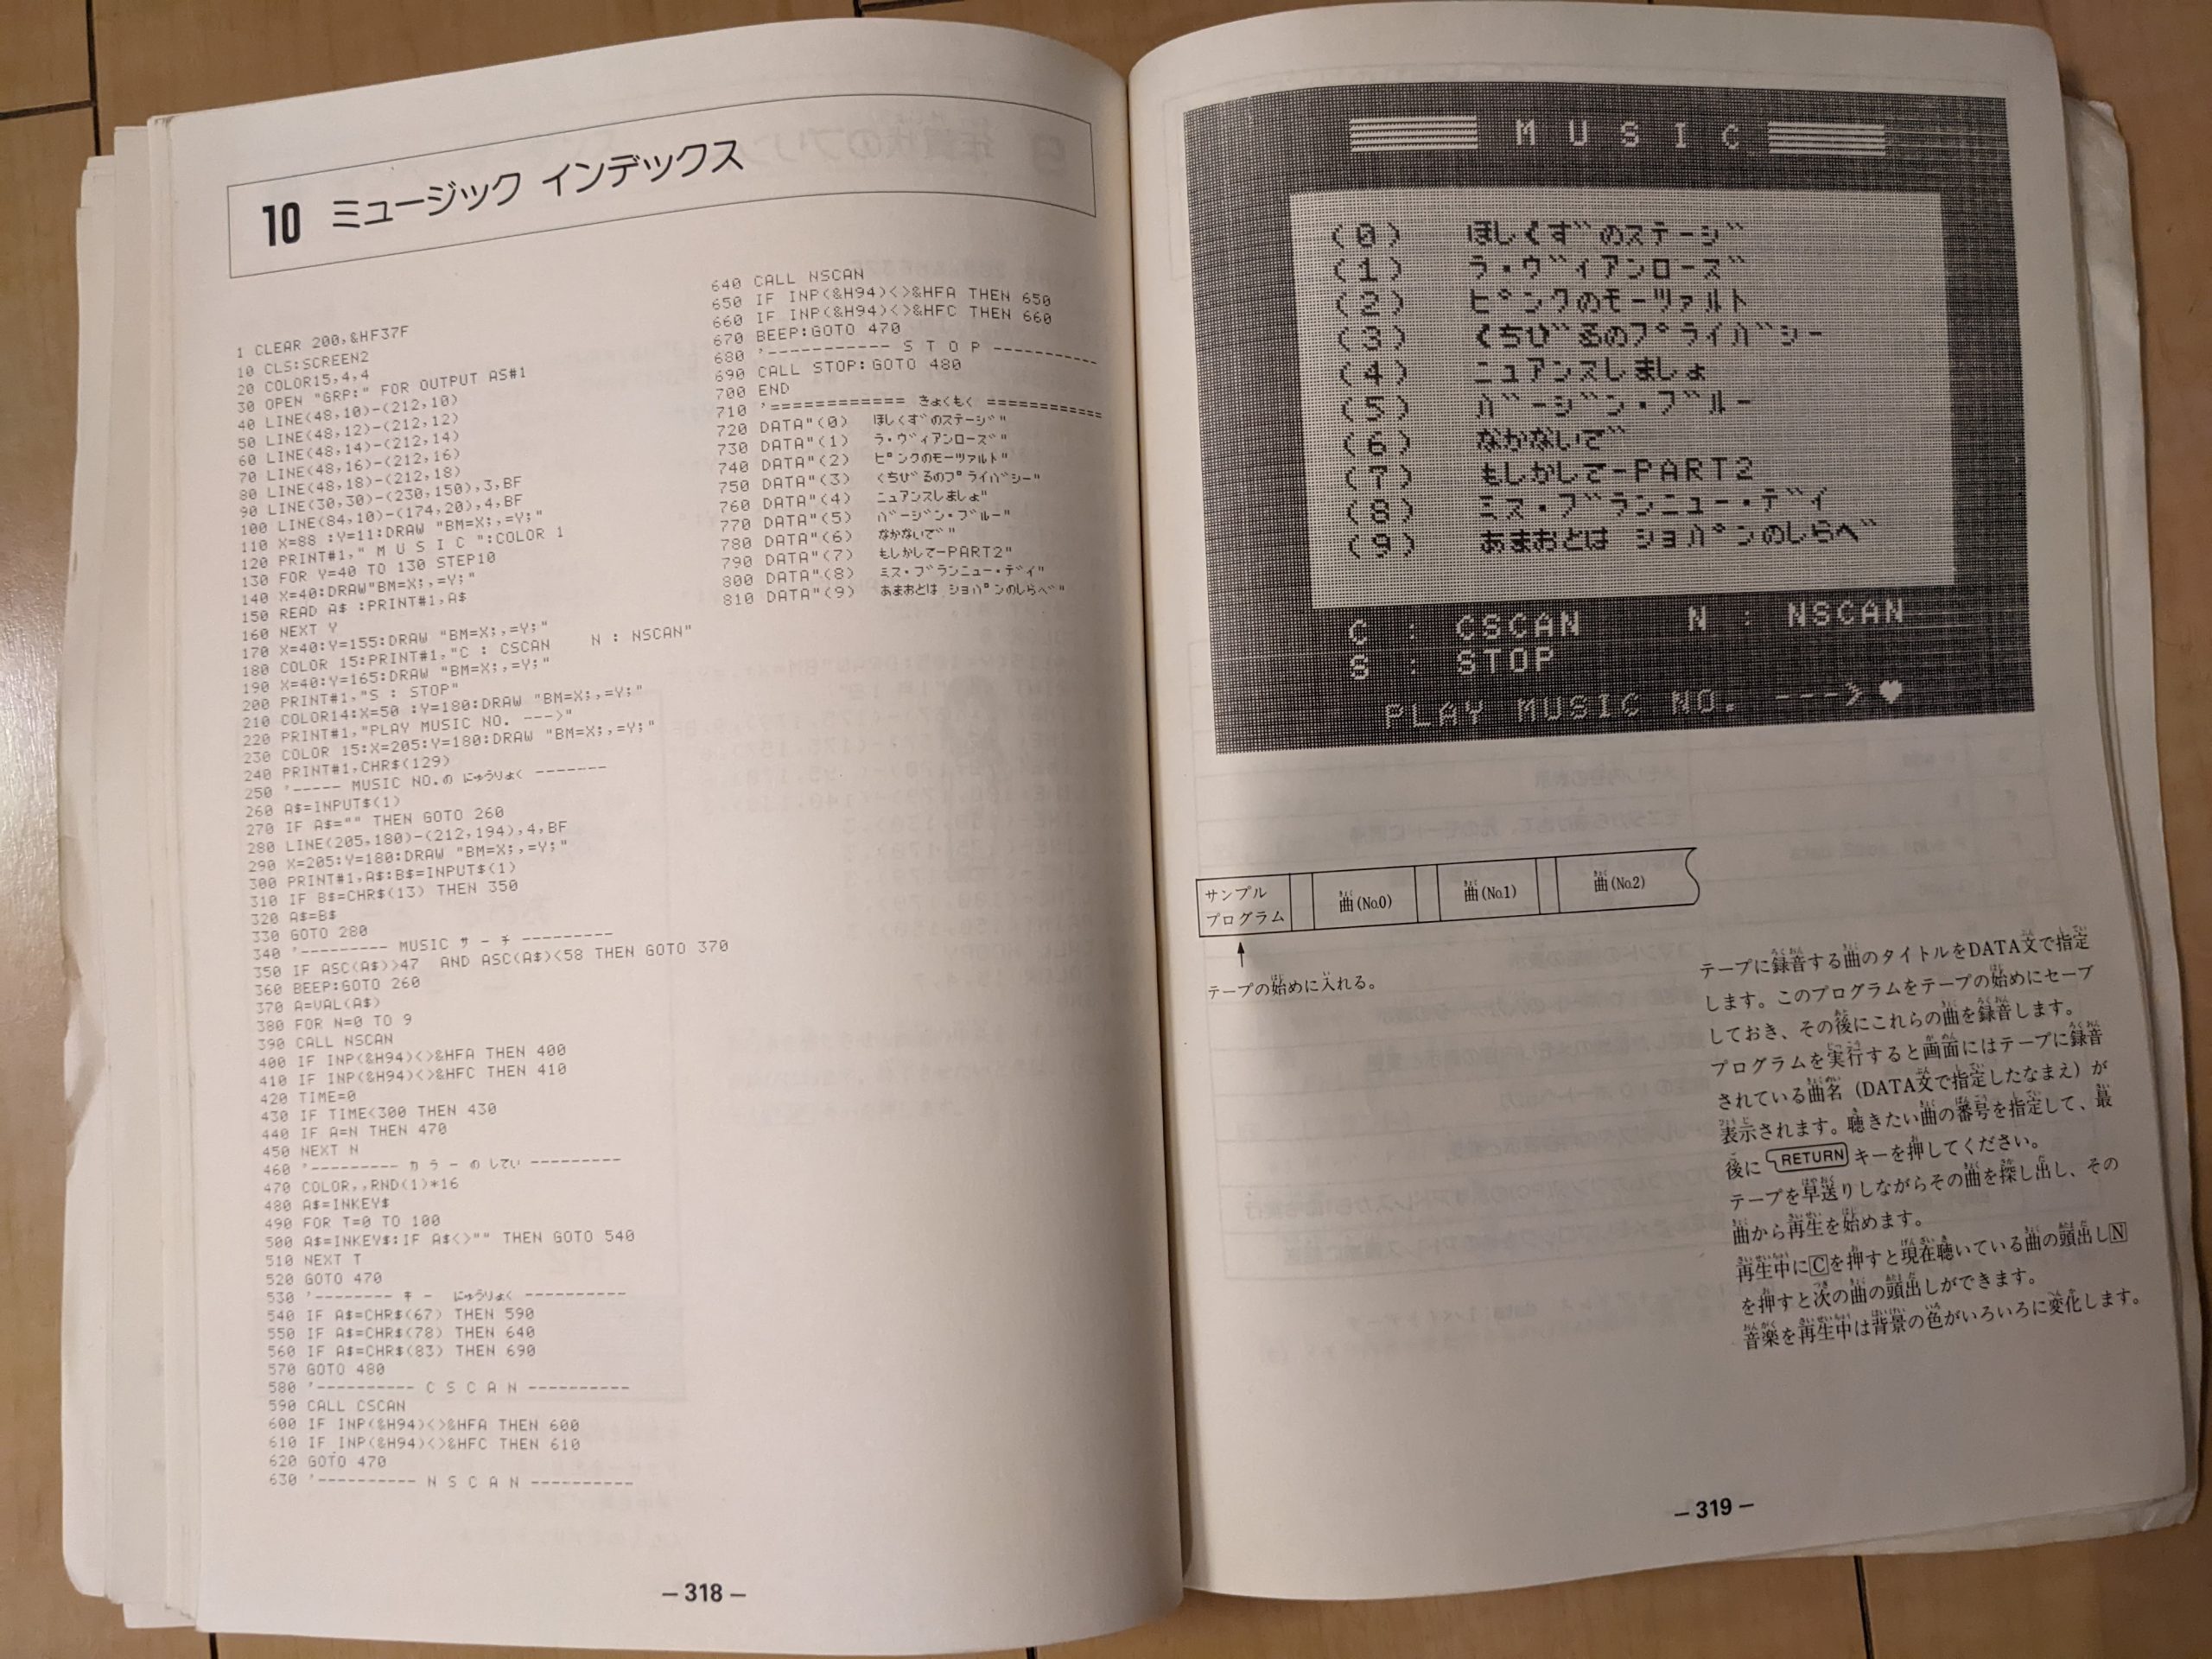
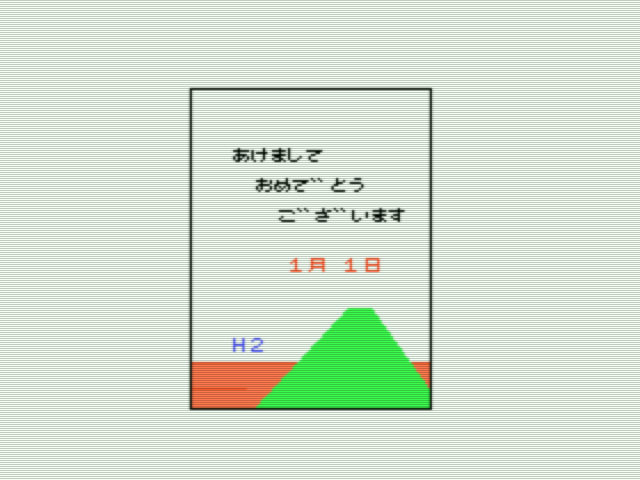
I only just now realized that the manual for the H2 contains two extra sample programs not included in the H1’s manual. I didn’t include them in the PDF but since they are cute, here are pictures: