Introduction and conclusion
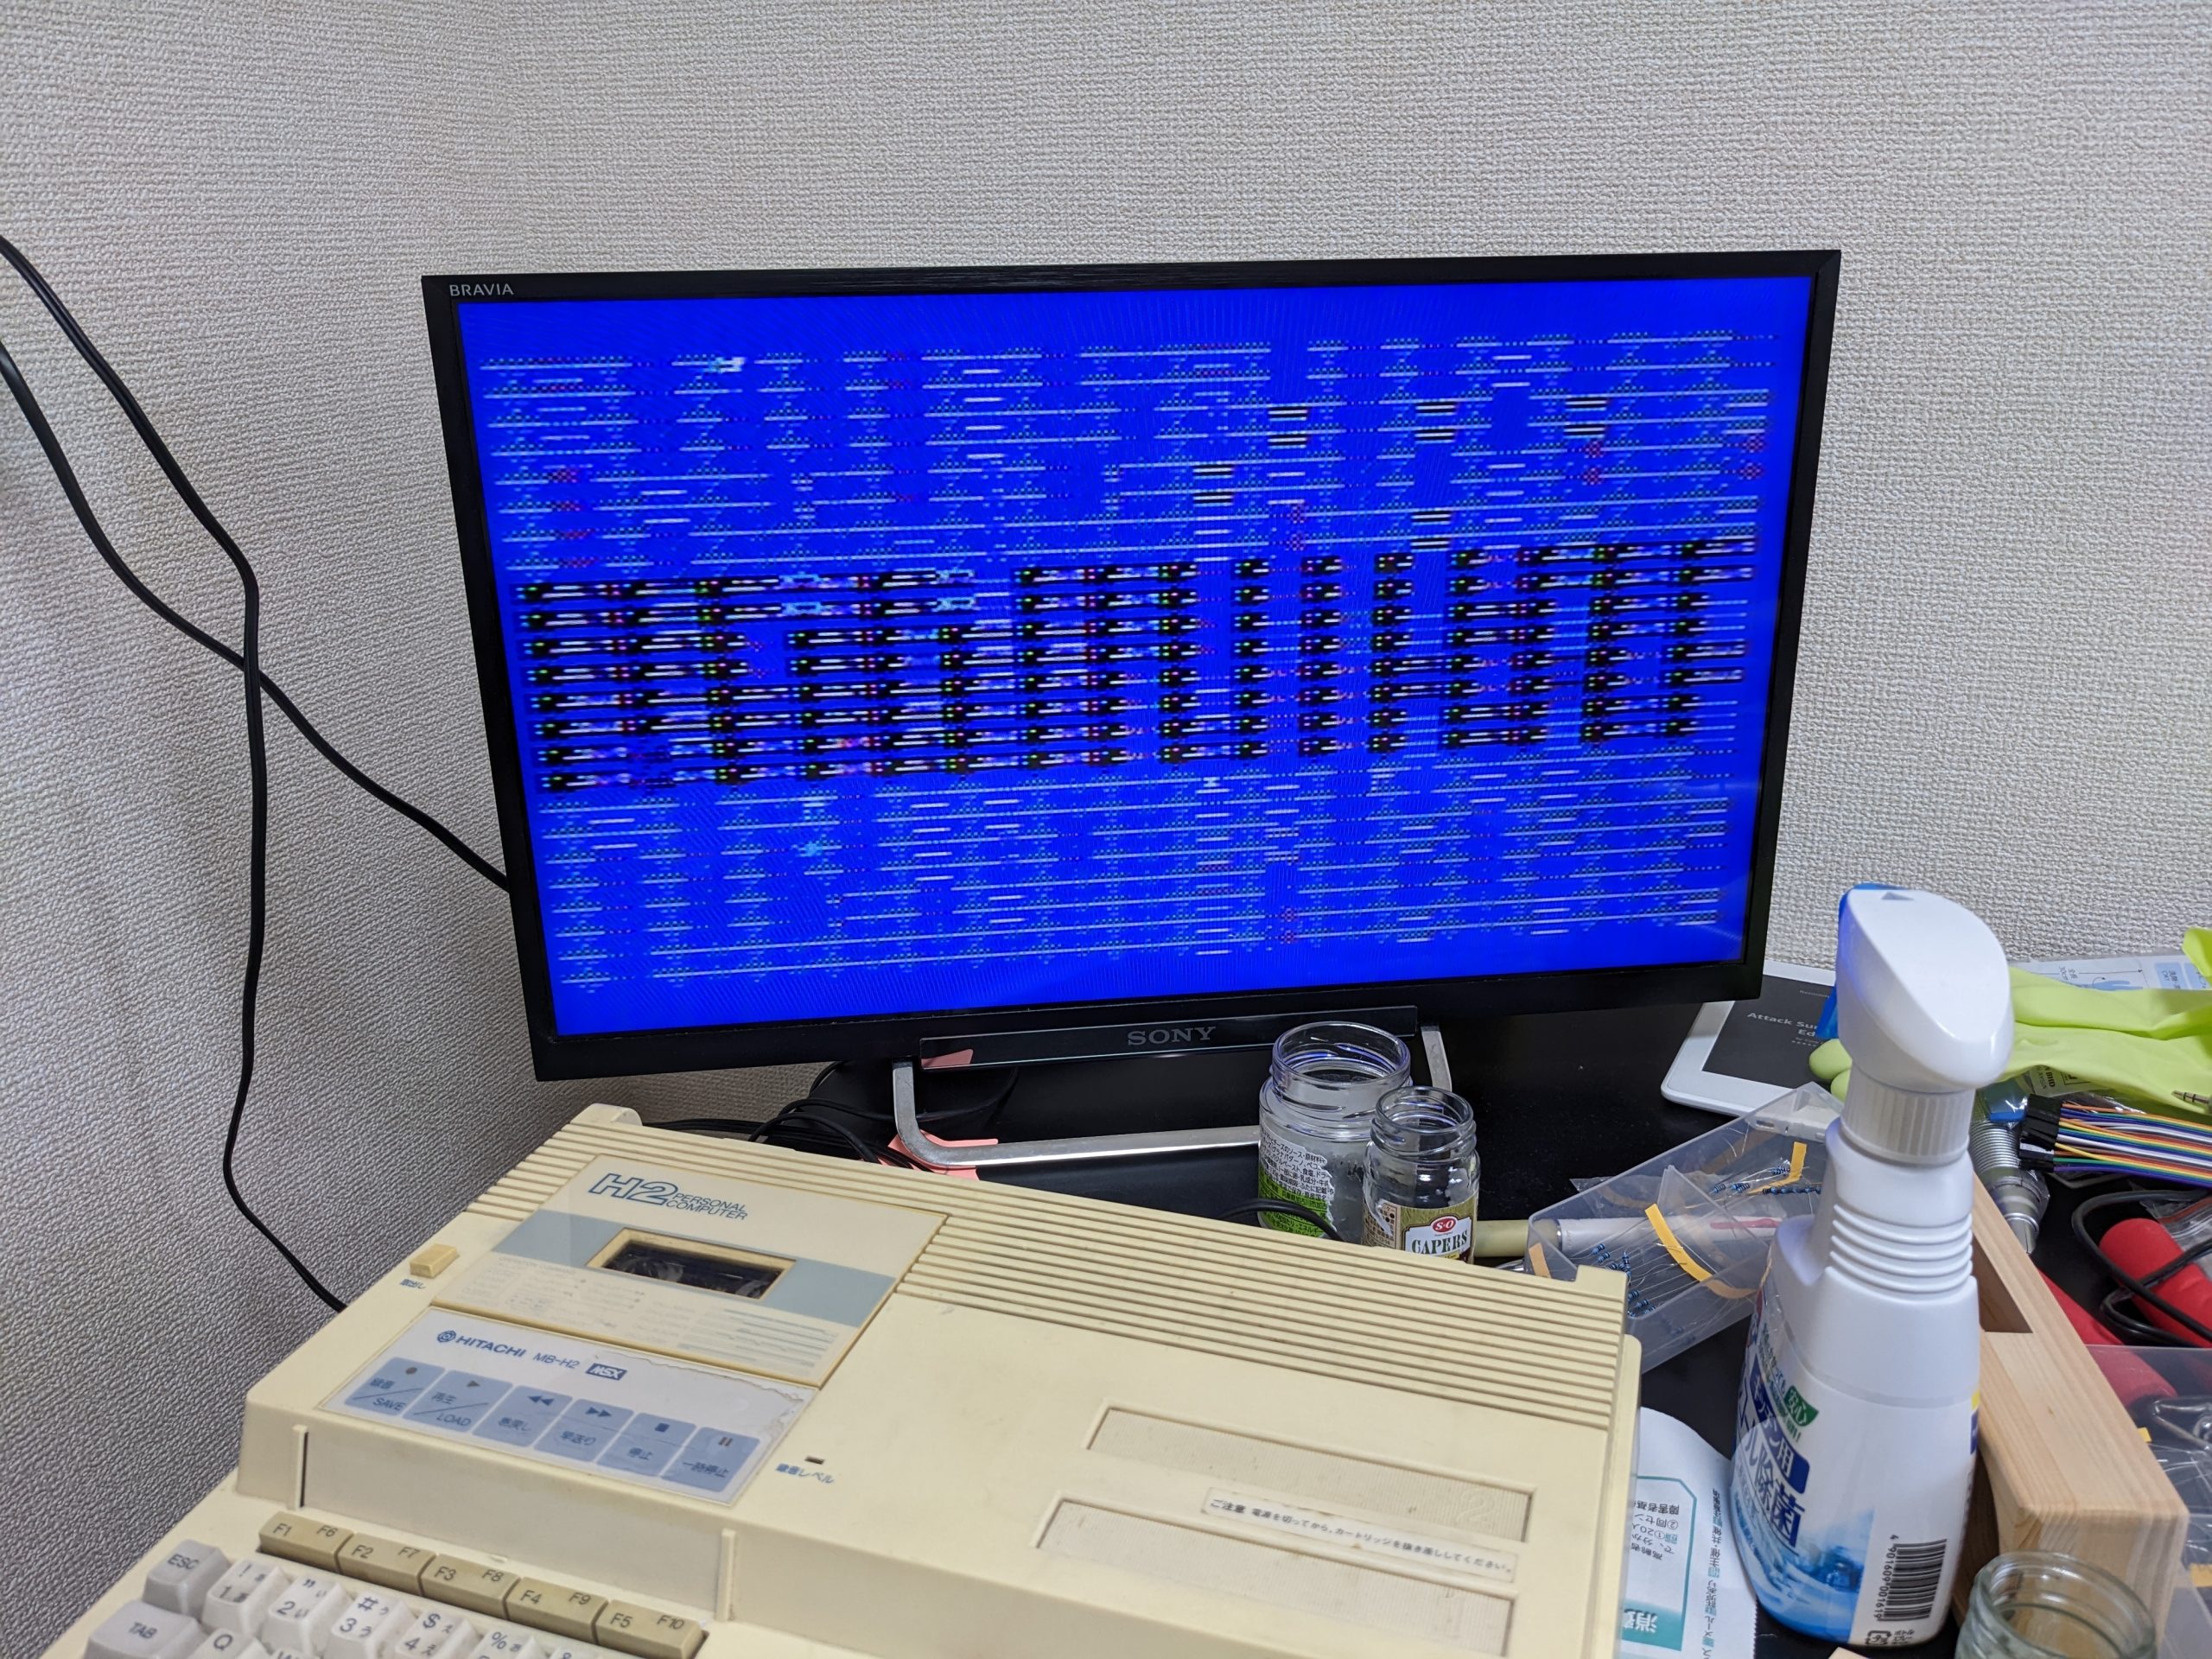
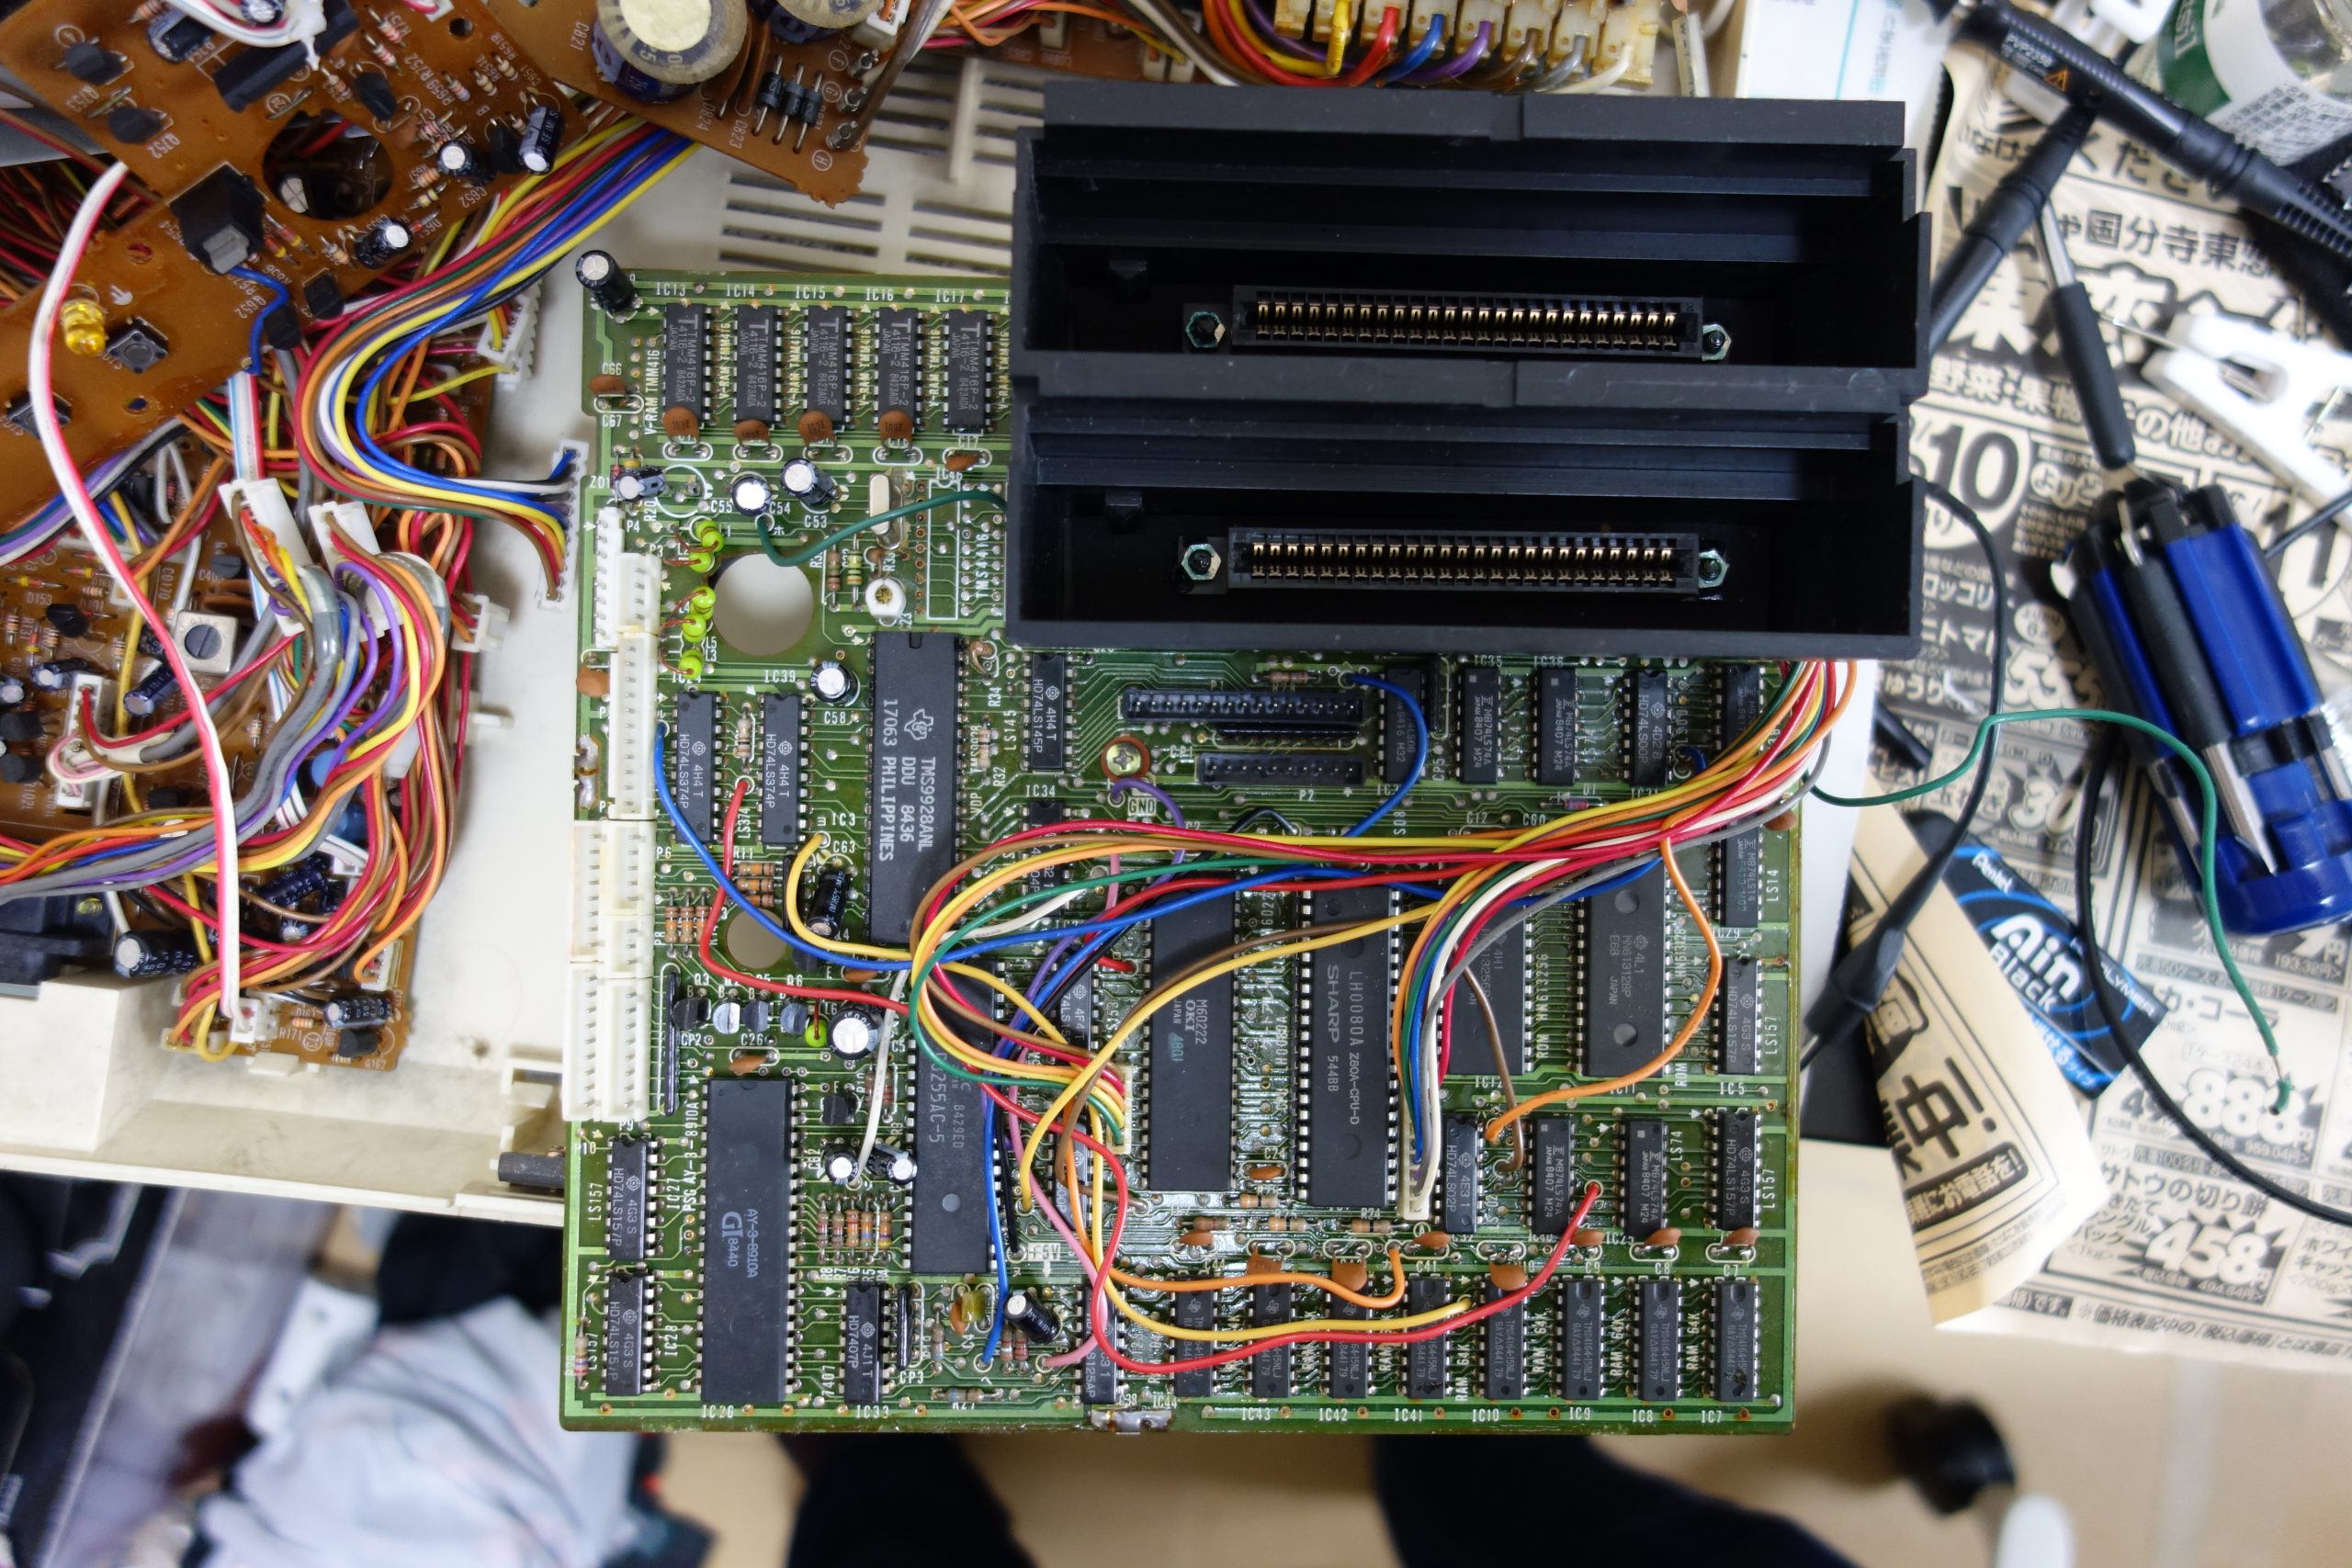
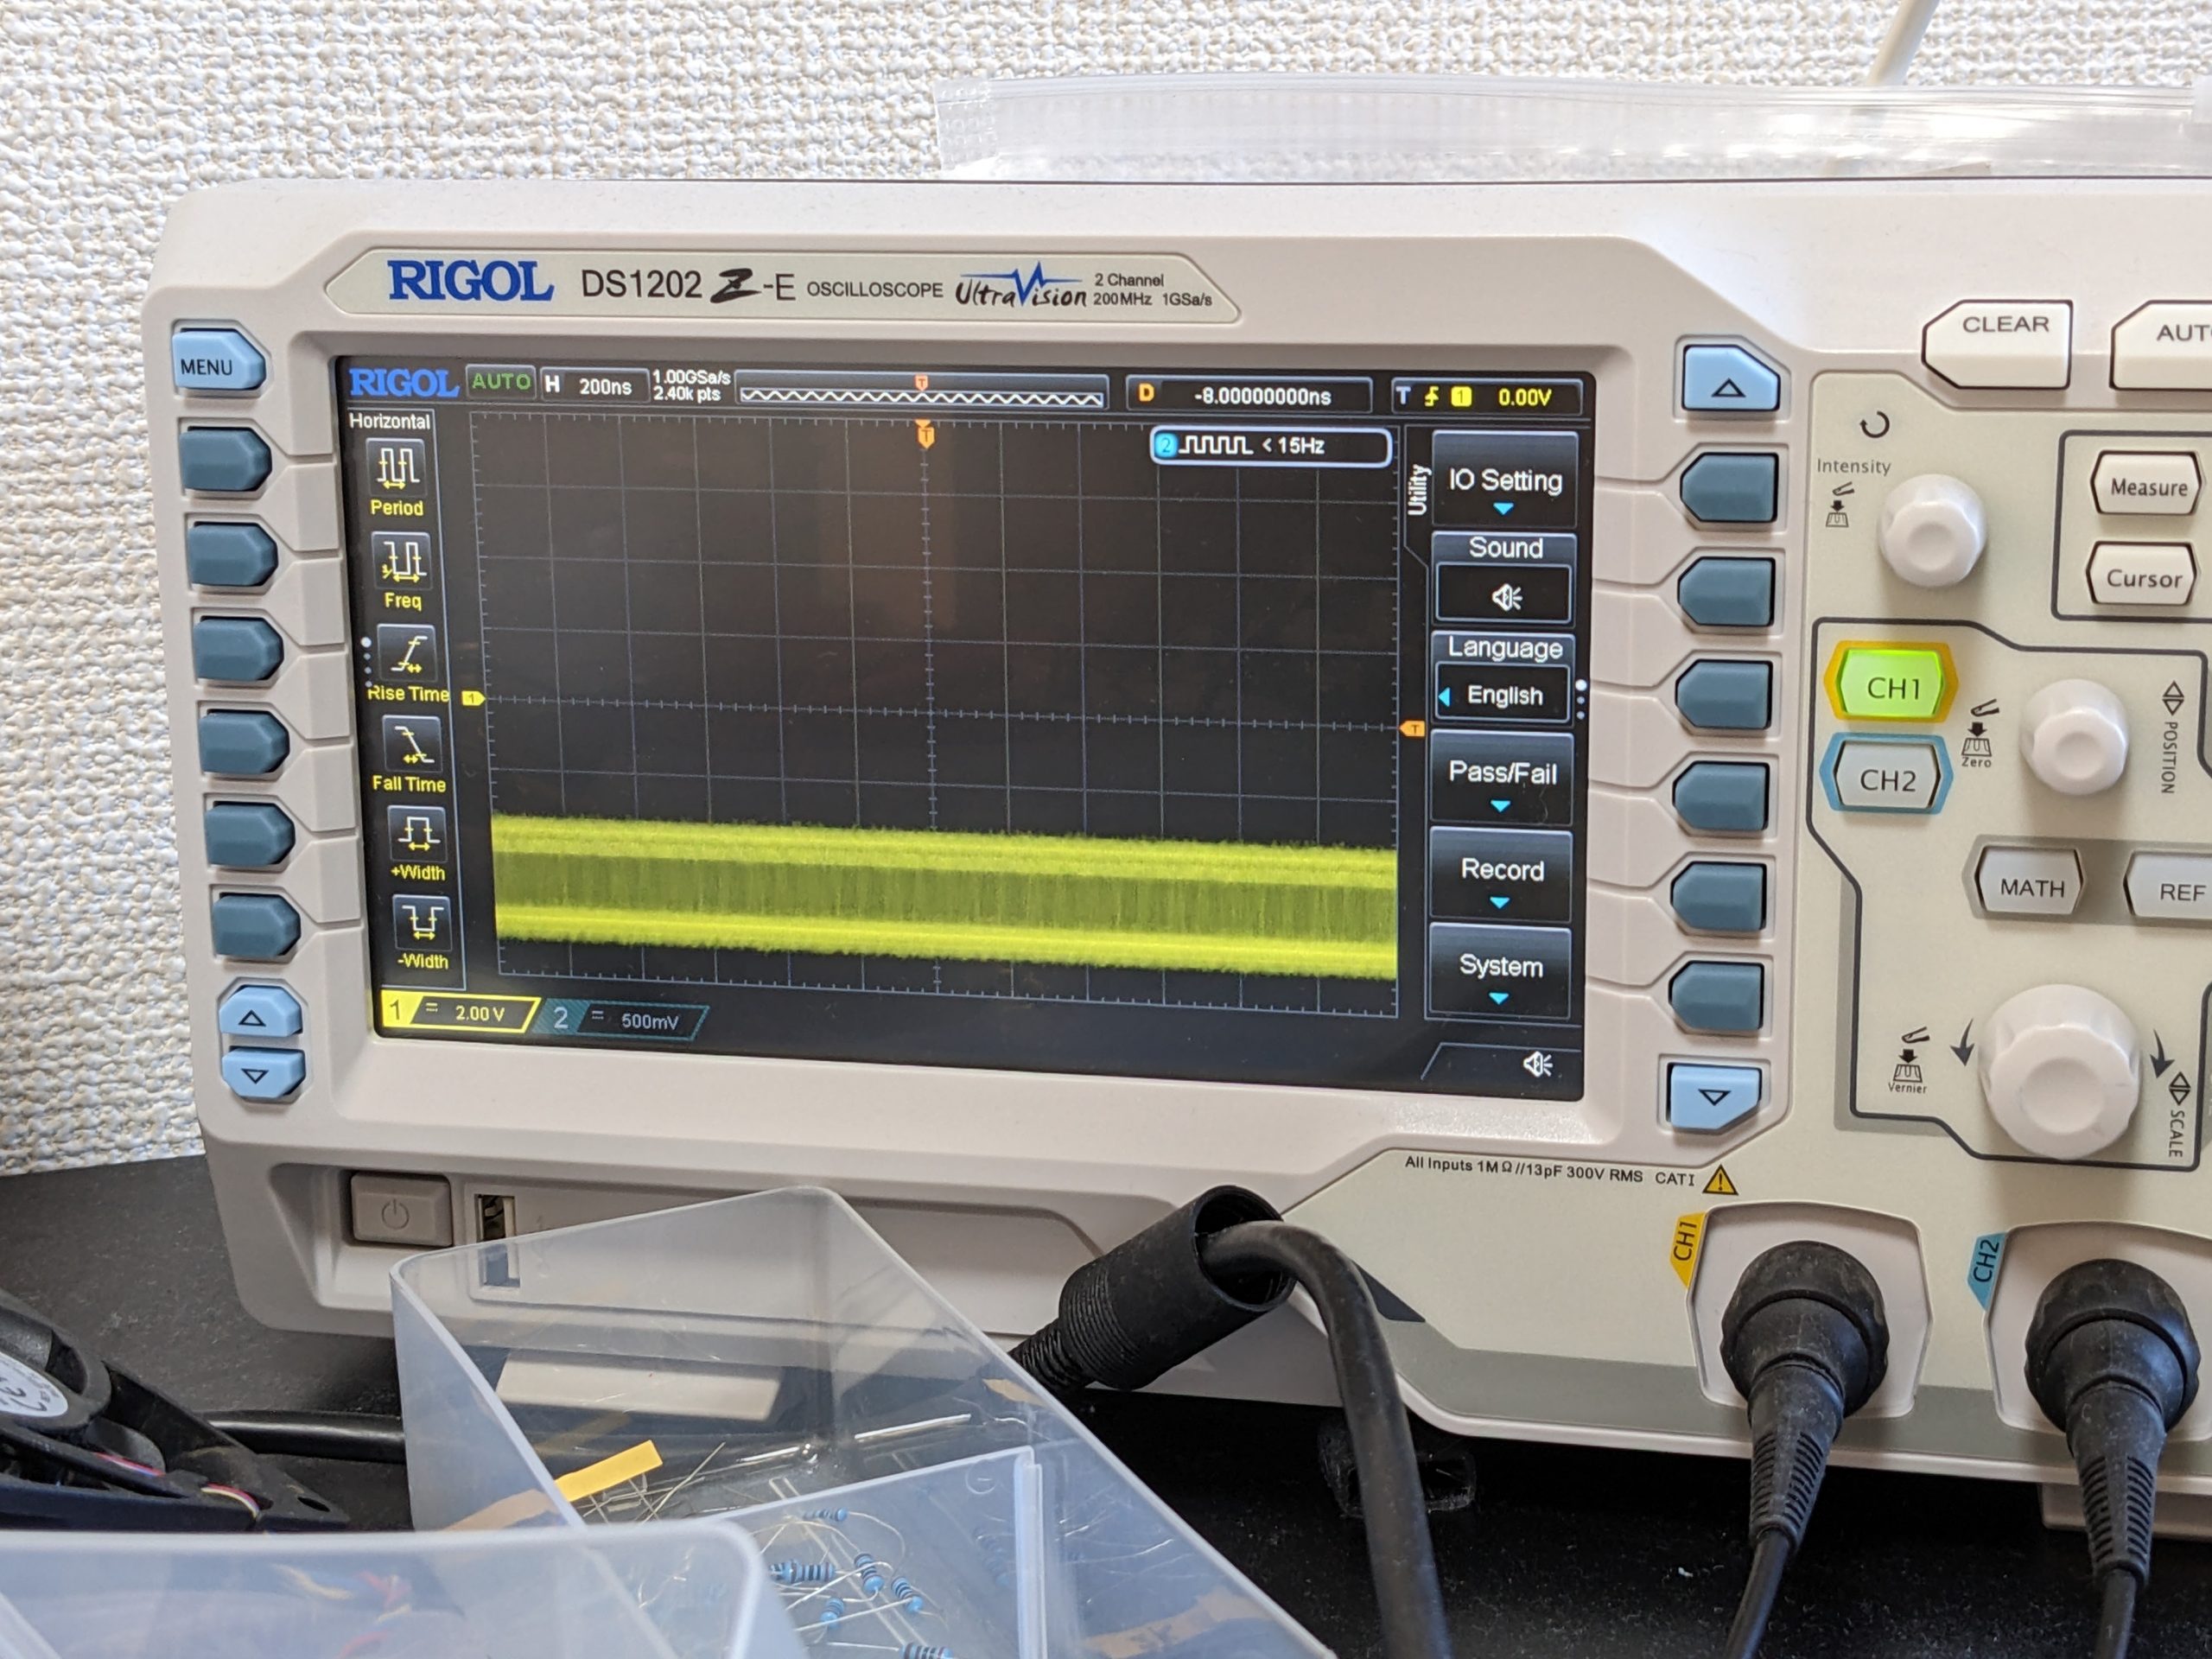
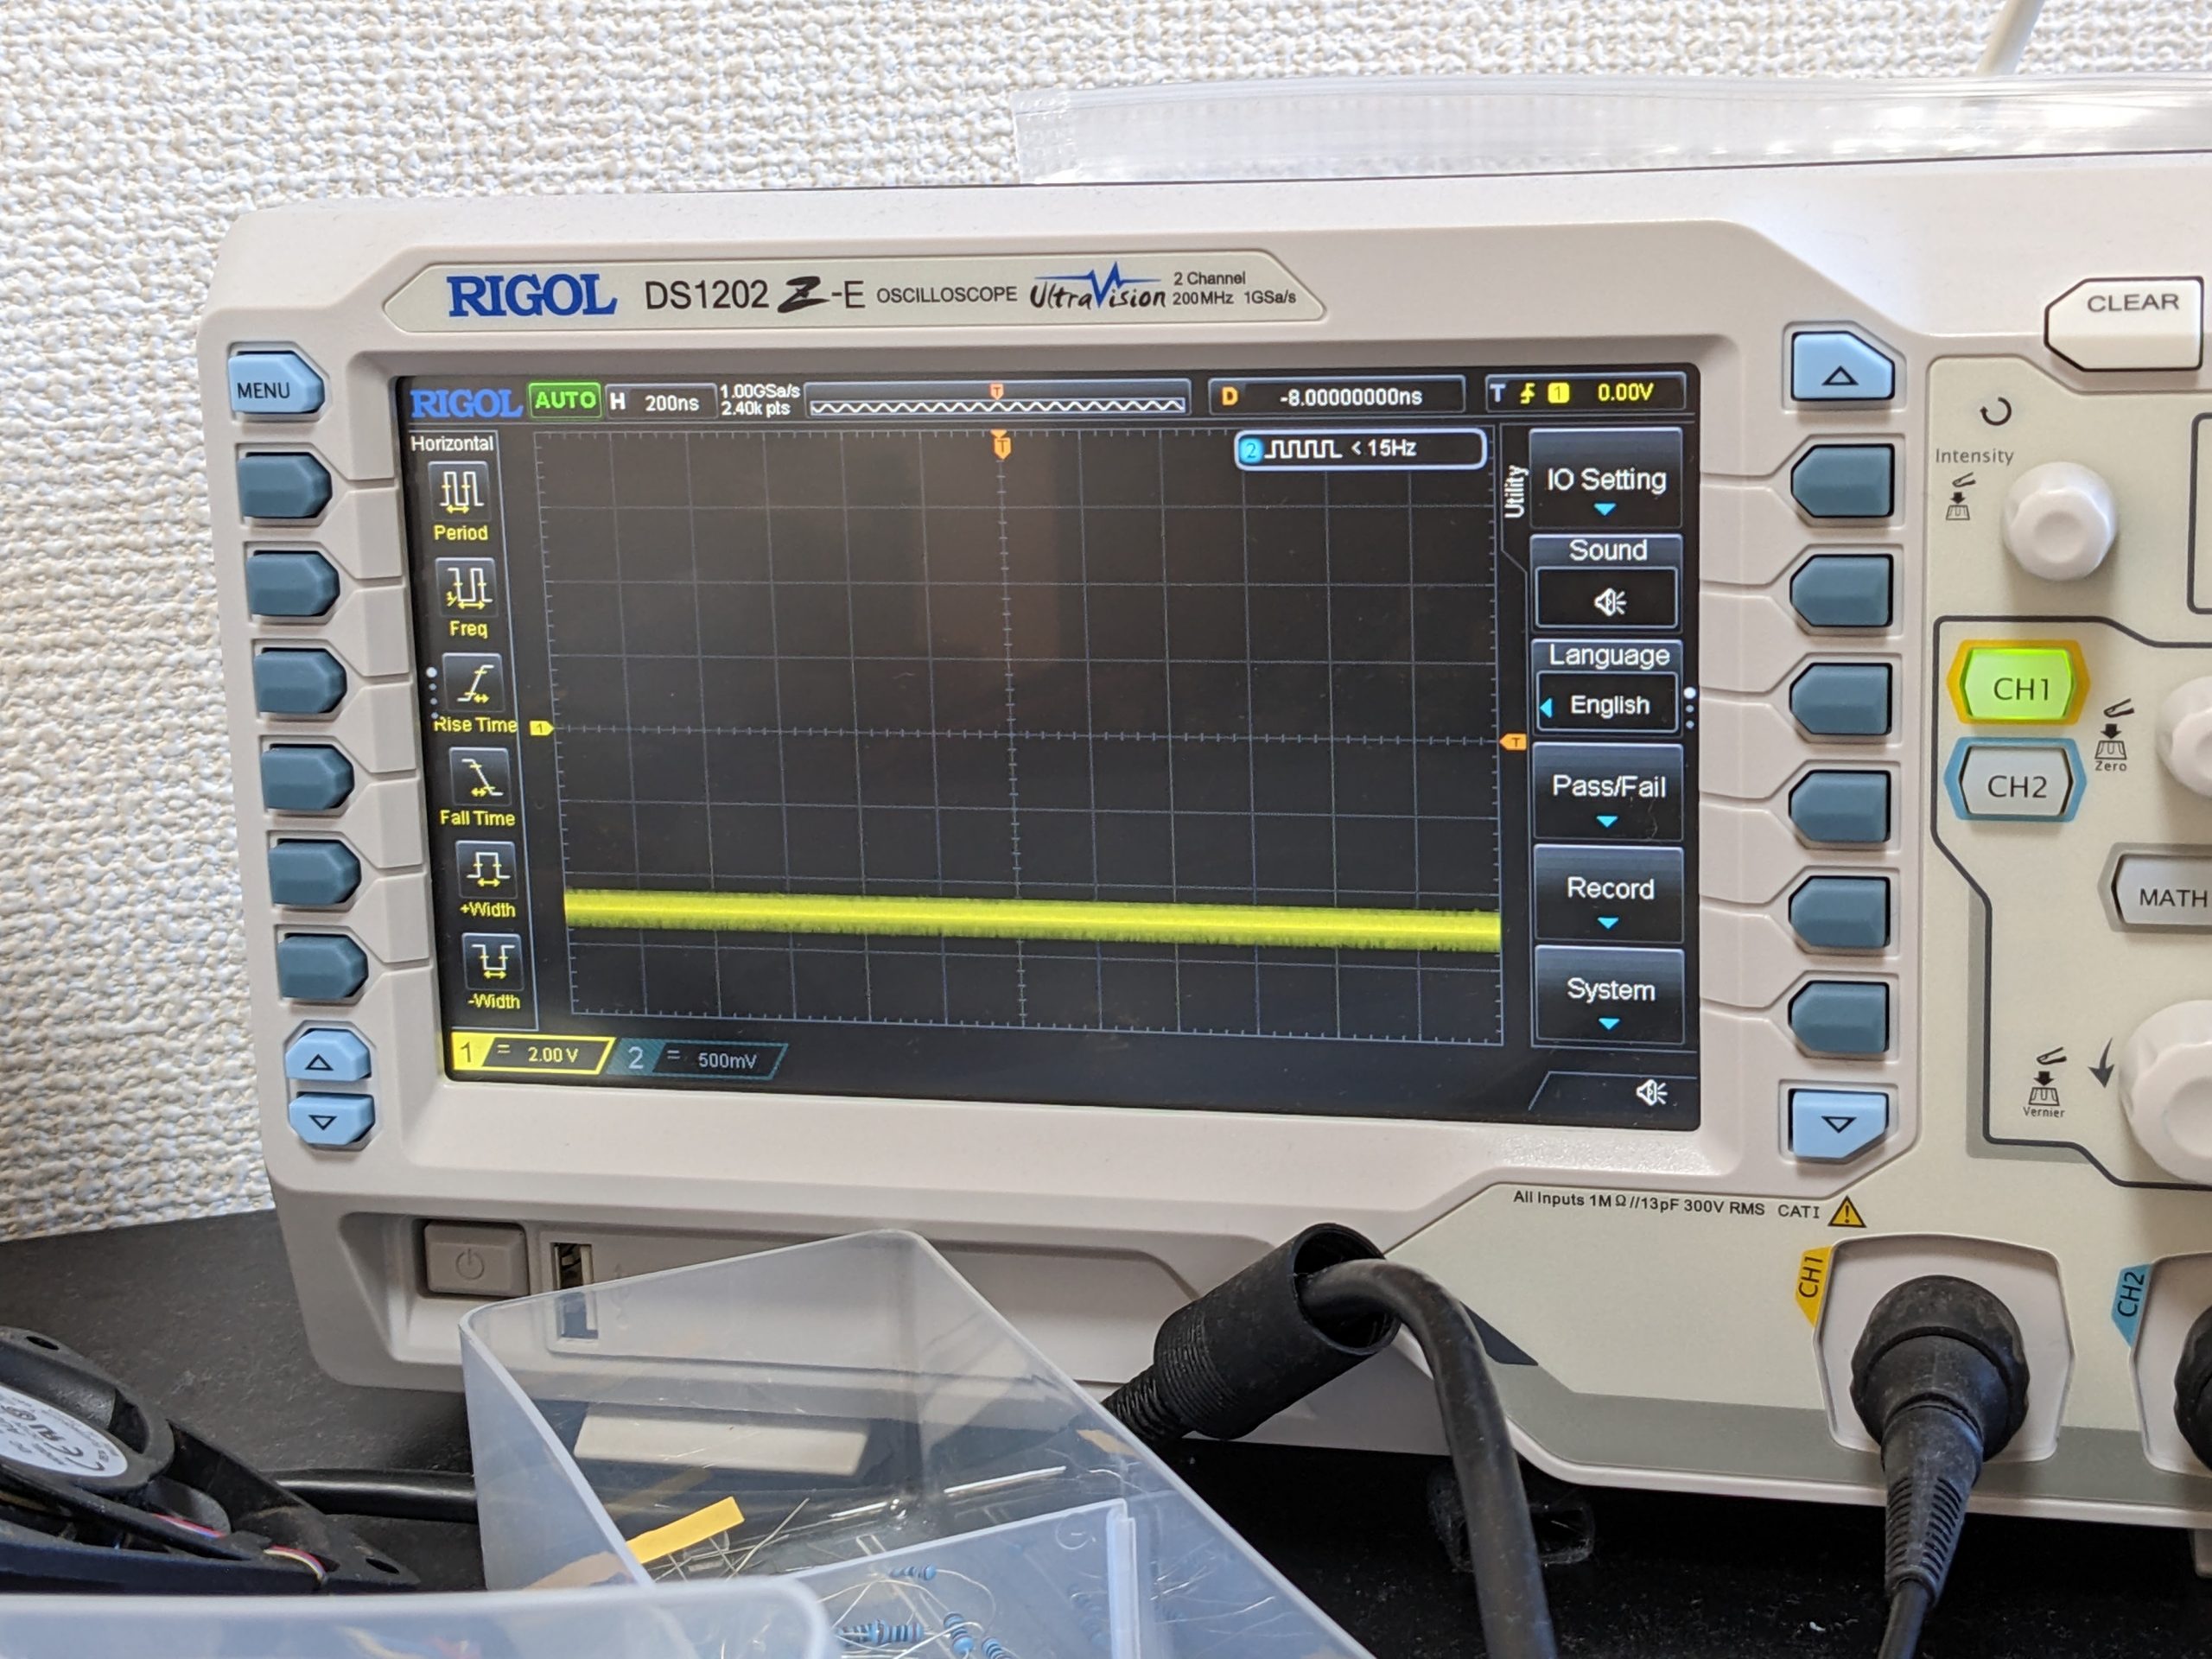
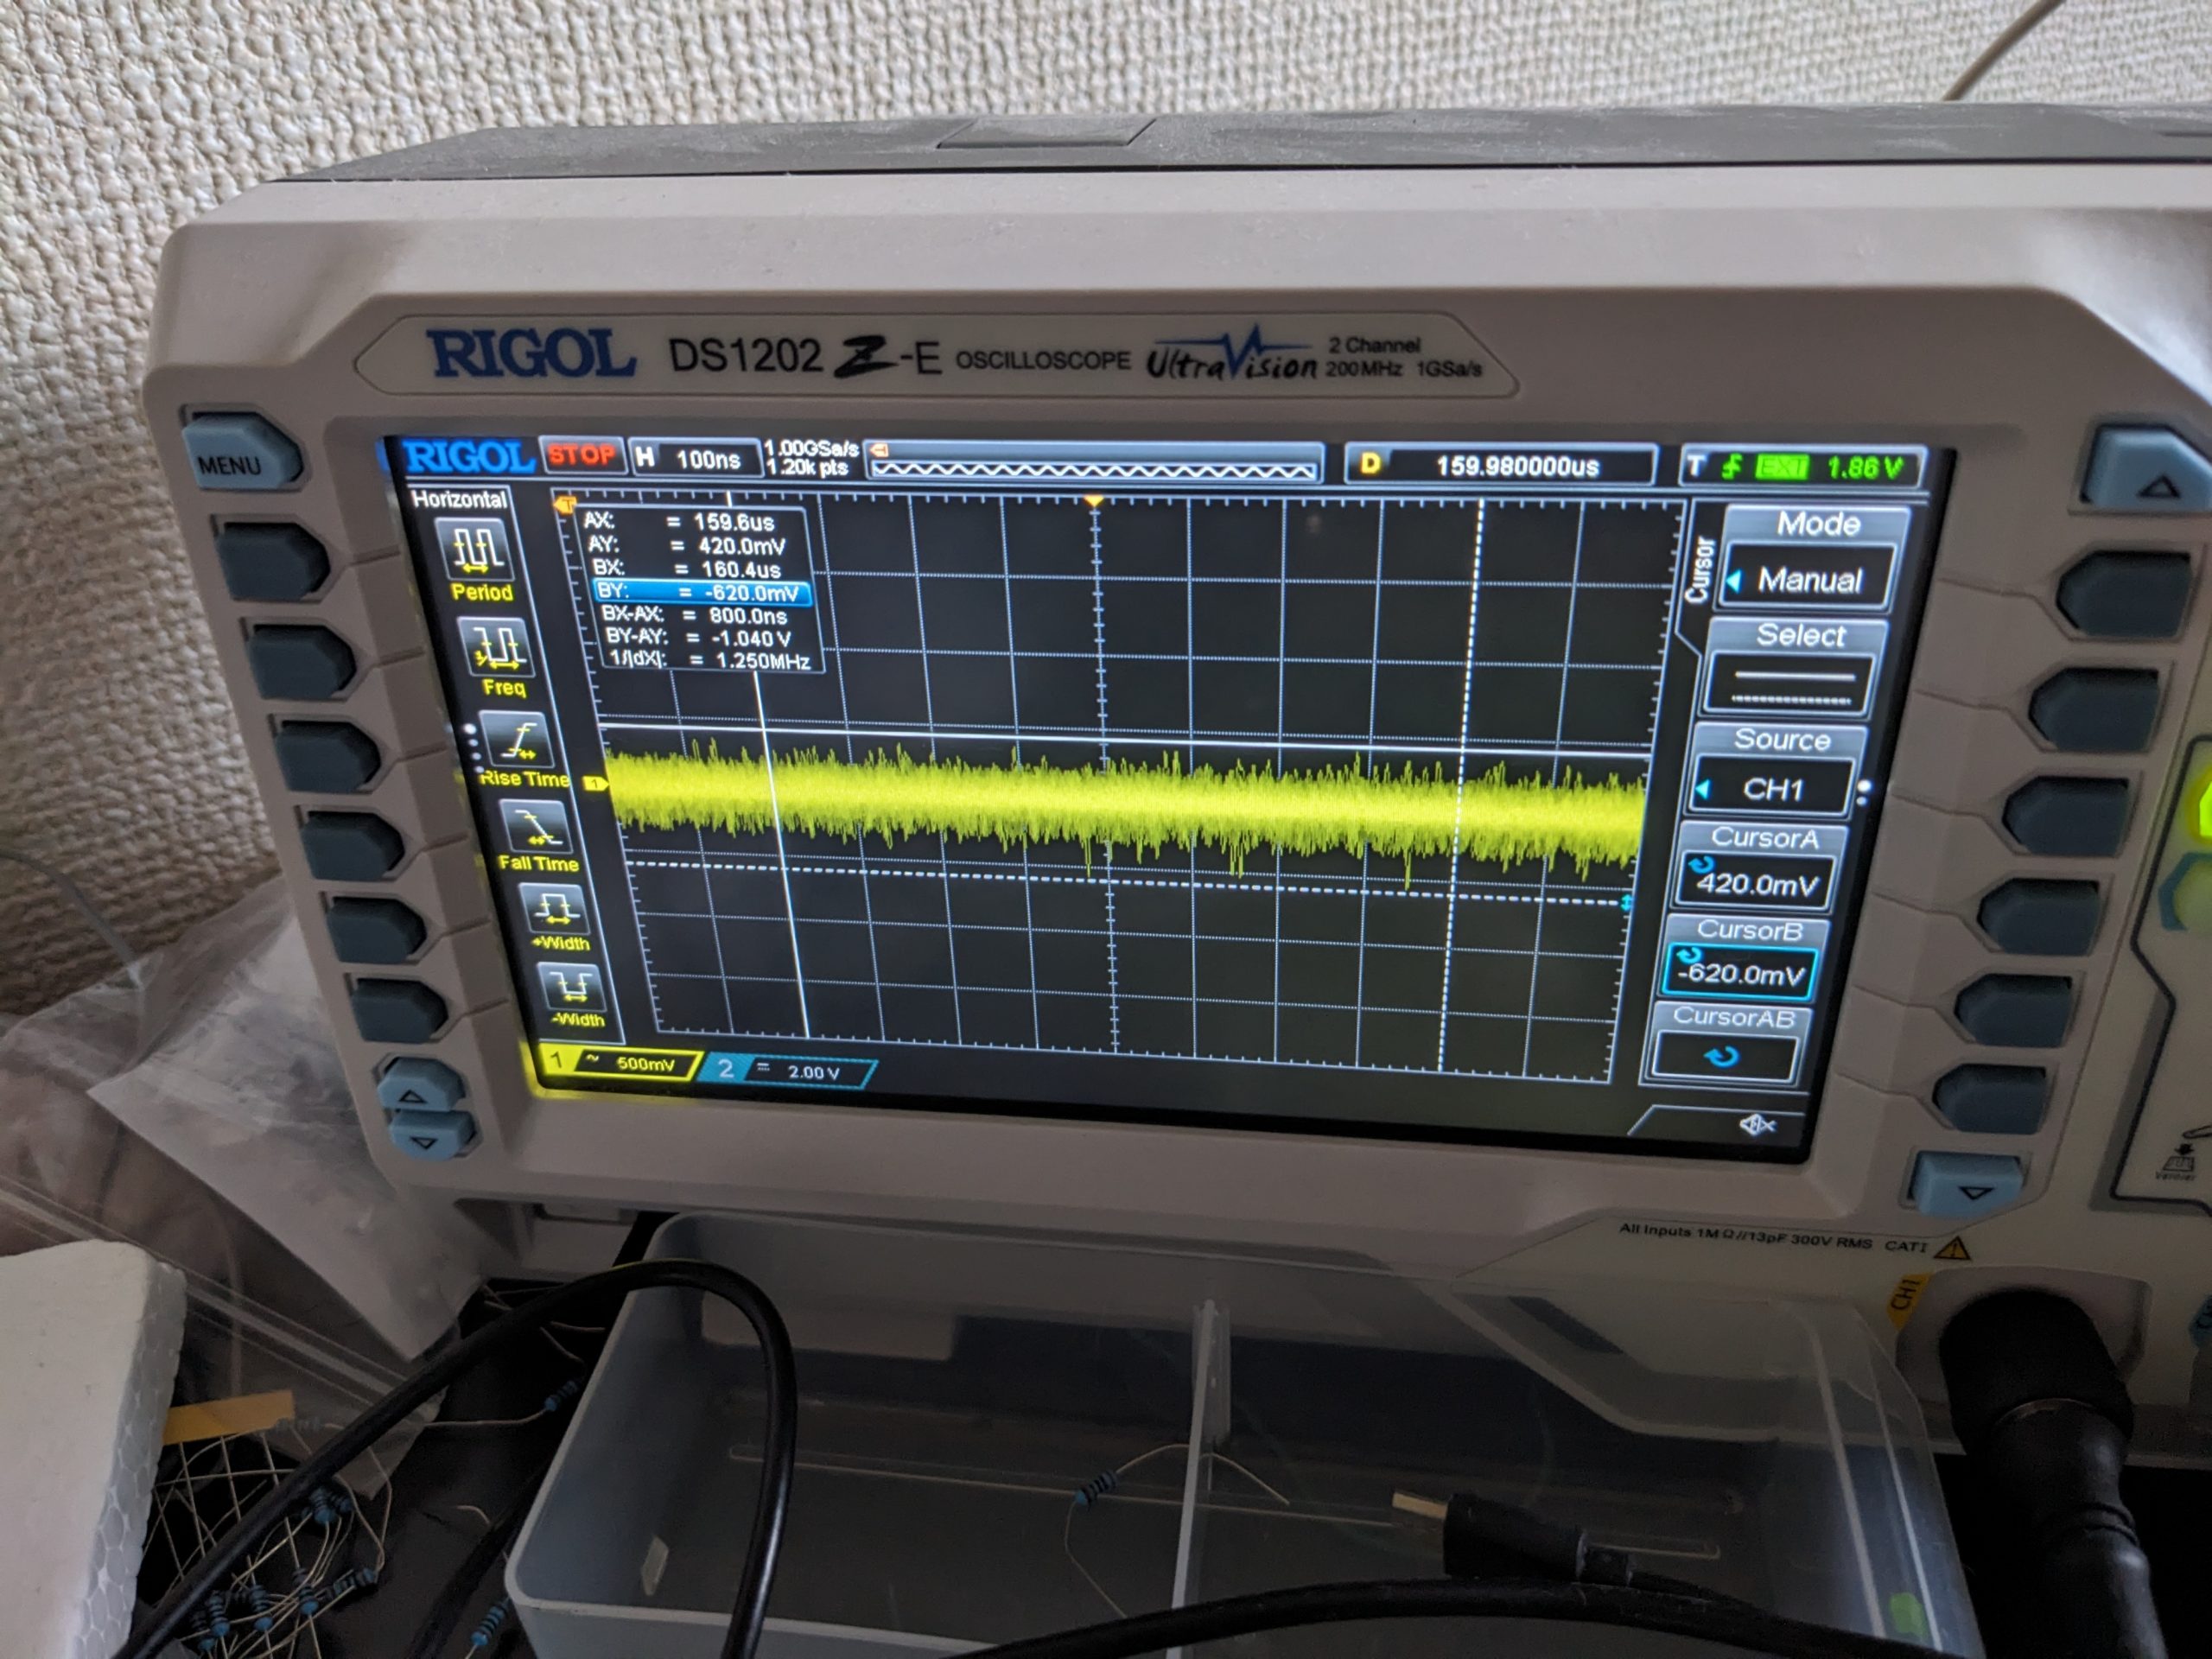
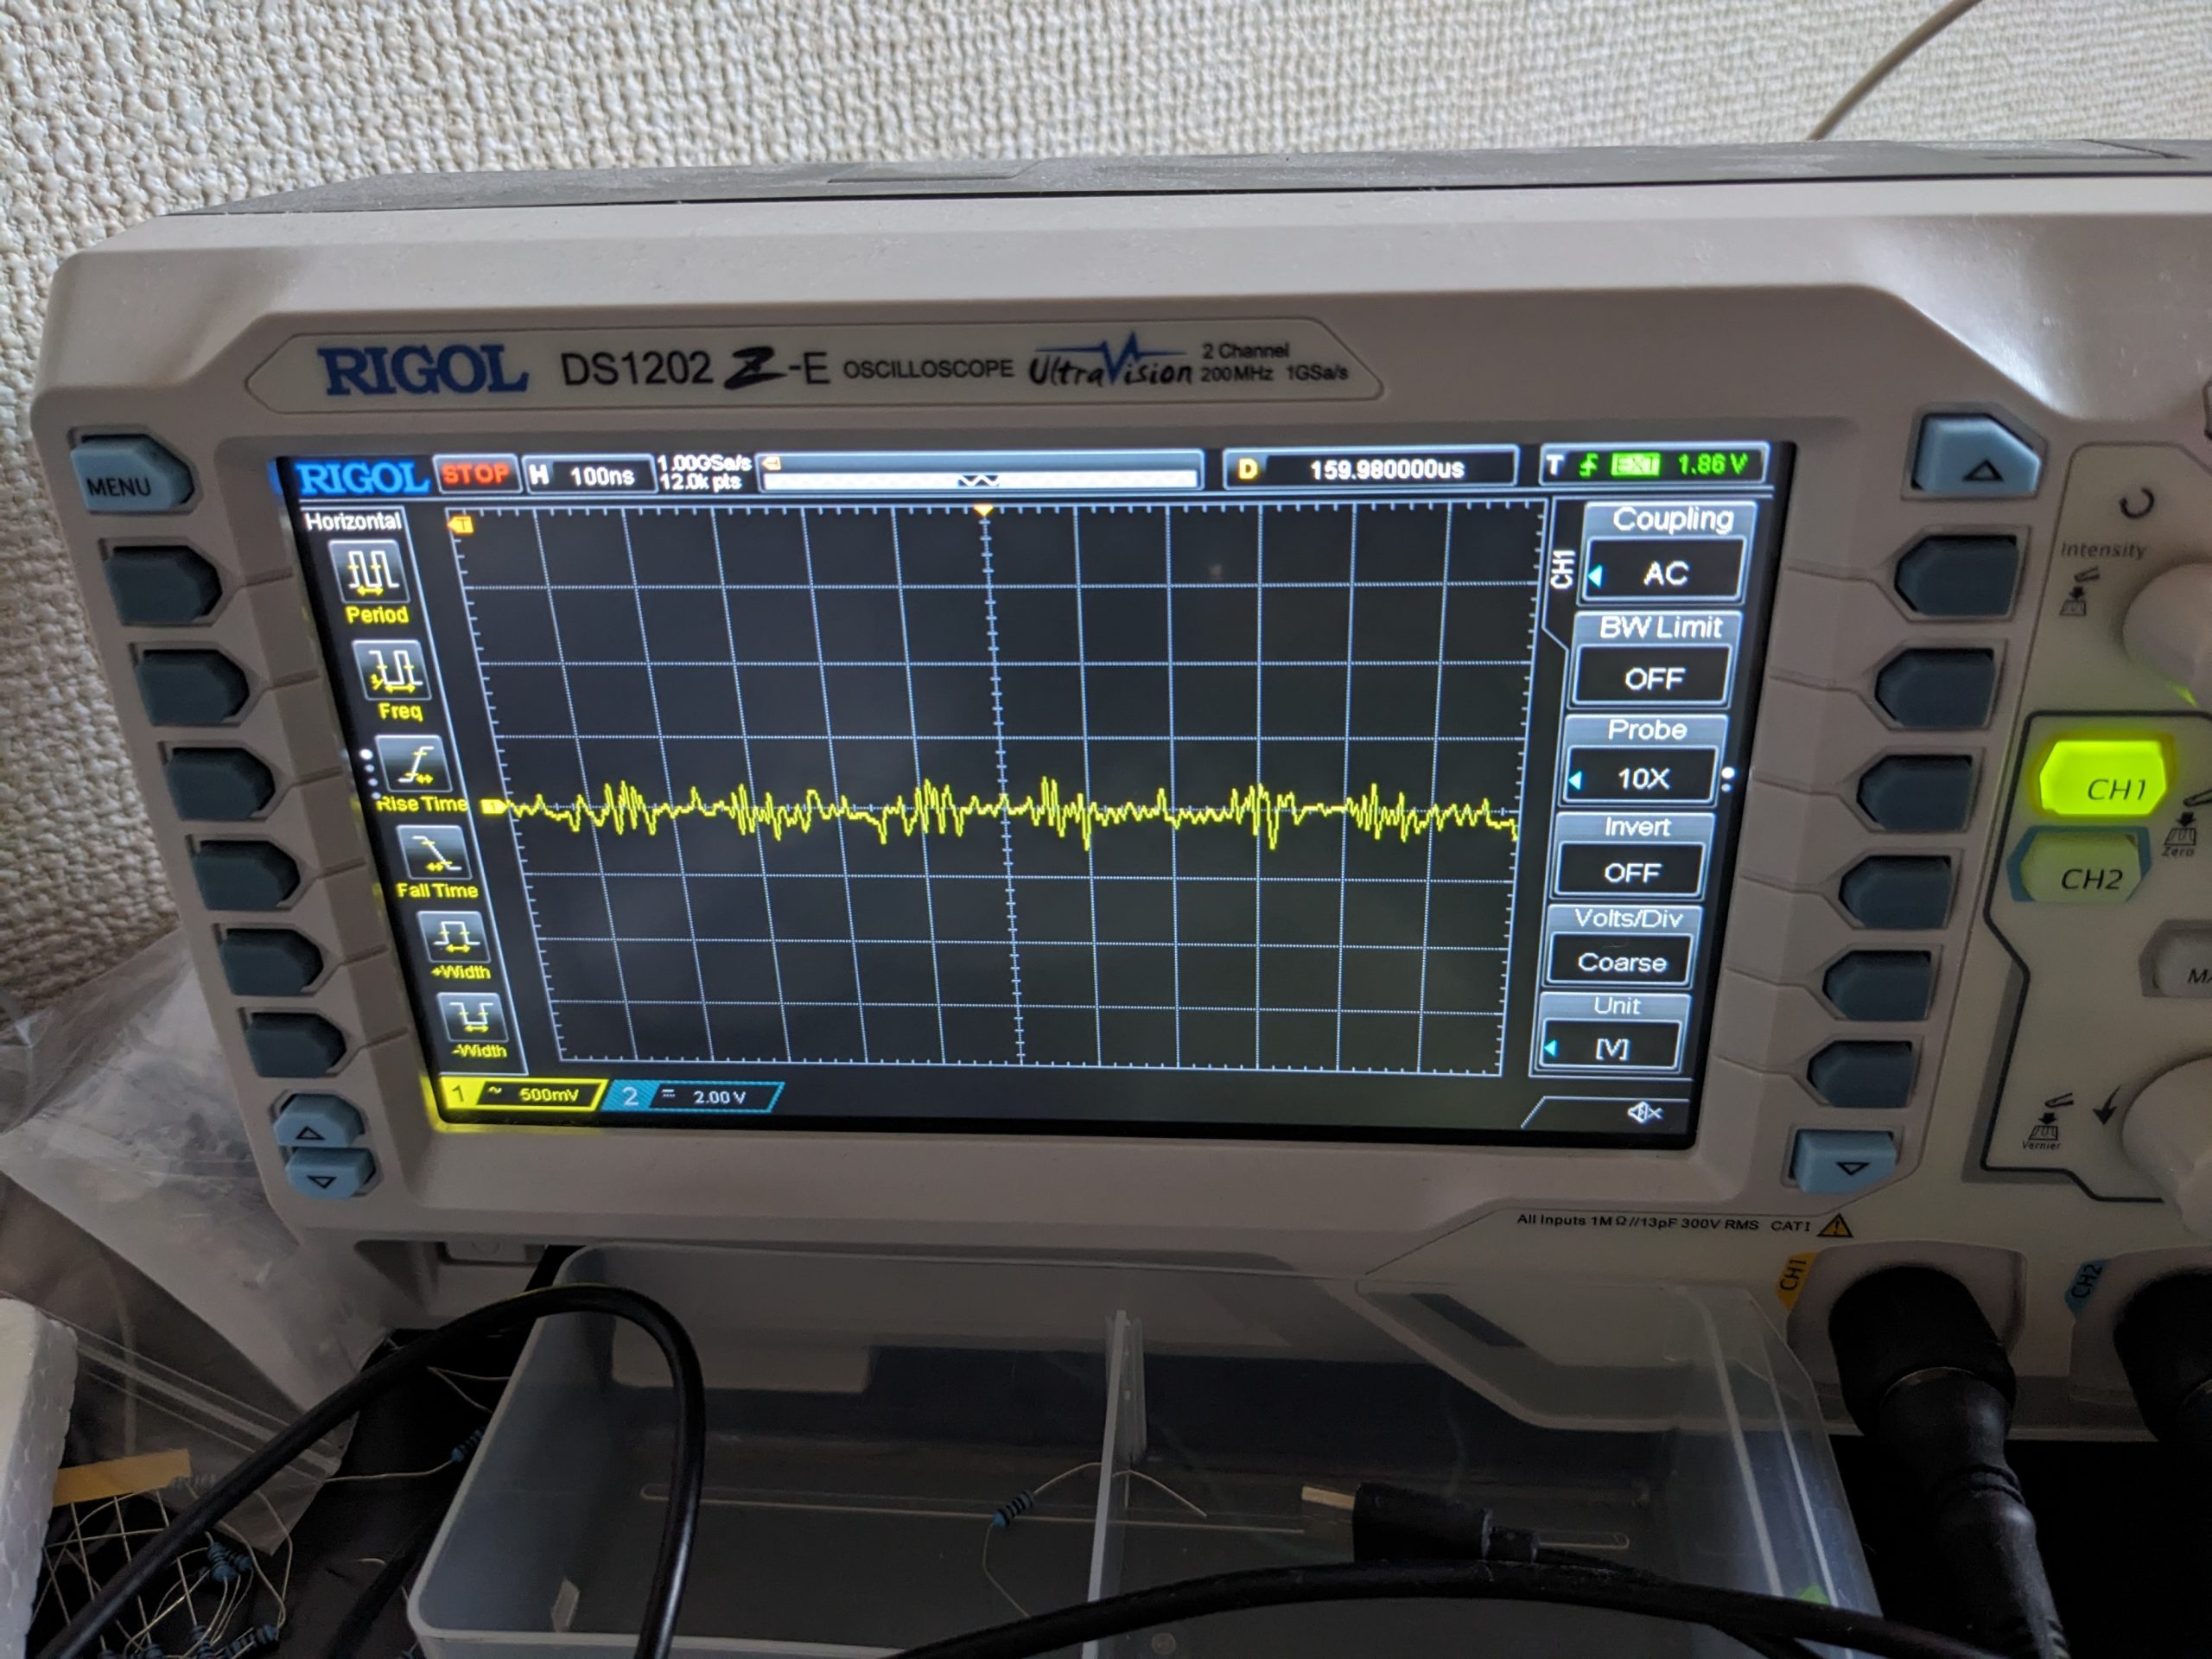
I bought another Hitachi H2 MSX last year, mostly because I wanted the manual, which I’ve scanned. Unfortunately for my free time but fortunately for my, um, education in retro computing, this computer had issues with its video RAM. Often, the computer would boot up with a garbled screen. Resetting after a couple minutes would usually fix the issue. The video RAM is made by Toshiba, and is called TMM416P-2 (also marked 4116-2). If you have this memory, I’d recommend you look out for issues, because all eight ICs had the same issue, namely: crazy-ass noise on the -5V line. (How much noise is “crazy-ass” noise? In this case, it’s +-3V.) The noise sort of comes and goes, or at least gets stronger and weaker, randomly, which made it too hard for me to find a combination of capacitors to tame it. (Though it’s more likely to be present after turning the computer on after a long while.) I ended up socketing them all, replacing one that unfortunately died during the very professional desoldering process, and added 103 ceramic capacitors to (almost) every one, between the -5 and GND pins, which seems to have a slight positive effect. (The bottom part of the case has a hook that requires some clearance and prevents two of the chips from getting their capacitor.) I also replaced the zener diode with a 7905, which fit perfectly after bending the legs a little bit.
Details
The -5V rail for the 4116 VRAM chips is generated using a zener diode. Replacing this, or the capacitor on the rail, unfortunately didn’t have any effect. Hmm, odd!
Next, I decided to desolder the -5V pin on the first 4116 IC, and drive it using my own known good -5V supply (using a standard 7905 regulator). Result: noise both on the first chip and all the others. Hmm, odd!
Next, I did this for the rest of the 4116 ICs, and was able to see that each and every one generates noise.
Next, I decided to desolder all of them and individually test them on my 4116 tester. (They still produced the noise while in the tester.) I decided to desolder all of them because the H2 seemed to support 4416 ICs for the video RAM, and I happened to have some of those that were waiting to be put to use. I.e., there are holes of the right size, right next to the VDP, and the silkscreen on those holes says “TMS4416”. ;)
Well, today’s lesson is, do not necessarily trust the silkscreen. The TMS9928A doesn’t even support 4416 VRAM! The holes where the data pins go didn’t even have any traces on them.
The TMS9928A can be made to support 4416 RAM using a custom circuit, though. Maybe I should have implemented this circuit. I even bought the two required parts! But then decided against it for complexity management reasons.
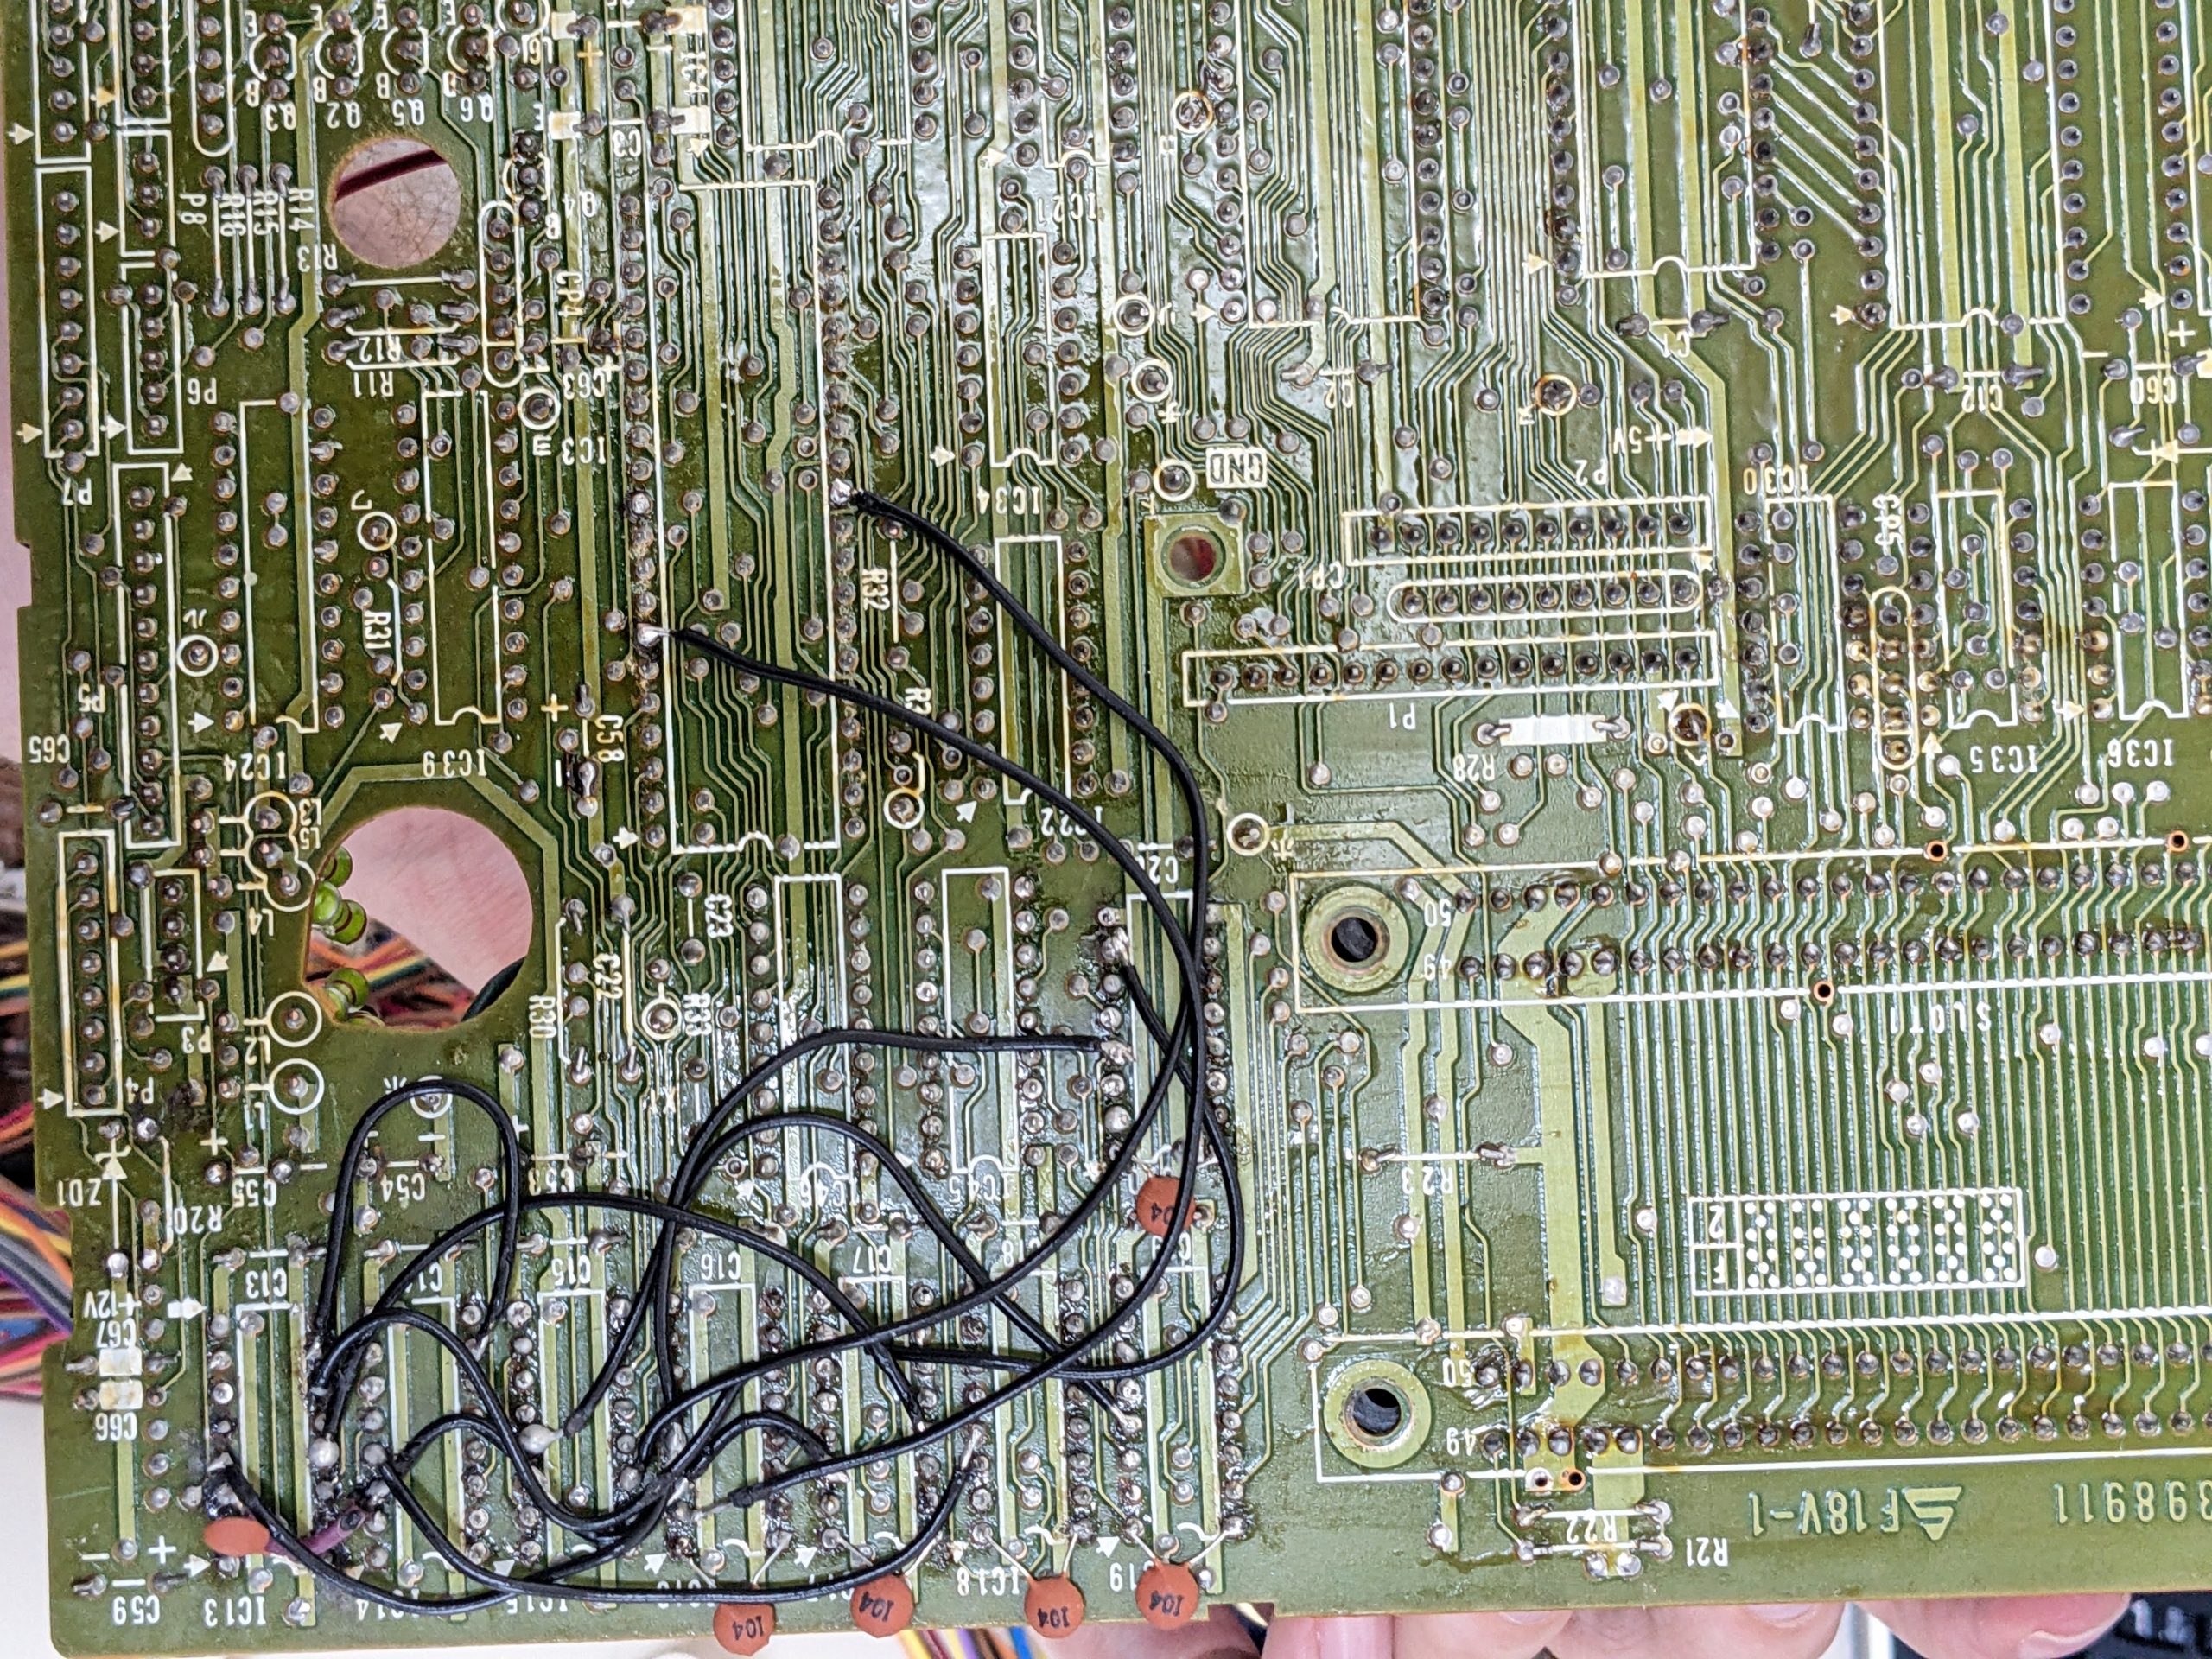
Unfortunately, expecting to be able to use the 4416 slots, I had desoldered the original VRAM ICs in a rather brutish manner, losing vias and traces in the process, which meant that I needed to add a bunch of bodge wires to get them to work again. At least the bodge wires aren’t too complex to figure out, if at some point one of them decides to become loose again. I ended up keeping the original, noisy, RAM chips. But since they’re now all socketed, it shouldn’t be too hard to replace them at some point, if necessary.
Pictures


After
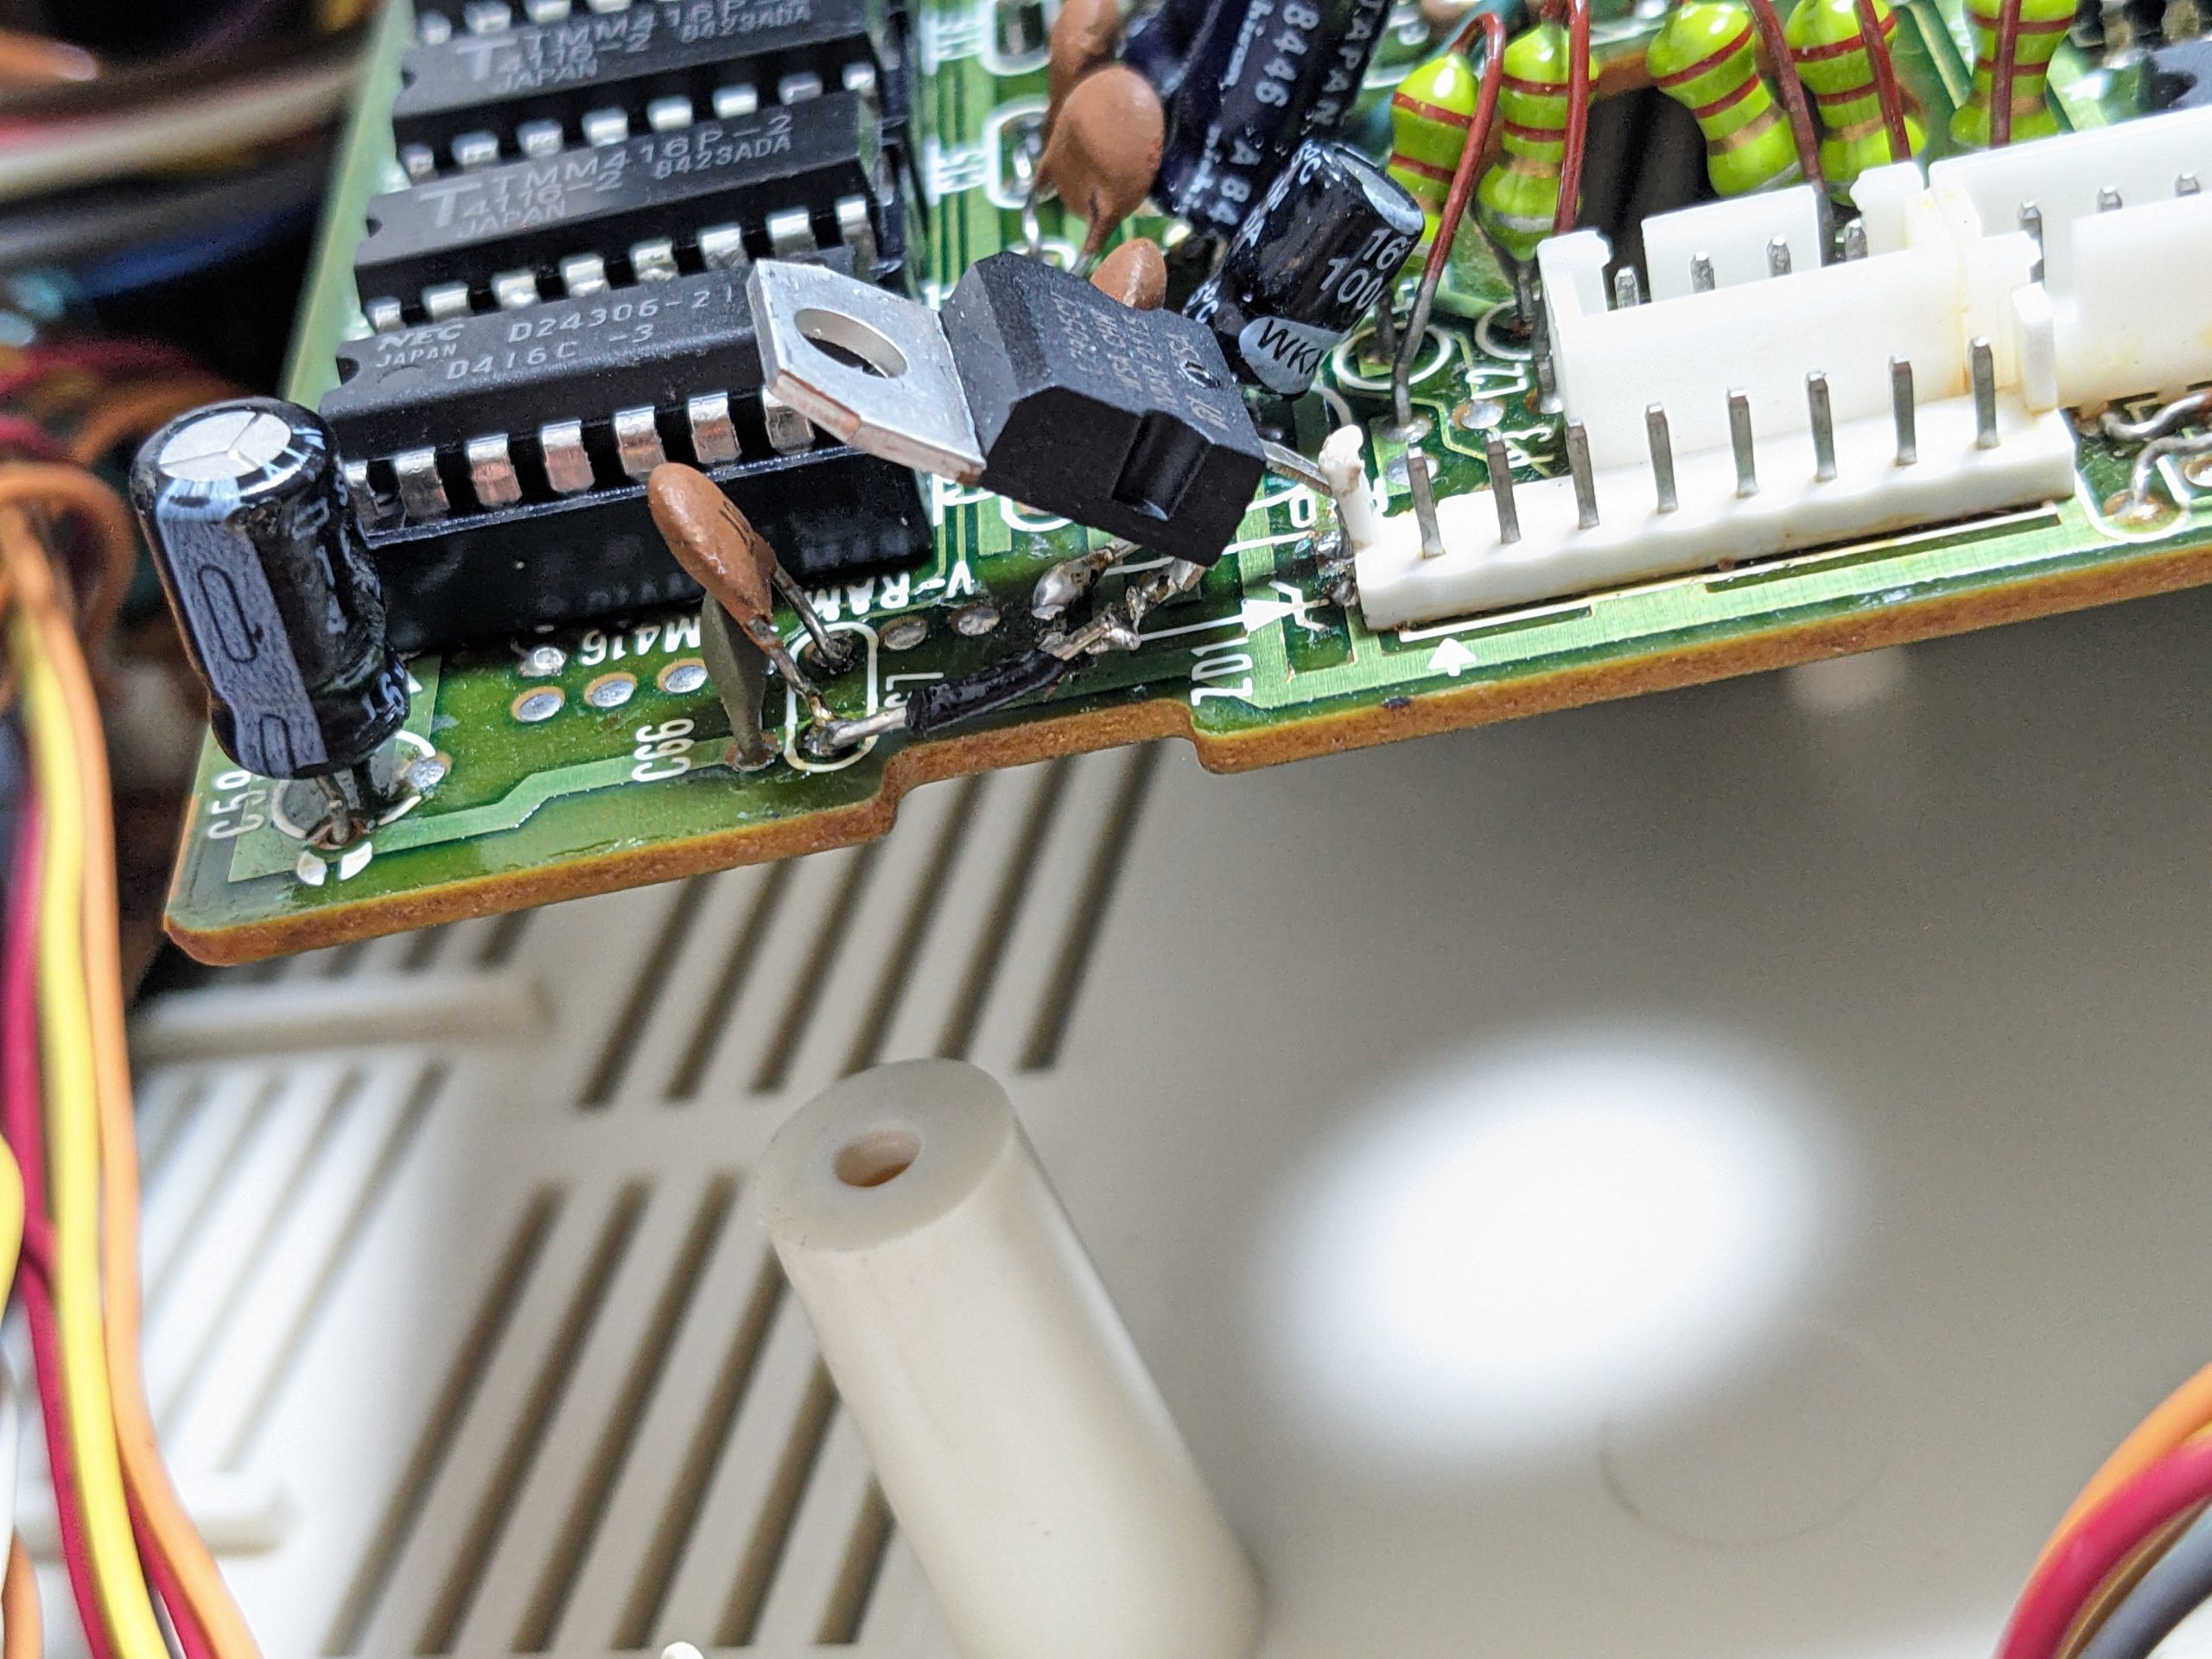
Before looking at the picture of the bodge wires below, please keep in mind that it is rude to stare.