In my previous post from over 1 year ago, I noted that there was 1 W of power consumption even when my Commodore SR-37 calculator was switched off. In this post, we are going to investigate and tackle this problem, and fix a key that sort of worked when I got the calculator, but in the meantime stopped working completely. I also fixed the power supply (replaced the very worn cable) that came with the calculator, but for reasons I will explain later, we unfortunately won’t be able to use it with this device.
The power consumption issue
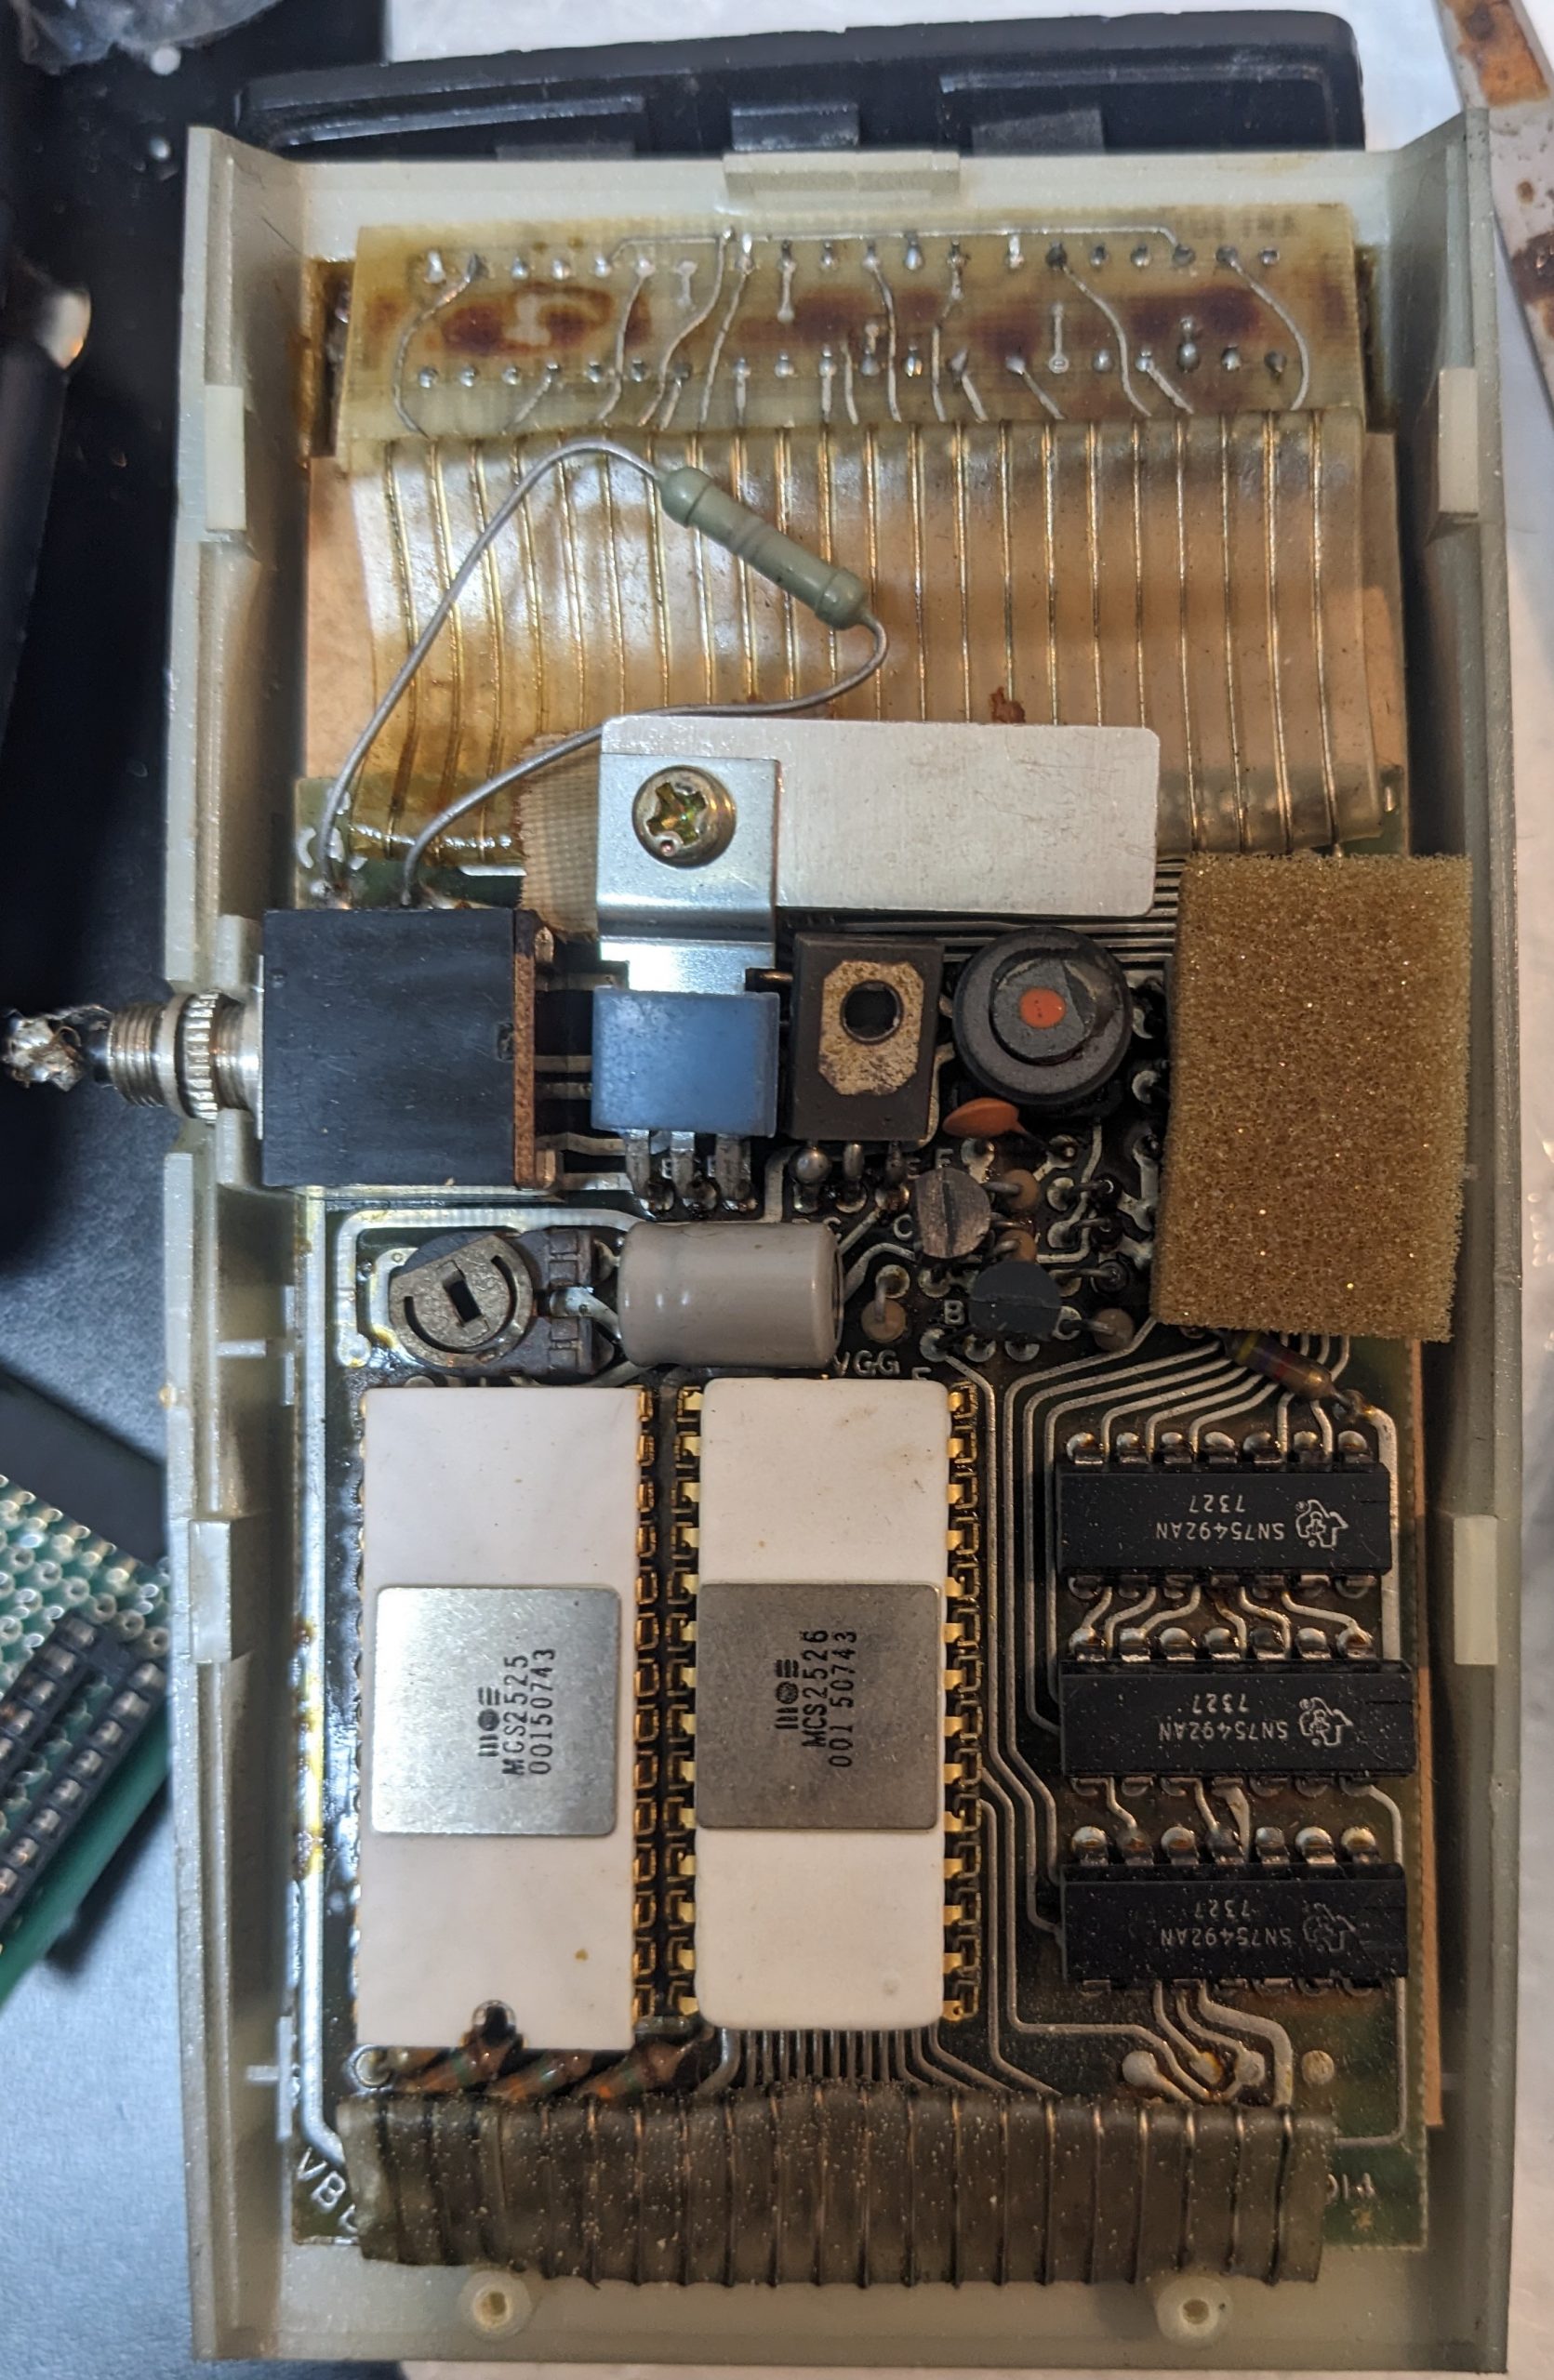
1 W of power consumption isn’t easy to hide in a confined space, because most of the time it’s converted to 1 W of heat. Let’s take a look with the thermal camera. Here’s a picture of the insides, again:
And here’s what’s getting hot:
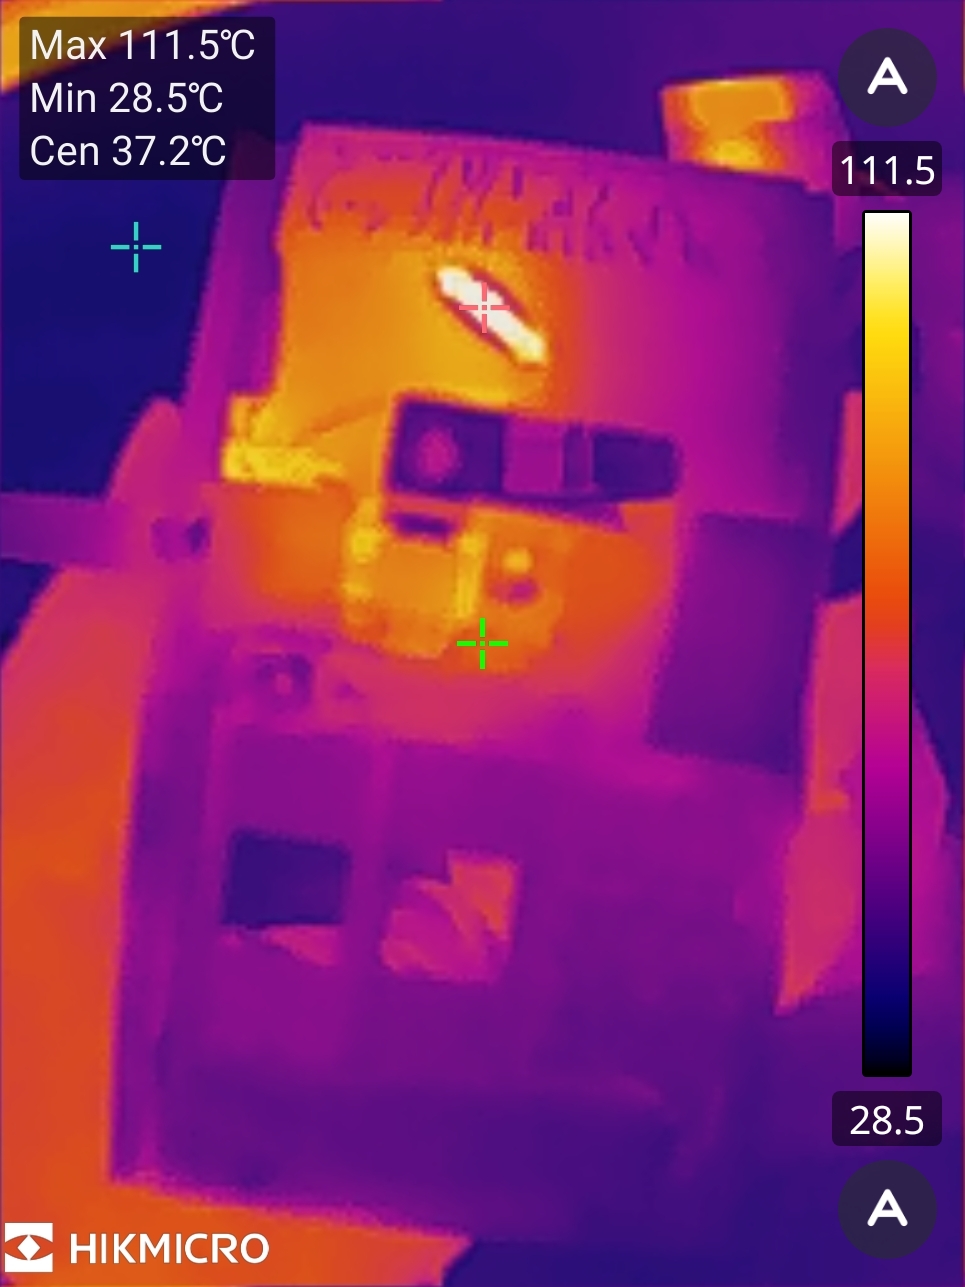
Okay, so it’s just that added-after-the-fact-looking weird-ass resistor sitting between + and -! It’s a 100 ohm resistor, the power supply is like 9V or maybe 10V. So that’s 1 W accounted for! There are no signs of rework, and the resistor looks quite antique, so I’m going to guess it was added at the factory. Why?
This resistor is sitting between positive and ground and effectively just puts a load on the power supply. This load will drop the power supply’s voltage a little bit. As the power supply is an unregulated linear power supply, the unloaded voltage will be 12V or so. Applying a load will drop this to 9V or less.
The power supply’s voltage is applied to the SN75492 LED display driver chips. These are rated for 10V. Do you see the problem? Without enough load, our power supply will supply a larger voltage to these chips. It would be a little bit cleverer if they had put the resistor somewhere that is interrupted by the power switch, but as they say, “why clever if dumb OK and just 111°C”?
By the way, it’s possible that this calculator sometimes(?) came with rechargeable batteries, and that the recharging circuit adds enough load to make the power supply suitable for this calculator. I don’t know if this is the budget version without the rechargeable batteries, or if they deteriorated and were removed somewhat professionally. The backside of the calculator has some basic instructions on it, and mentions charging:
Turn machine off when not in use.
It is recommended that the unit be charged over night to assure maximum DC performance.
Anyway, I removed the resistor, and measured the voltage on the SN75492 chips. It was 9.4V, so we should be good, no? Well, maybe these chips came from a batch that was less tolerant of voltages closer to 10V, cause the display is “doubled”. When you display more (by e.g. pressing 888888) the voltage drops some more, and the problem disappears. When you use a different power supply that supplies a little less voltage, the problem also disappears.
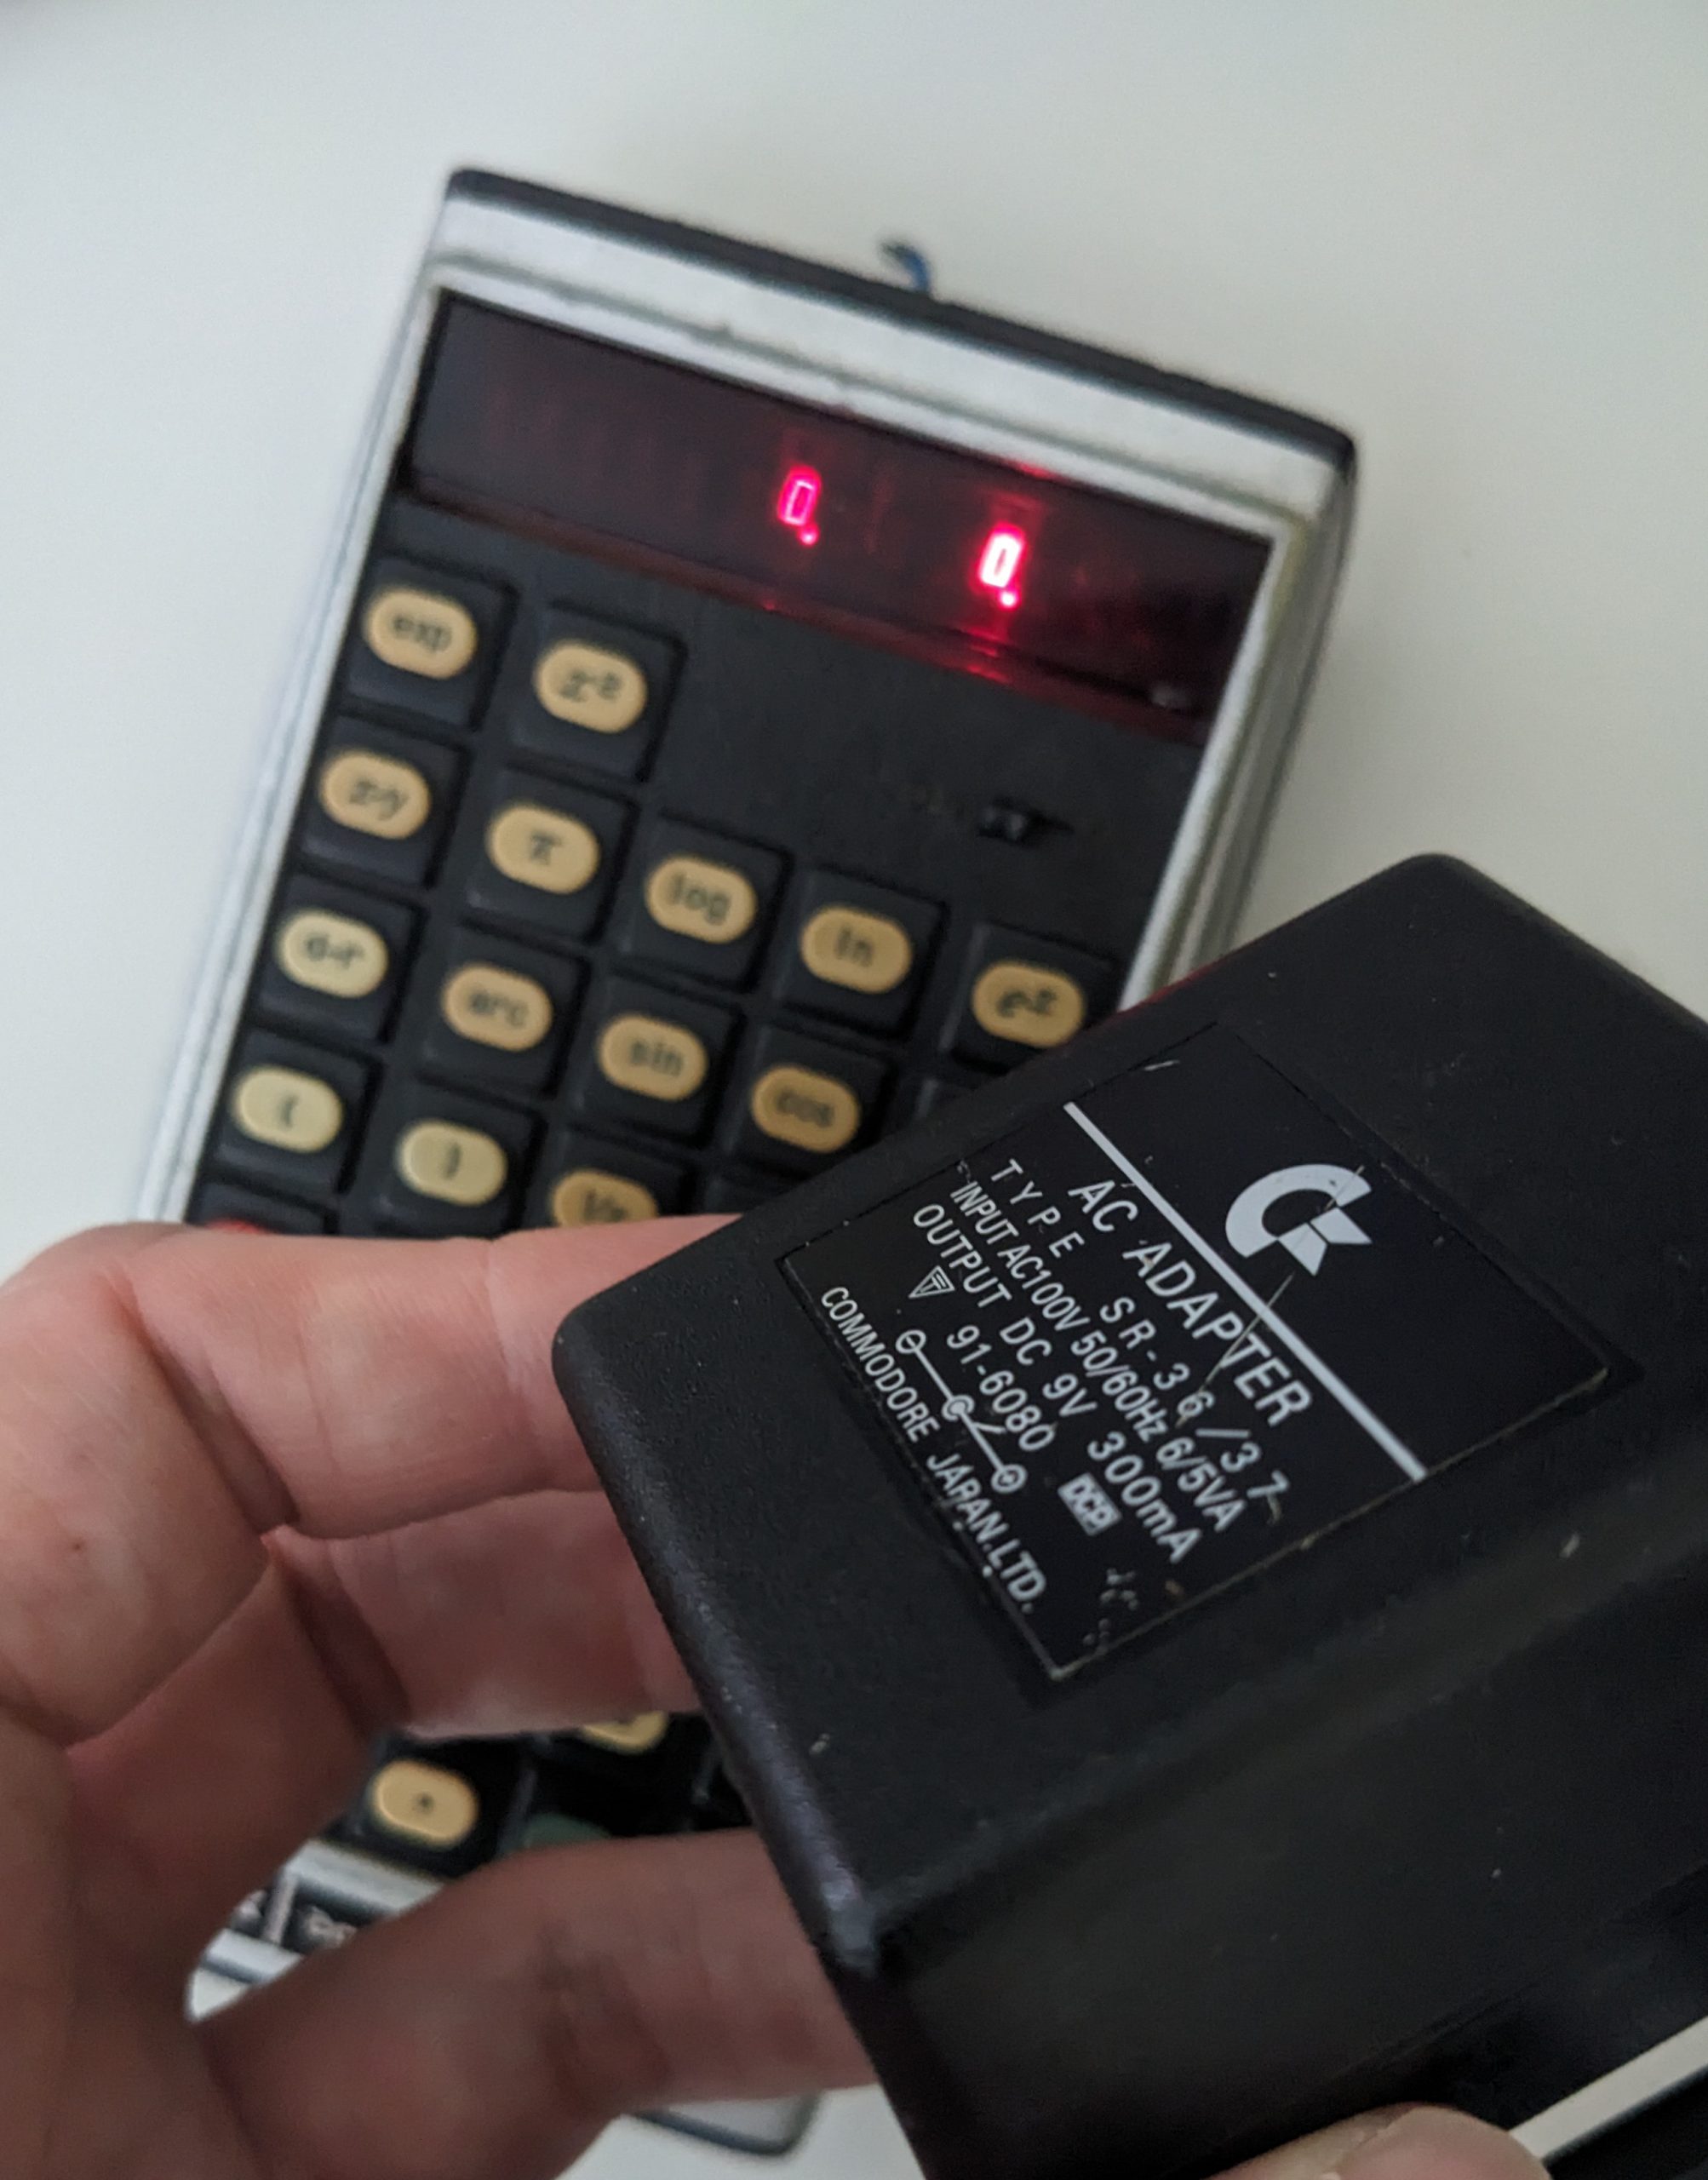
The pictured power supply is the one that came with the calculator. (The cable had deteriorated, so I’d replaced it.) Having repaired this thing, I was looking forward to using it. So I’d thought of building a small modular thing I could between it and the calculator to drop the voltage a little bit, perhaps using a four diodes in series, which would waste less power than a resistor. Unfortunately I made a couple soldering mishaps and ended up trashing that project, oops. At least the power supply is still original and usable with other old devices, e.g. my ZX80 replica!
So, let’s see what else we can do? We tried 7V. Works. Non-standard, inconvenient. What about 5V? Turns out that 5V works!
… Or does it?
Things that are unusual when running the calculator @ 5V
First of all, we need to define what 5V means. Have you ever measured the voltage coming out of a USB-A power supply? Most often, it’s 5.1V. Sometimes, it’s 5.2V. It can be higher, but usually doesn’t get higher than 5.5V. According to the USB specs, however, it’s 5V +- 5%, so 4.75V to 5.25V.
This calculator will run at any of these voltages. However, the lower the voltage, the darker the LED display. No problem. Anything else?
Well, would you believe me if I told you that it starts making “mistakes” when the voltage is too low? Specifically, division appears to go wonky at lower values of 5V. E.g., 8/4 is no longer 2:
8/4 = 2.
8/4 = … 0.3003003.
Note that the power supply’s display isn’t 100% accurate and is usually off by 0.2V.
Anyway, I’ll run it at 5V because I have plenty of power supplies that output various kinds of 5V.
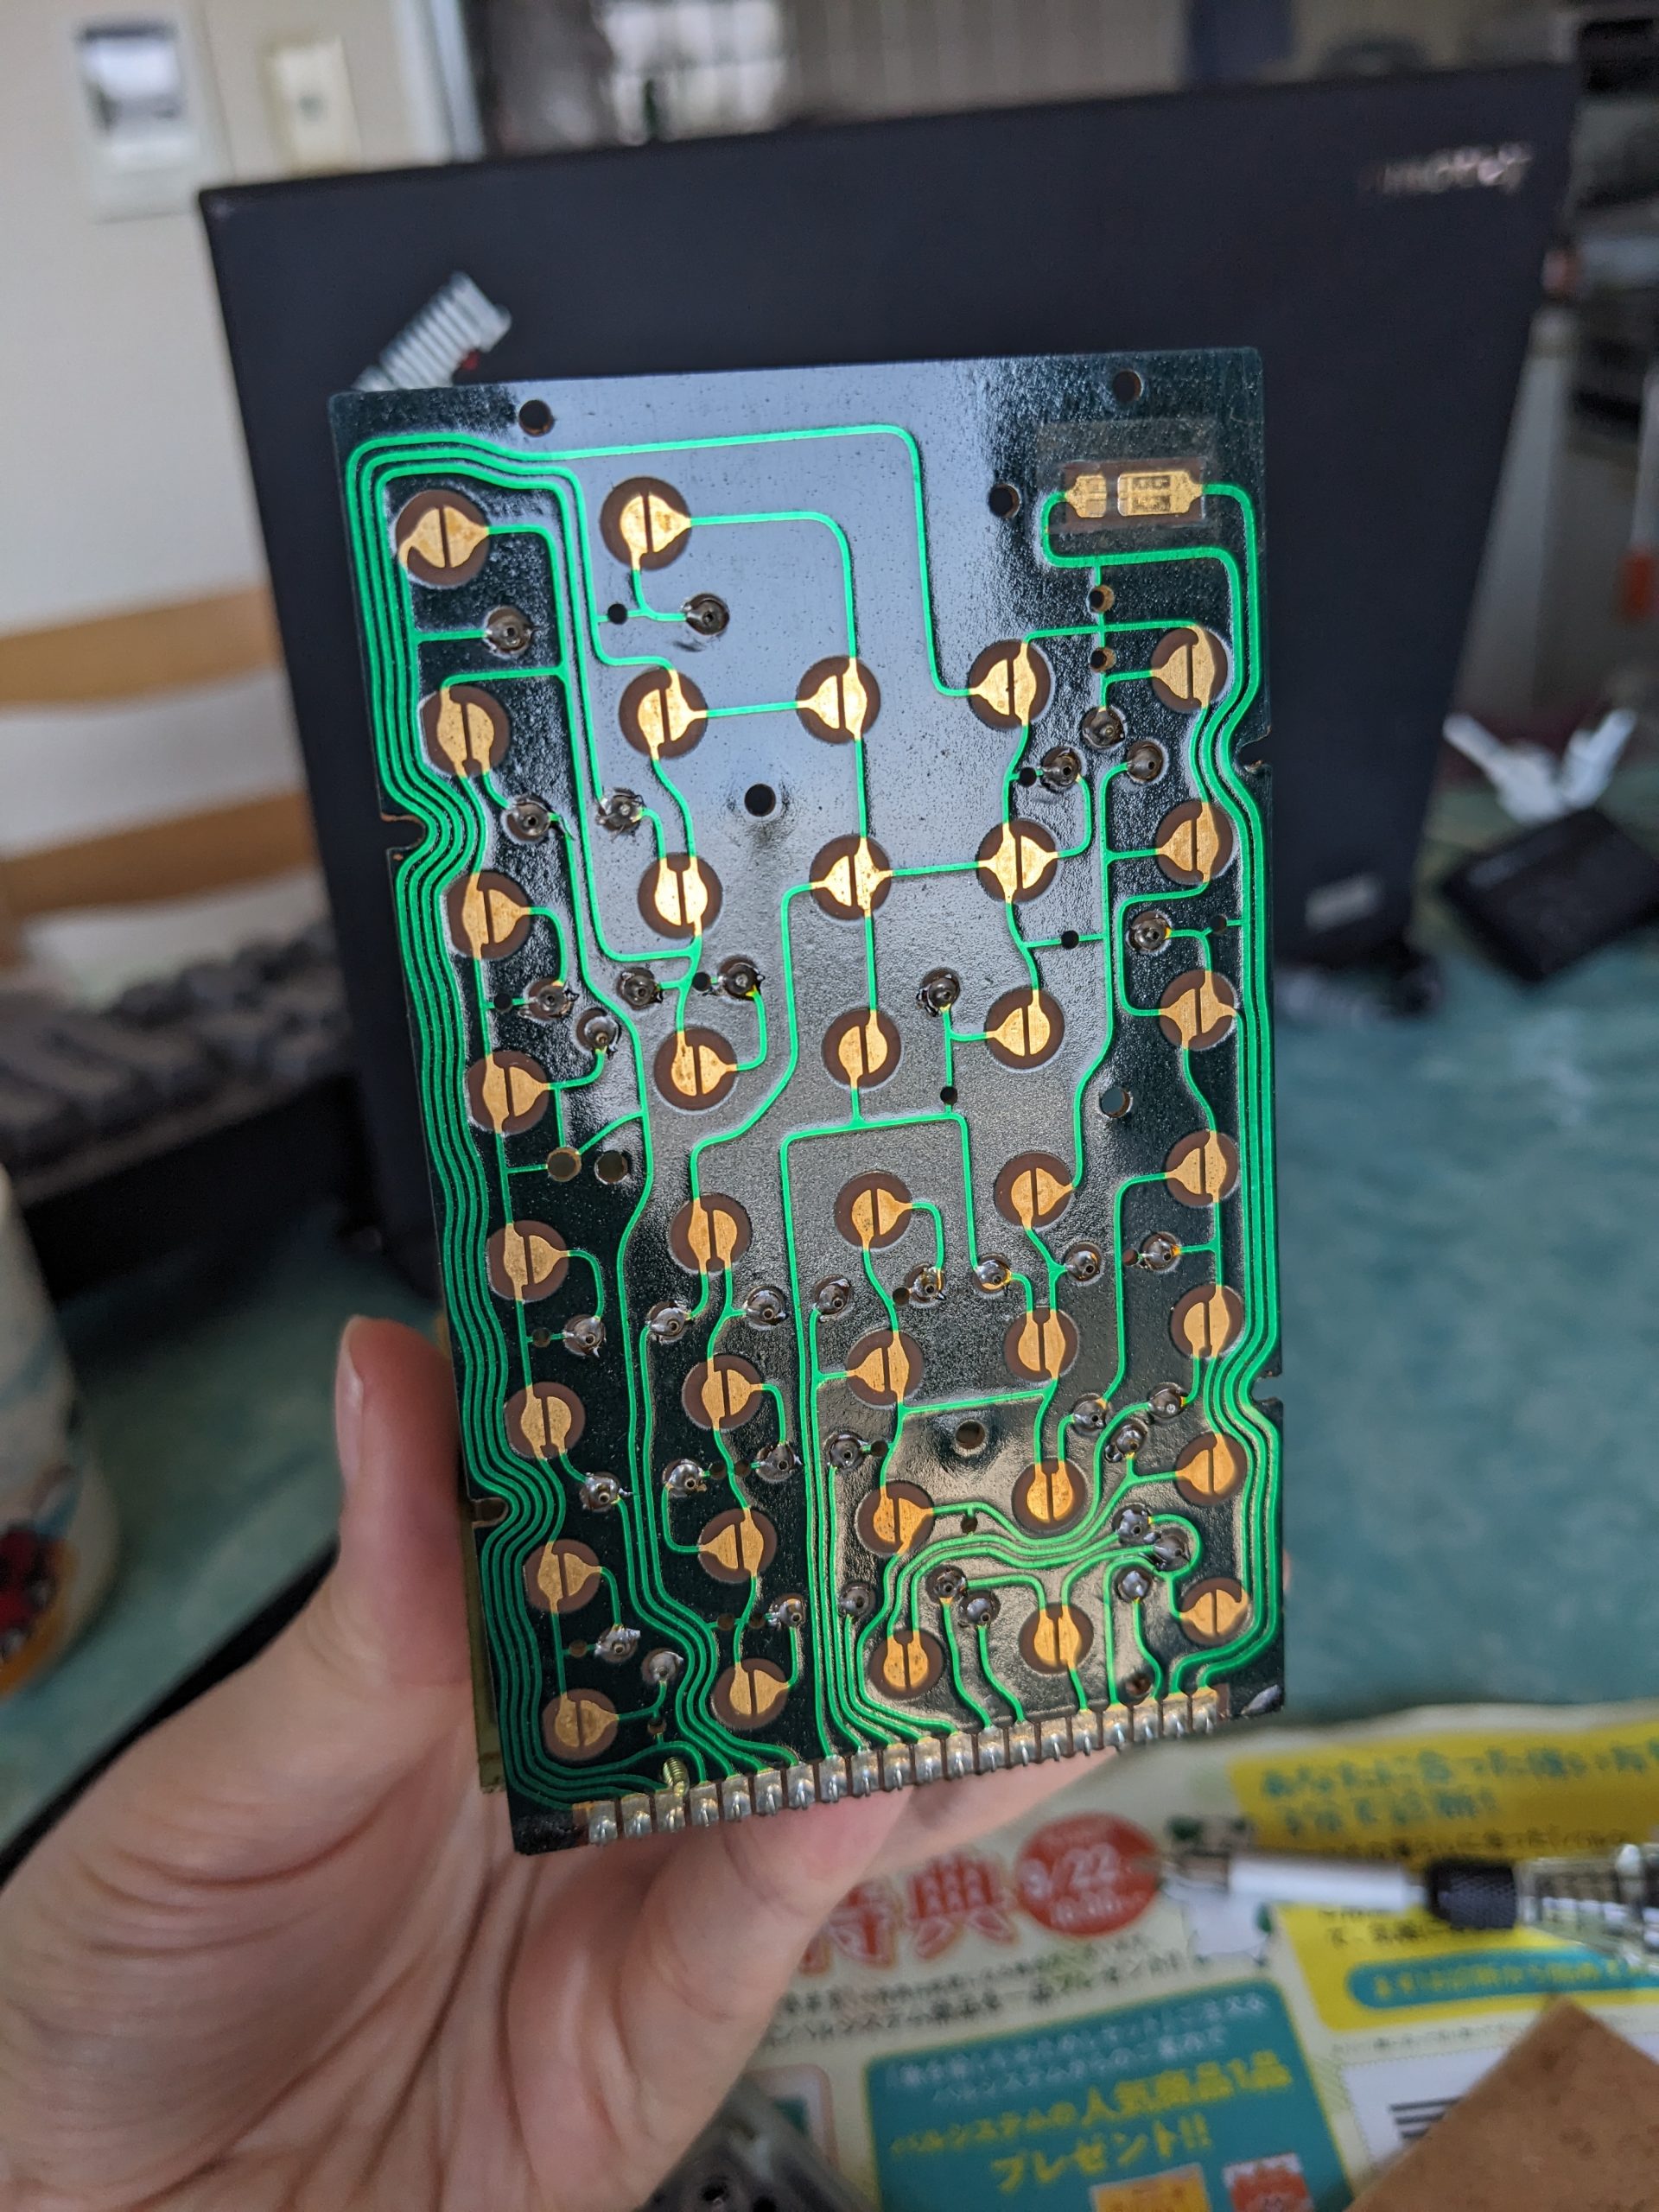
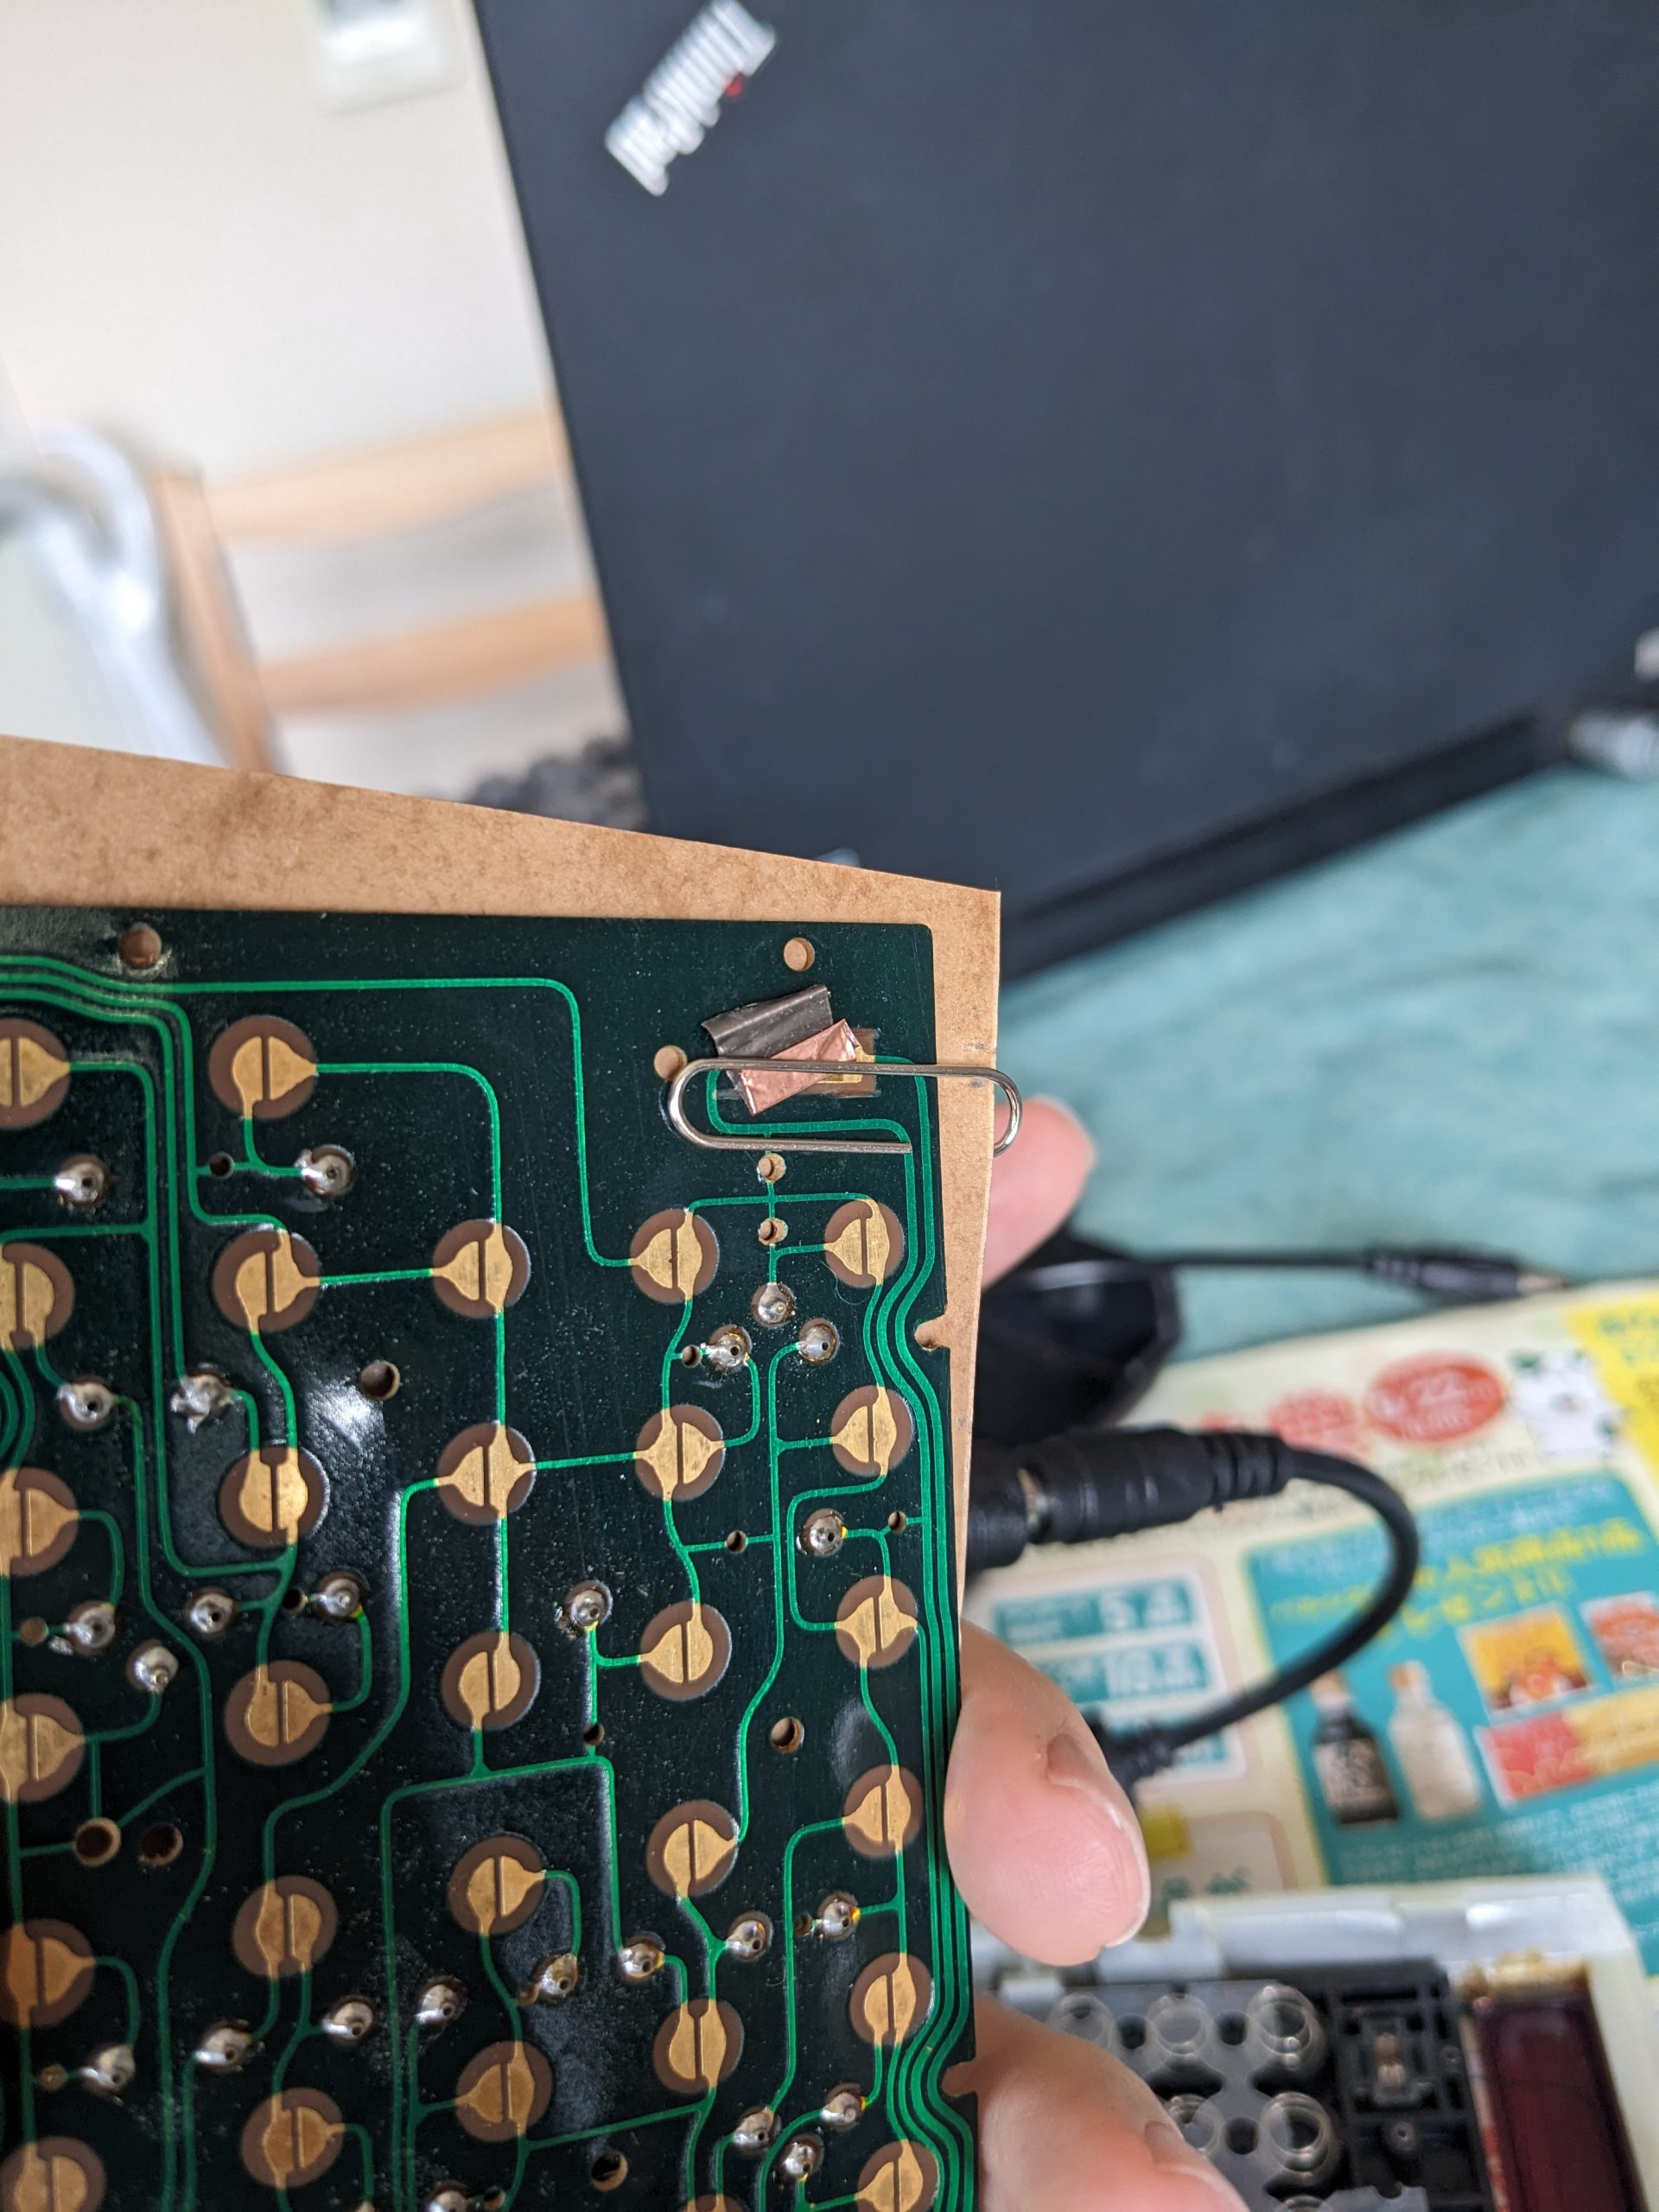
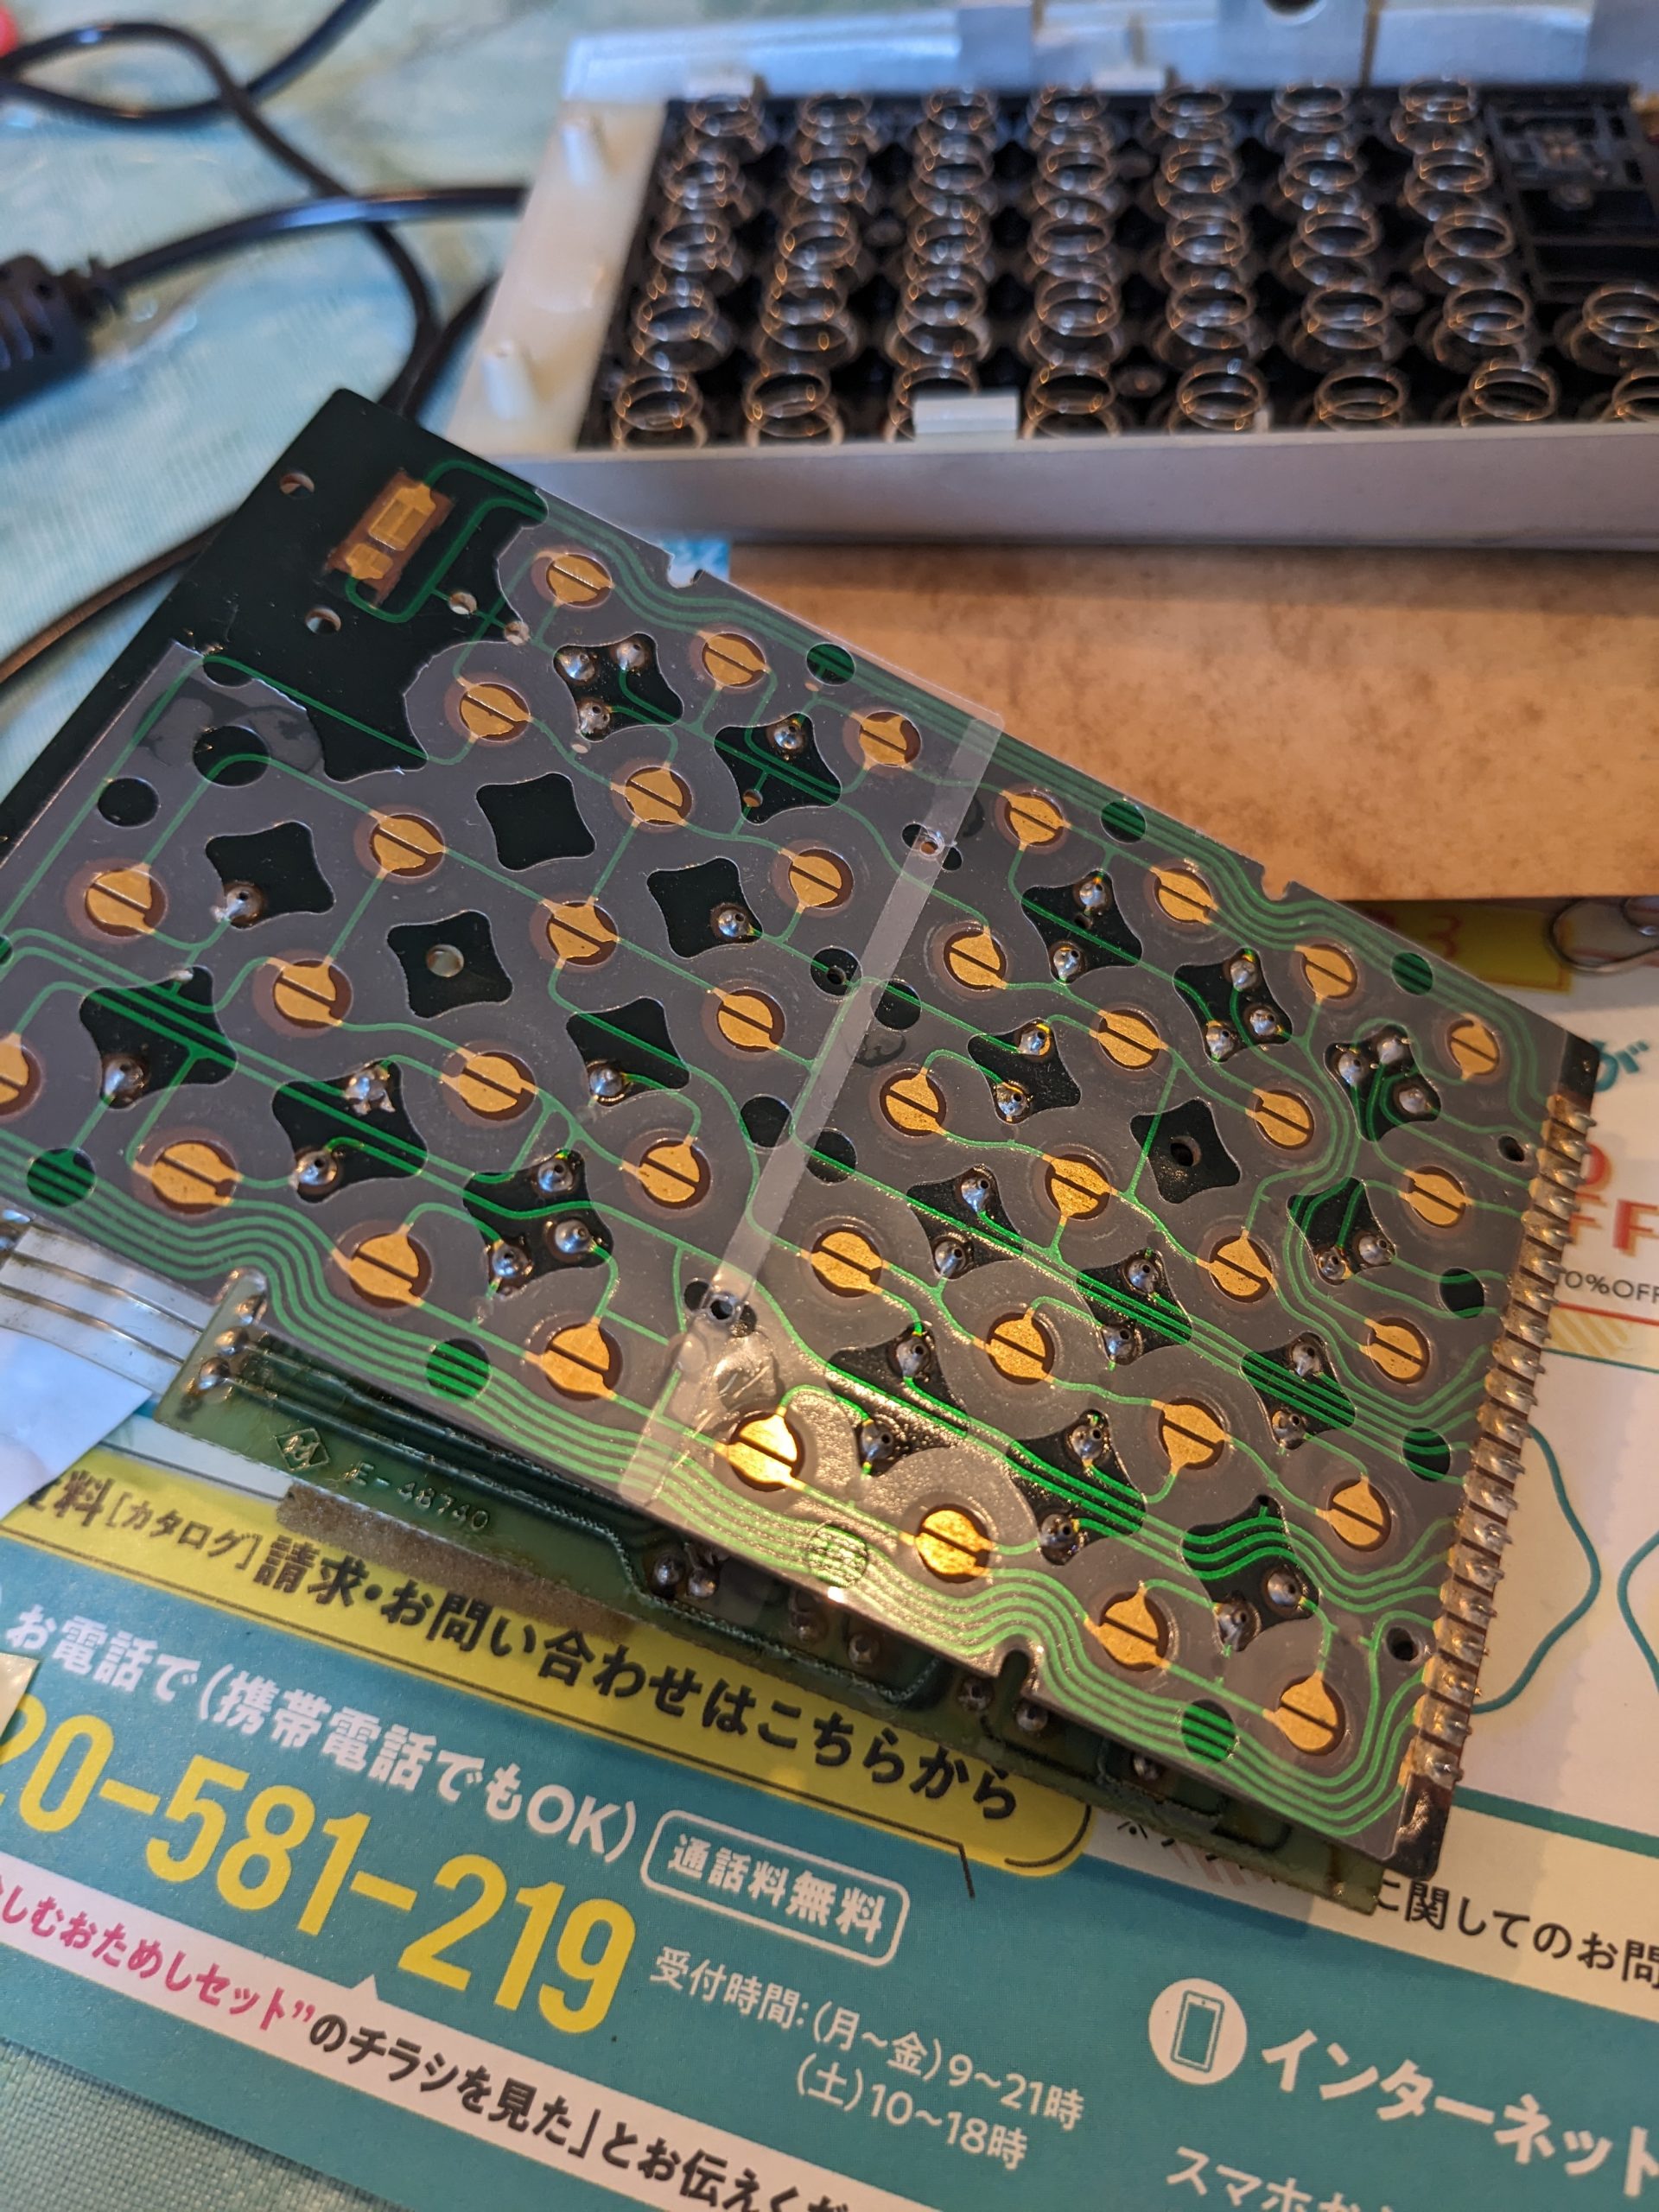
Fixing the ‘1’ key